Friday, August 4, 2017

SSS Encouraging Words Blog Hop

Hello everyone and welcome to my blog and to the last stop on the blog hop for the Simon Says Stamp Encouraging Words release! I am so happy to be a part of this fun blog hop. If you are following along the hop, you should have come here from the wonderful Barb Engler who has a whole bunch of colorful and very clever projects to share with you.


I love the title of this release, Encouraging Words, and it is full of wonderful and very versatile the stamps and dies. You can see the whole Encouraging Words release here. Don't miss all the inspiration along the hop and of course there are prizes to be won too.

I did two projects, with tutorials, a wall hanger and a card. The techniques can, as always, be used on almost any type of project.

Layers of ink - Education Can Change the World Tutorial by Anna-Karin, Simon Says Stamp Encouraging Words Blog Hop

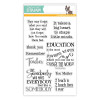
I was very inspired by the Thank You Teacher stamp set, which contains fantastic sentiments, quotes and words, and certainly not only for teacher related projects. When I read the quote by Nelson Mandela, I knew I wanted it up on our wall. I believe very strongly in the power of education, and on top of that, am very lucky to have seen Nelson Mandela in real life twice (albeit at a distance). Inspiration can come from anywhere, and I find that I am quite often inspired by words. I paired the quote up with the Cosmic Trail die, also from Encouraging Words, the SSS Tiny Alphabet Background stamp and a Globe die by Tim Holtz.

Layers of ink - Education Can Change the World Panel Tutorial by Anna-Karin, SSS Encouraging Words Blog Hop

These are some of the Encouraging Words products that I used: Kindness Matters, Cosmic Trail and the Thank You Teacher set.

Layers of ink - Education Can Change the World Panel Tutorial by Anna-Karin, SSS Encouraging Words Blog Hop

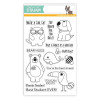
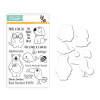
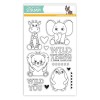
For my second project, I also used these Encouraging Animals stamps and coordinating dies.

Layers of ink - Education Can Change the World Panel Tutorial by Anna-Karin, with Tim Holtz Sizzix Globe die.

Die cut the globe twice from Heavystock paper and cut off the continents from the second die cut. Trace a circle using the die and cut out.

Layers of ink - Education Can Change the World Panel Tutorial by Anna-Karin, SSS Encouraging Words Blog Hop

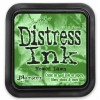
Ink the circle with Distress Inks and mist with water.

Layers of ink - Education Can Change the World Panel Tutorial by Anna-Karin, SSS Encouraging Words Blog Hop

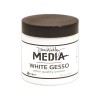
Paint the globe with White Gesso.

Layers of ink - Education Can Change the World Panel Tutorial by Anna-Karin, SSS Encouraging Words Blog Hop

When dry, add a little bit of blue, avoiding the poles.

Layers of ink - Education Can Change the World Panel Tutorial by Anna-Karin, SSS Encouraging Words Blog Hop

Smear some gesso at the top of the continents (which would be snow-covered), and when dry, ink the rest with shades of green, using only Twisted Citron in the driest areas.

Layers of ink - Education Can Change the World Panel Tutorial by Anna-Karin, SSS Encouraging Words Blog Hop

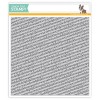
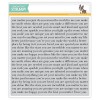
Randomly stamp with the Tiny Alphabet Background. This is one of my all time favourite stamps.
 Layers of ink - Education Can Change the World Panel Tutorial by Anna-Karin, SSS Encouraging Words Blog Hop

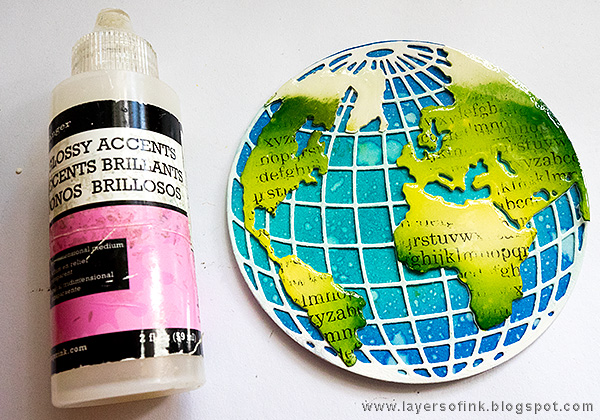
Glue together and add Glossy Accents to the continents.

Layers of ink - Education Can Change the World Panel Tutorial by Anna-Karin, SSS Encouraging Words Blog Hop

Die cut the Cosmic Trail from Heavystock paper.

Layers of ink - Education Can Change the World Panel Tutorial by Anna-Karin, SSS Encouraging Words Blog Hop

Ink as before, and mist with water. Add Glossy Accents to the stars.

Layers of ink - Education Can Change the World Panel Tutorial by Anna-Karin, SSS Encouraging Words Blog Hop

Stamp the sentiments on Heavystock paper and then ink with Antique Linen, and around the edges only, with Ground Espresso. 'You matter' and 'Remember' are such useful words, fitting many types of projects.

Layers of ink - Education Can Change the World Panel Tutorial by Anna-Karin, with Tim Holtx idea-ology Paper Dolls.

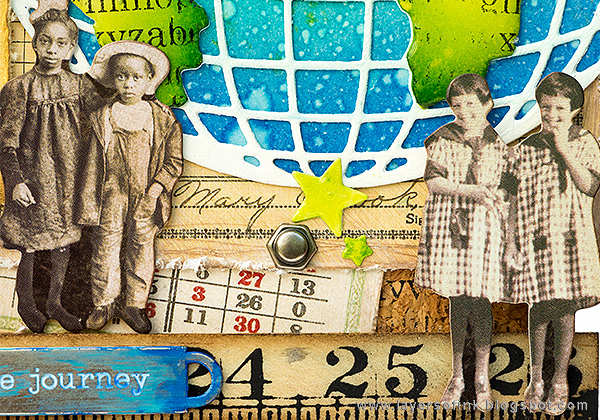
I glued cork to mat board (5.5 x 7 in)to create my background and stamped the cork with the Tiny Alphabet stamp. The corners were rounded. I also added some kids from Tim Holtz's Paper Dolls, as well as school related ephemera papers. These were were sanded, distressed and inked.

Layers of ink - Education Can Change the World Panel Tutorial by Anna-Karin, SSS Encouraging Words Blog Hop

I really like the typography on this stamp. The edges were distressed a little. I also added a Pen Nib and some roses.
Layers of ink - Education Can Change the World Panel Tutorial by Anna-Karin, SSS Encouraging Words Blog Hop

Place the stars here and there. At the bottom of the piece there is an inked wooden ruler.

Layers of ink - Education Can Change the World Panel Tutorial by Anna-Karin, SSS Encouraging Words Blog Hop

Distress the Word Band with paint so that it coordinates with the rest of the project. Everything was glued down with Distress Matte Medium.

Layers of ink - Education Can Change the World Panel Tutorial by Anna-Karin, SSS Encouraging Words Blog Hop

Here you can see the cool effect of the Glossy Accents.

I also made a little card, which has a different style than the project above.

Layers of ink - Kindness Matters Card Tutorial by Anna-Karin, Simon Says Stamp Encouraging Words Blog Hop


The card displays a scene and an important message. The Encouraging Animals are so cute and also fun to color. Change the colors for a different look to the animals. I also really like the Kindness Matters die and it is so true.

Layers of ink - Kindness Matters Card Tutorial by Anna-Karin, SSS Encouraging Words Blog Hop

Pair the animal stamps up with other sentiments sets and you can uses them for many different themes. On the inside of the card I used the 'Be somebody who makes everybody feel like a somebody' stamp, which I thought worked well together with the kindness theme.
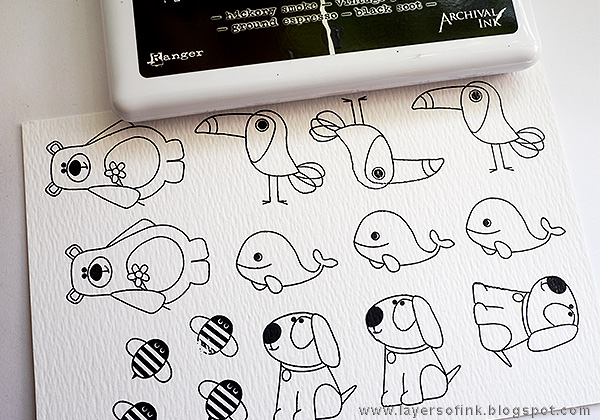
Layers of ink - Kindness Matters Card Tutorial by Anna-Karin, with Simon Says Stamp Encouraging Animals

I often start by stamping a whole bunch of images, before deciding which to use.

Layers of ink - Kindness Matters Card Tutorial by Anna-Karin, SSS Encouraging Words Blog Hop

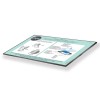
Smear Distress Inks on a craft sheet, mist with water and pick up with a paint brush. I colored these quickly and left some white showing for highlights. Die cut with the coordinating dies, which are easiest to use together with the Sizzix Magnetic Platform.
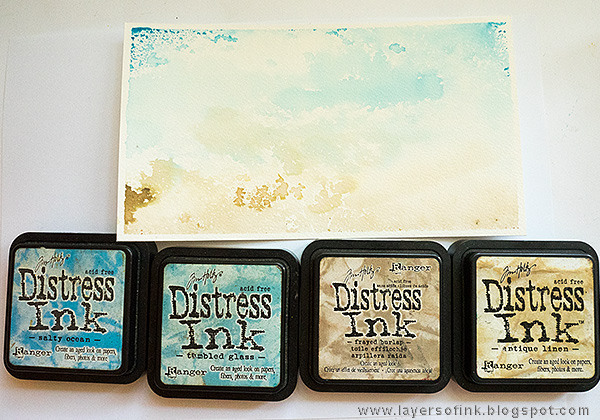
Layers of ink - Kindness Matters Card Tutorial by Anna-Karin, SSS Encouraging Words Blog Hop

The background of the scene continues at the back of the folded card, and was done by inking up a large acrylic block (8 x 4.4 in), misting with water and pressing it down on watercolor paper.

Layers of ink - Kindness Matters Card Tutorial by Anna-Karin, SSS Encouraging Words Blog Hop

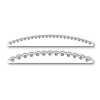
I also used the Eyelet Arch Borders from the Cherished collection, and die cut a hill.

Layers of ink - Kindness Matters Card Tutorial by Anna-Karin, SSS Encouraging Words Blog Hop

Ink with Antique Linen and Frayed Burlap and mist with water droplets.

Layers of ink - Kindness Matters Card Tutorial by Anna-Karin, SSS Encouraging Words Blog Hop

The same was done with a Kindness Matters die cut.

Layers of ink - Kindness Matters Card Tutorial by Anna-Karin, SSS Encouraging Words Blog Hop

I stamped the hill with the You Matter stamp and Khaki ink.

Layers of ink - Kindness Matters Card Tutorial by Anna-Karin, SSS Encouraging Words Blog Hop

The sentiment was stamped on the inside with Khaki ink.

Layers of ink - Kindness Matters Card Tutorial by Anna-Karin, SSS Encouraging Words Blog Hop

Kindness Matters is almost like a cloud in the sky. If you want the letters to stand out better, matte it on darker or lighter cardstock. The row of hearts come from Wild Cuddly Critters and was stamped with Blue Jay ink.

Layers of ink - Kindness Matters Card Tutorial by Anna-Karin, SSS Encouraging Words Blog Hop

Here you can see the highlights on the animals left white when watercoloring them. The coordinating dies makes it so quick and easy to cut them.
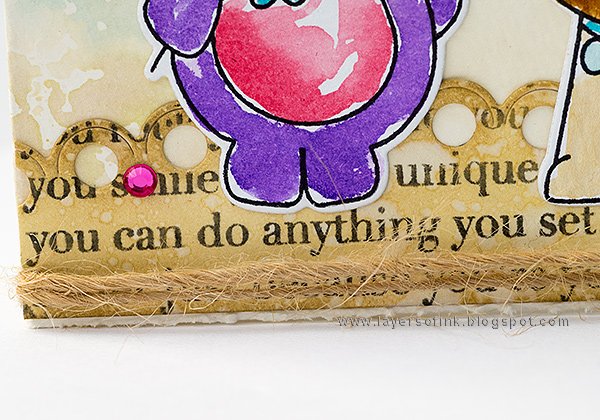
Layers of ink - Kindness Matters Card Tutorial by Anna-Karin, SSS Encouraging Words Blog Hop

Try to make a sentence that you like from the You Matter show, in this case, 'you can do anything you set your mind to'.

Layers of ink - Kindness Matters Card Tutorial by Anna-Karin, SSS Encouraging Words Blog Hop

Distress the edges for extra texture.

Layers of ink - Kindness Matters Card Tutorial by Anna-Karin, SSS Encouraging Words Blog Hop

If you fold out the card, it looks like this. Creating a background that extends to the back is a very quick manner of adding interest to a card.

Don't miss all the inspiration along the hop and if you have missed any of the previous stops, you'll find a list below. There are of course also prizes and a $25 gift voucher can be won on each stop of the hop. All you need to do for a chance at winning, is to leave a comment. The winners will be posted on the SSS blog on Tuesday.

Anna-Karin Evaldsson (you are here)

There will also be a blog hop for Encouraging Words tomorrow (Saturday), don't miss it. It will also start at the Simon Says Stamp Store Blog.

Thank you so much for stopping by here today! I hope you will have a lovely weekend! Today, we are going to a nearby farm/outdoor museum to visit the animals there. The boys are both crazy about animals.

Happy stamping!!

Anna-Karin

Supplies (affiliate links):


Thursday, August 3, 2017

Shimmery Flutter Tag Tutorial

Hi friends! We had another day of lovely weather here today, but rain is needed soon, since it is a little dry. I have a tutorial on the Sizzix blog, for a very shiny and shimmery butterfly tag, using a whole bunch of techniques.

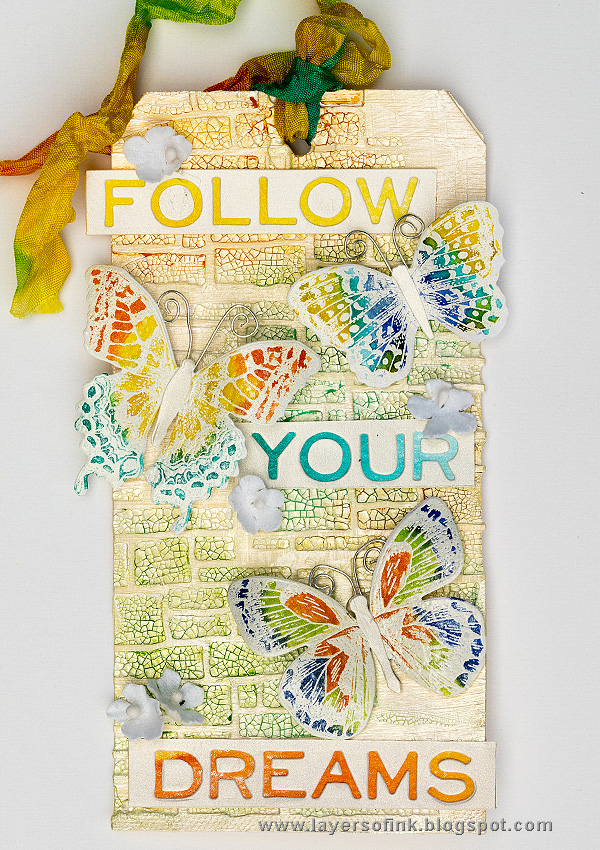
Layers of ink - Shimmery Butterfly Tag Tutorial by Anna-Karin with Tim Holtz Sizzix Flutter collection.

Butterflies make me happy and they are such fun to color. Here I used Tim Holtz's Flutter stamps and the coordinating Framelits dies. There is Distress Ink, Mica Spray, Brite-Ons paper, and a textured mixed media background which also glimmers. I wish you could see this tag in real life, because all the different pearlescent effects together with the various textures, look pretty nice.

You will find the full tutorial and close-ups on the Sizzix blog, Shimmery Butterfly Tag.

Have you seen that there is Share with Sizzix challenge going on until 6th August. All you need to do is to use something from the Flutter collection and hashtag your project with #sharewithsizzix. You can read more about the challenge here.

Thank you for stopping by today!

Happy crafting!!

Anna-Karin

Supplies (affiliate links used):


Tuesday, August 1, 2017

Watercolor Cacti in a Box Tutorial

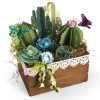
Hi friends! One of the things that keeps amazing me when it comes to art-making, is how things you had forgotten or not thought about in years and years, can be brought to mind and remembered, while working on a project. When I was a kid, I loved cacti and had a bunch of mini ones on the windowsill in my room. I had forgotten about that and was reminded of it while being busy with the project below, which is a box filled with paper succulents.

Layers of ink - Watercolor Cacti in a Box Tutorial by Anna-Karin with Succulent Serenity by Sizzix and Lynda Kanase

This tutorial is up on the Sizzix blog now and was made with Lynda Kanase's new Succulent Serenity line, and I used the versatile 2-D and 3-D Succulents set, as well as the Journaling Cards set. They were colored with watercolors to get a wide variation of shades of green. This would make a great gift for someone special, or keep it for yourself.

For step photos and lots of close-ups, you'll have to head over to my Watercolor Succulents tutorial on the Sizzix blog.

Thank you so much for visiting today!

Happy crafting!

Anna-Karin

Supplies: