Hi stampers! It is the last day of 2025 and a new year is coming. I am ending the year with a snowman page in one of my art journals.
Please note: this post has affiliate links, for which I receive a small percentage of sales generated by the link, at no extra cost to you.

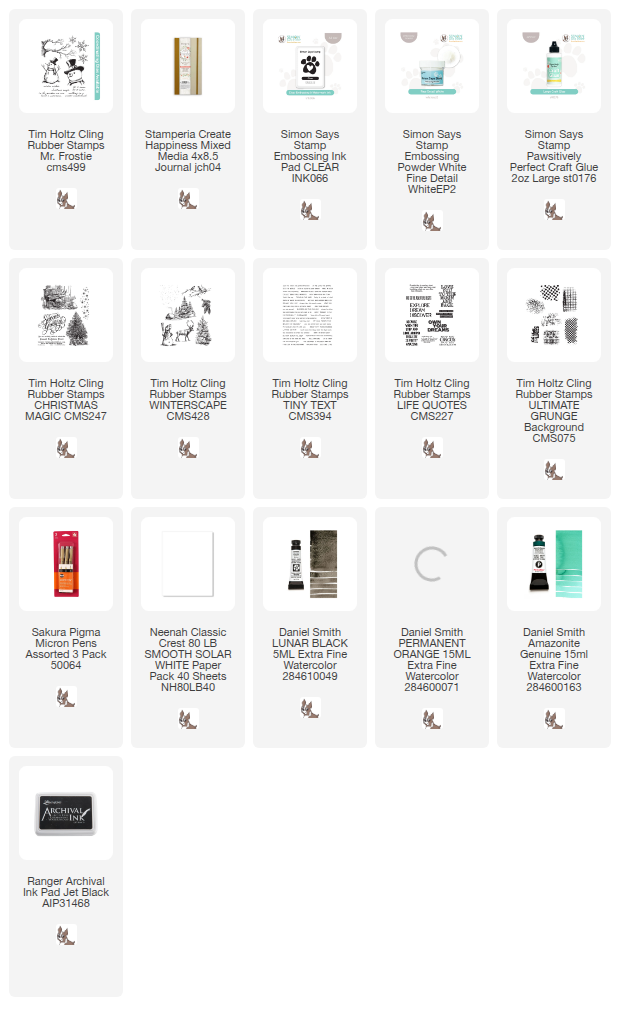
I really like the snowmen from Tim Holtz Mr. Frostie and wanted one of them in my art journal. I wanted him to fill most of the page of this Stamperia Happiness Mixed Media Journal (4x8.5 in). To get that look, I sketched and extended his body. The page was stamped and painted with watercolors.

Start by stamping Mr Frostie on the page. You can also work on a sheet of watercolor paper.

Draw the body with a pencil first and then fill in with a waterproof pen.

For snow, I embossed Tim Holtz snowflake/stars and a dot stamp using Simon Says Stamp embossing ink and White Embossing powder.

Paint the background with watercolor paint. I used Daniel Smith watercolors. Drop in two more colors before the first layer is dry.

Paint the details on the snowman and add shading with Lunar Black.

Stamp the date stamp from Tim Holtz Ultimate Grunge here and there.

Stamp sentiments with Tim Holtz Tiny Text. Here you can see the cool granulation of the Lunar Black paint.

The mix of white embossing and black stamping adds interest to the background.

Shadows add dimension and life.

The main sentiment comes from Tim Holtz Life Quotes. I might have used it on a New Year's project before since it fits so well.

Thank you so much for visiting today!
Happy crafting!
Anna-Karin
Supplies:
* Please note: the links are affiliate links, for which I receive a small percentage of sales generated by the link, at no extra cost to you.
* Please note: the links are affiliate links, for which I receive a small percentage of sales generated by the link, at no extra cost to you.