
Hi friends! I hope you are well and had a good weekend!
Please note: this post has affiliate links, for which I receive a small percentage of sales generated by the link, at no extra cost to you.

This week we have a Fall Moodboard theme att the Simon Says Stamp Monday Challenge Blog. I hope you will join us! Don't miss the gorgeous project by Alison Bomber, our October guest designer.

I made a card this week.


I die cut flowers, leaves and branches with Tim Holtz Vault Foliage Wreath set. The pieces were die cut from left-over inky or watercolored paper, kraft stock paper, Simon Says Stamp cardstock and kraft cardstock.

Some of the leaves were die cut from this paper, which I found in my scrap box. It was stamped with Simon Says Stamp Reverse Crackle Background and three shades of brown ink.

Sand the edges. Shape the pieces with Tim Holtz Shaping Kit. Glue together.

I used a Simon Says Stamp Clear Acetate Card for the base and embossed in in the Soft Snowfall folder.

Color the inside of the front of the card with alcohol ink.

Glue the two branch pieces to the background and then add the leaves and flowers on top. Some of the flowers were adhered with foam tape.

I added Simon Says Stamp Pawsitively Dazzling Rainbow and Gunmetal Gems here and there.

The Vault Foliage Wreath set has such great details.

Tuck the leaves in here and there and add the flowers on top.


I really like the little acorns.

The dry embossed dots are hard to photograph, but you can see them better here.


Join us this week in our Fall Moodboard challenge! You have a chance to win a $25 gift voucher to do some fun shopping at Simon Says Stamp. You have until Monday 8am Ohio time. 1pm UK time, 2 pm CET to join in.

Do you use Instagram? If so please add #sssmchallenge so we can see your entries there too.


Thank you so much for stopping by here today! See you again soon!
Happy crafting!
Anna-Karin
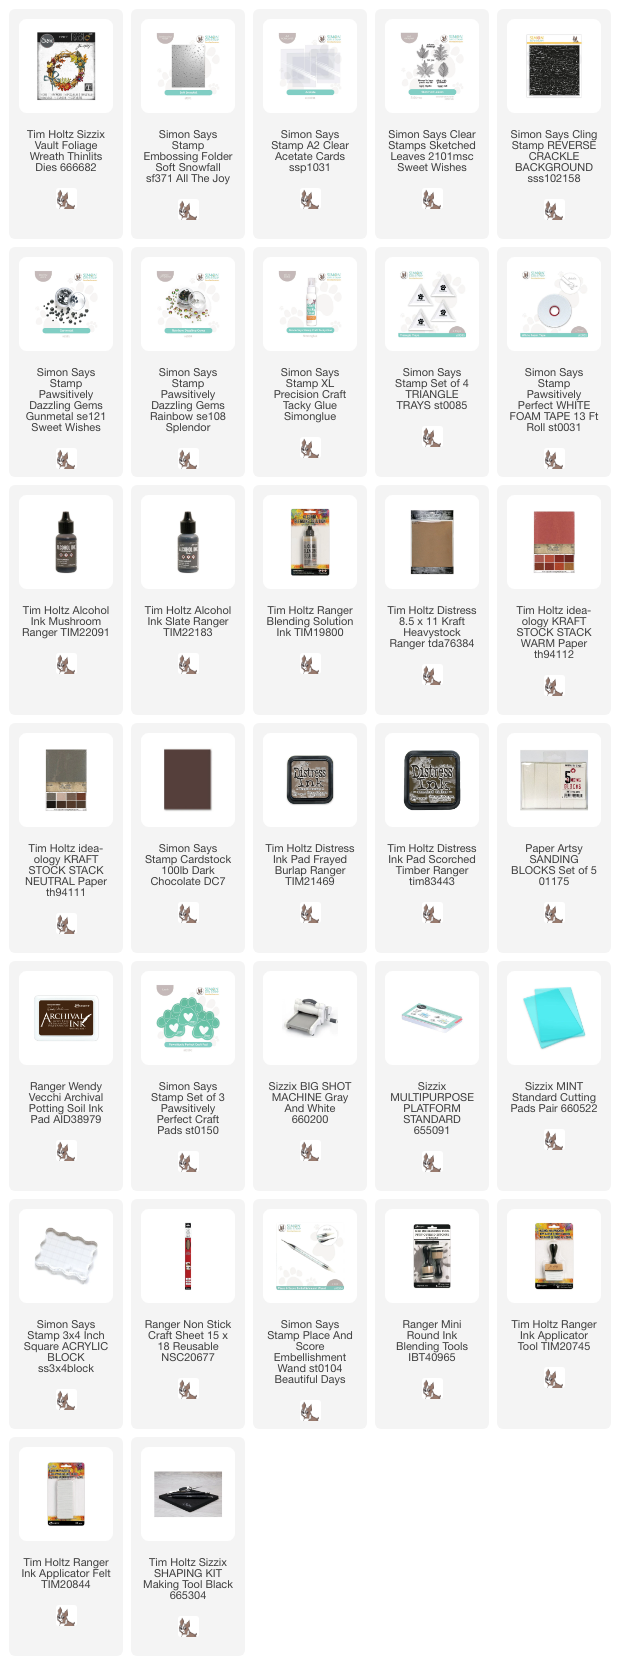
Supplies:
* Please note: the links are affiliate links, for which I receive a small percentage of sales generated by the link, at no extra cost to you.
* Please note: the links are affiliate links, for which I receive a small percentage of sales generated by the link, at no extra cost to you.
No comments:
Post a Comment
Thank you so much for leaving a comment! Happy Crafting!