
Hi friends! During April, the Eileen Hull Inspiration Team has an Spring Showers theme, with party and baby shower related projects. I always liked the concept of a guestbook at parties and events, since it is a great memory keeping document, with words and signatures of friends and family. I made a guestbook for this project, but the book can also be used for many other things too (just change the title).

A guestbook can be made for a specific event, such as a wedding, or as a more general guestbook that is brought out after all parties and happenings. My book is of the second kind, but you can easily customize it to fit a specific occasion instead. The book can be turned into an ordinary journal or sketchbook too. The base is Eileen's Sizzix Journal Die, which creates a book in just the right size (8.75 x 4.5 in). The cover was inspired by one of my recent art journaling pages, since I thought the big Simon Says Stamp Brushed Branches tree stamp would look great on my guestbook.

Start by die cutting two Journal covers from cream mat board. You need the Extended Cutting Pads, but the die fits perfectly through the normal Big Shot or Vagabond. I also die cut two covers from Dina Wakley's Cotton Watercolor paper. It is the same watercolor paper that you find in her Media Journal, and I am happy that you can get it as loose sheets too now. It gives a great feel to the cover too.

You might have spotted that the background is pretty similar to the Doodled Wildflower Garden project I posted yesterday. I've had fun making backgrounds with Paper Arty Infusions lately and they were already on my desk, so I decided to use them again. Mist with water, sprinkle a little bit of Infusions on top (I have poked a hole in the lids) and mist more water to make them blend. If you want less brown, dab with a paper towel to remove some of the walnut ink crystals. I especially did this in the center of the page, where I planned the tree to be.

Ink the Brushed Branches tree with Twisted Citron, Mowed Lawn and a little bit of Peeled Paint and Forest Moss. I added some extra details with Distress Markers in the two darker shades. Mist with water and stamp on the background. The tree stamp is large and I used a Sizzix Cutting Pad as my stamping block.

When the tree was dry, I added more details by smearing Distress Inks on a craft sheet, misting with water and using it as watercolor paint. Grass, branches and shadows on the tree were added with Distress Markers. Some of these marks were left as they were, others were turned into watercolor with a paint brush loaded with water.

Die cut the small flowers from Eileen's Bookmark, Tag & Pocket set, from left-over cotton-rag watercolor paper. Smear Mermaid Lagoon on a craft sheet, mist with water and press the flowers into the ink. The label is from the Bookplate, Hinges & Label set and was also die cut from left over paper and colored with Golden Sands Infusions.
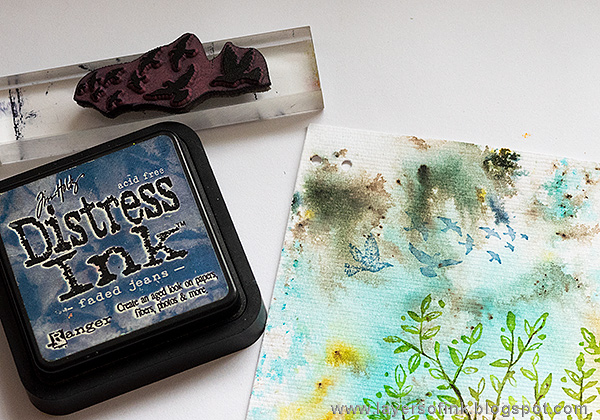
I stamped Tim Holtz birds in the sky, misting with water before stamping.

For the inside I used a mix of white, cream, kraft and patterned paper. Most of the patterned papers are by Prima, but any neutral-looking paper will work well. Cut 8.25 x 8.25 in (21 x 21 cm) squares and round the corners. Fold and place into signatures of about six papers (depending on the thickness of your papers). Stitch down the spine to secure the papers together.

I made three signatures.

Glue the watercolor paper to the covers. Before placing them under a heavy book, or in my case, under Sizzix XL dies, fold along the score line slightly. This conditions the watercolor paper so that it won't tear when the glue is dry and it is folded all the way. I only did this on the front, and the back tore slightly. Assemble an elastic cord according to the instructions on the packaging of the die and tie it through a button to secure.

The signatures are slipped under the elastics and held in place.

I tied the elastic so that it also forms a closure for the book. Glue the flowers and the label to the cover.

Here's a look at the back cover. You can stamp and add decorations to it too, but I decided to keep it plain.

The Infusions form an interesting background, without overwhelming the stamping.

My tree is a spring tree, with light green leaves, which I hope will soon be the case out in nature too.

The label was stamped with alphabet stamps. You can also use stickers or rub-ons, or add a quote instead.

Glue the blue flowers here and there in the foreground.

Tuck the signatures in behind the elastics and your guestbook is done.

I placed the papers so that there is a mix of neutral patterned papers and cream, white and kraft papers. You can of course also only use white or cream papers.

The guestbook has a nice chunky feel to it and the cotton watercolor paper almost feels like fabric. You can easily alter this book to turn it into any theme and it is great as a gift too.
Thank you so much for visiting here today! Don't miss checking out all the Spring Shower projects by the Eileen Hull Inspiration Team this month.
Anna-Karin
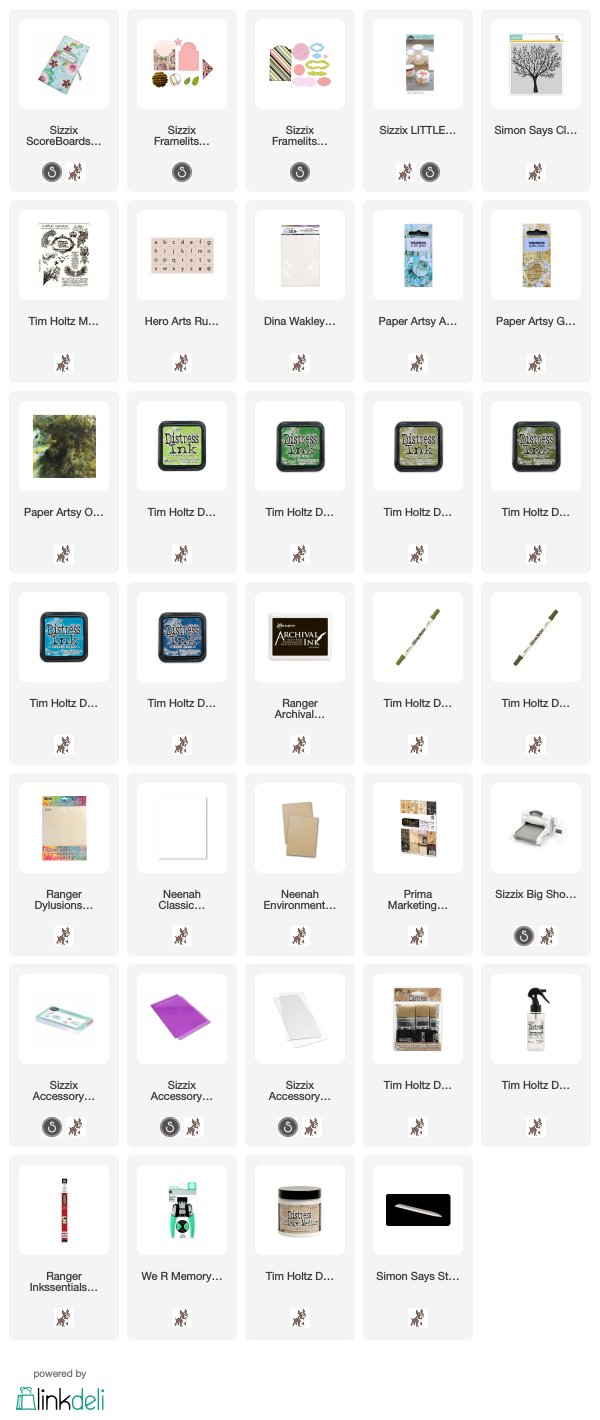
Supplies:
I love this, Anna-Karin - beautiful watercolour work with the Infusions, and the tree looks fabulous. I love the cotton watercolour paper too - so happy that I remembered to order some of the loose sheets while I was in the US recently!
ReplyDeleteAlison x
A wonderful book cover with excellent background texture. The tree with all the green leaves and the sweet blue flowers below look very nice. GORGEOUS!
ReplyDeleteDear Greetings
Sabine
What a wonderful guest book your created AnnaKarin! I love the colors you used on the cover and your wonderful coloring on your tree and landscape to flush out the tree stamping! Julia xx
ReplyDelete