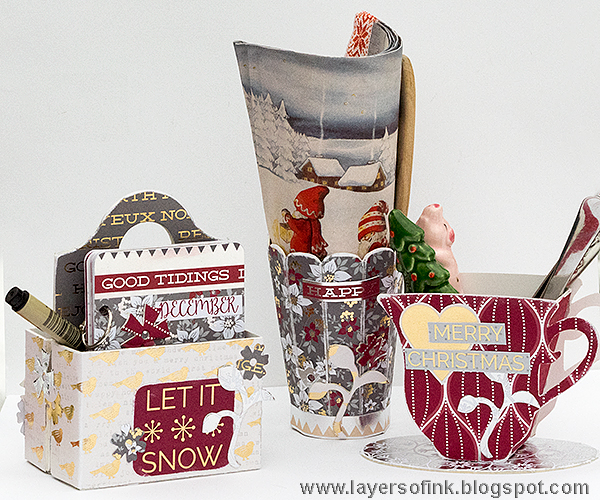
I couldn't pick which die to use and decided to make a little table center piece using three of Eileen's dies. I imagine these three standing in the middle of our table, carrying some Christmas items and supplies. The Caddy Bag holds a little notebook, ready to jot down Christmas memories, shopping lists, funny things the kids say, or anything else. I sure hope they will remain on the table, because Leo can now reach far and loves finding treasures on the table to play with. From Eileen's dies, I used the:
Caddy Bag,
3-D Vase,
3-D Tea Cup and the Recipe Card.
I used the beautiful Cranberry Christmas paper pad by DCWV.
To start with, I covered
mat board with patterned papers, adhering it with Distress Matte Medium. Here you can see the shapes needed for the
Tea Cup. The ScoreBoards dies both cuts and scores the material, making assembly very easy.
All the shapes were sanded before assembly.
I also die cut a whole bunch of flowers and branches, from the Caddy Bag die, from left-over pieces of patterned paper covered mat board, and from just patterned paper.
To continue with the
cup, I stamped the piece between the two cup die cuts with Tim Holtz
Holiday background stamp.
To assemble the
Tea Cup, just add adhesive along the flaps on the center piece and position it between the two cup pieces. I added some embellishments and words to the front and back.
I placed some tea spoons into the cup. You could also use it for tea bags, or perhaps some treats.
The silver place-mat for the cup looks really pretty and is very reflective.
These are the pieces that you need for the
Caddy Bag. You can make it one sided, but I wanted a compartment on each side.
The bird paper was stamped with the same background stamp that I used for the cup, with with Shadow Grey ink, for a subtle effect.
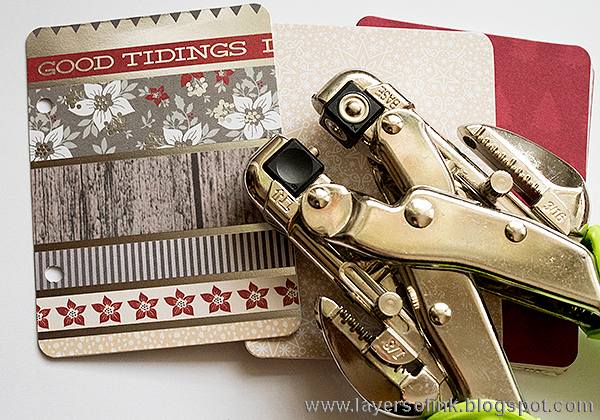
I made a little mini-book to place in the Caddy Bag, using the
Recipe Card die.
The papers were adhered together back to back to make the pages double-sided.
And then I simply punched holes with my Crop-a-Dile.
The
Caddy Bag is easy to assemble, just add a strong adhesive along the flaps. I added some embellishments here and there, and sentiments from the paper pad. There is also a pen, since I always end up looking for pens everywhere, whenever I need one.
In the back compartment, I placed some double-sided tape, in case I wanted to quickly adhere something into the album. You could use the Caddy Bag to store a lot of other items too, and it is a great storage for craft supplies too. I have one on my desk with pens.
The metallic elements of the Cranberry papers are really great, and give a festive look to the project.
I added some flowers to the side of the Caddy Bag too.
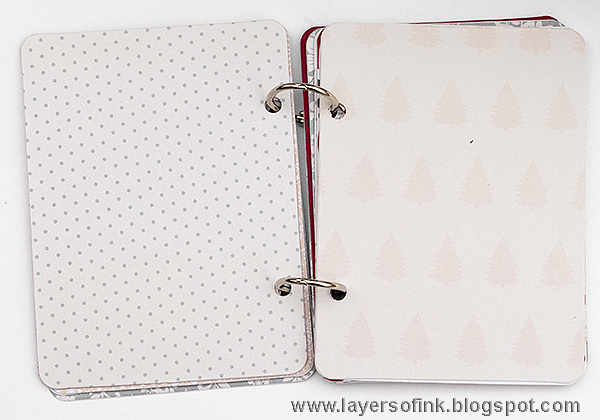
Here's a better look at the little album. Tim Holtz small binding rings were the perfect size for this album. I used this gorgeous sample paper for the back and front covers, just adding some flowers and a word cut from the patterned paper.
The back looks like this.
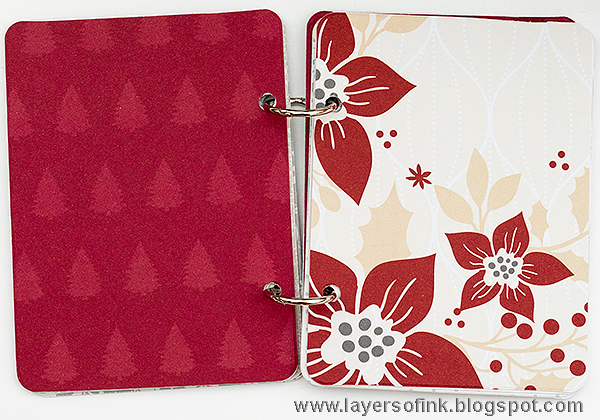
I picked mainly neutral papers for the inside pages, to make sure that it is possible to add text, photos and other bits and pieces, without them being overpowered by the papers.
Another of the page spreads.
Some of the pages have more colour though, for the sake of variation and interest.
Finally, to the
vase. These are the two pieces you need to assemble the vase. It is very easy to assemble.
Isn't this flower patterned paper pretty? I also added a paper border, some flowers and a word.
I rolled up serviettes and tucked into the vase, but it is great for other items too. You could also make some paper or felt flowers to place in the vase - check out my
Felt & Wire Flower tutorial for some inspiration.
I also placed a traditional Swedish wooden butter knife into the vase, mainly because I really like the handle of this one with the hearts.
You can easily make these in colours that fit your decor, or give them as a gift to someone special. They can also be filled with treats or little gifts. Items made from mat board last well, just to give one example, I made Anton a whole
little monster set of 3D items when he turned three and almost four years later, they are still going strong and he uses them to store little things in on his bed-side table.
Don't miss all the inspiration during this month both on
Eileen's blog at at
DCWV.
Happy crafting!
Anna-Karin
Supplies:
Patterned paper: DCWV: Cranberry Christmas Premium Stack


They are so pretty and festive! And I love your little books that you make. They are always so charming.
ReplyDeleteLovely festive trio Anna-Karin. You have combined the papers and dies beautifully. Tracy x
ReplyDeleteYour table centrepiece is wonderful Anna-Karin, great choice of papers for each design and the embellishments are lovely! Anne x
ReplyDeleteI love every piece of this set Anna-Karin! The papers really are pretty...
ReplyDeleteThese projects are absolutely fantastic! I am loving each and every one. Those papers are so gorgeous!
ReplyDeleteI really loved your idea of making a little mini to put inside the caddy! Can I ask what size the "recipe card" is? Is it 3x4? Thanks so much!
ReplyDelete