We are getting our first snow of the year as I type this, so it might soon be time for a snowman.
Please note: this post has affiliate links, for which I receive a small percentage of sales generated by the link, at no extra cost to you.
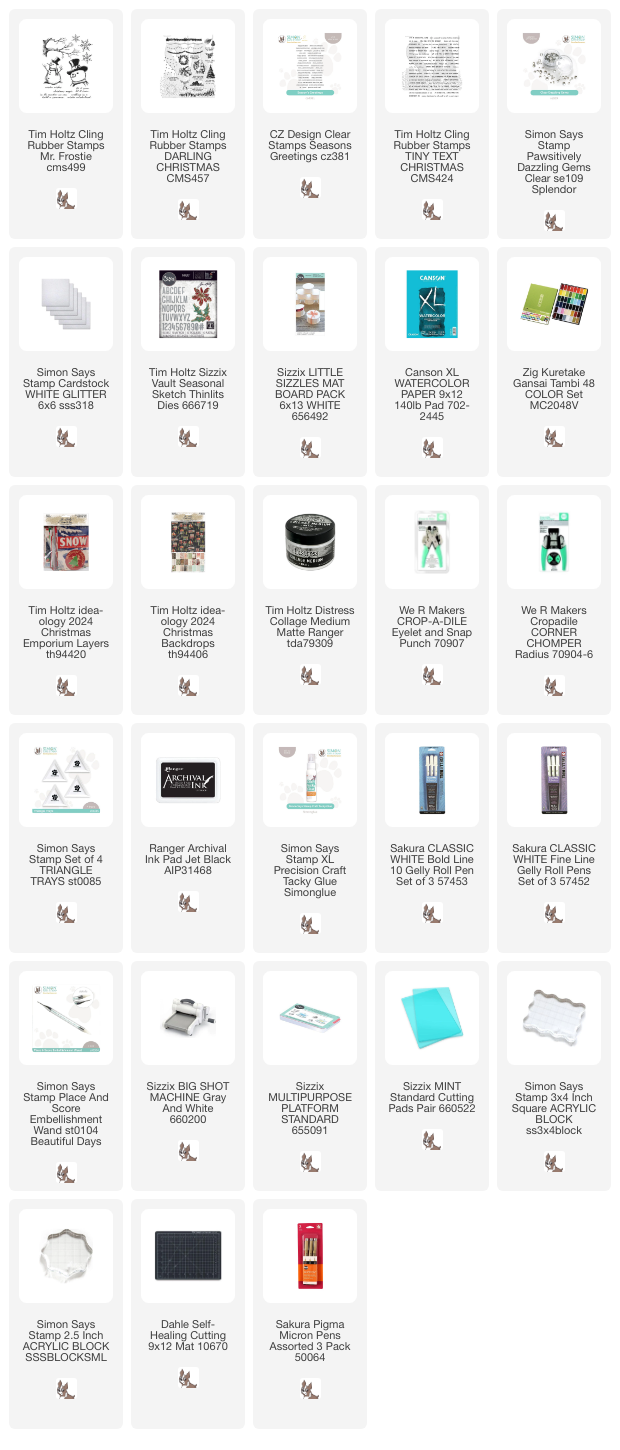
Start by stamping Mr. Frostie and the tree on watercolor paper with Archival Jet Black ink.
Paint a light layer of blue for the sky.
I used Sizzix Little Sizzles Mat Board for the covers. Glue the watercolor paper to the mat board and place under a heavy book. Round the corners and punch two holes along the other edge. Cut pages from your favorite paper. I used a paper good for writing, but often also use sketch paper or watercolor paper.
The back cover was covered with one of Tim Holtz Christmas Backdrops papers. I love the backdrops papers.
I am looking forward to filling my journal with memories.
When I saw Tim Holtz Mr. Frostie, I knew I wanted him on the cover of my journal. My journals have looked different through the years, but the focus is on words rather than on adding photos, to make it easier to document each day. This year I made a journal with a stamped and watercolored cover. The book is 5.5x6.3 in and my December countdown tags will go into it. Although they might not be tags this year. I will share that post in a couple of days.
I used pens to extend the tree and create more snowy ground.
Paint the snowman, tree and snow with watercolors. Drop in darker shades to create shadows.
Paint a light layer of blue for the sky.
Add details and highlights with a black pen and a white gel pen. The white gel pen can also be used to create snow.
I die cut the title from Simon Says Stamp white glitter cardstock using Tim's Vault Seasonal Sketch set.
I used Sizzix Little Sizzles Mat Board for the covers. Glue the watercolor paper to the mat board and place under a heavy book. Round the corners and punch two holes along the other edge. Cut pages from your favorite paper. I used a paper good for writing, but often also use sketch paper or watercolor paper.
For sparkle and more snow, I added Simon Says Stamp Pawsitively Dazzling Clear Gems.
I stamped this sentiment from Tim's Tiny Text Christmas on the background first, but it ended up difficult to read because of a couple of those splattered dots. Instead, I stamped it on white paper, cut into a strip and covered up the bad stamping.
This is such a great stamp! I really like snowmen. There is something so joyful about them.
There is also a gem on mr. Frostie's hat.
Don't forget to add some shadows. No need for perfection! This sentiment comes from Simon Says Stamp Season's Greetings.
I glued the letters unevenly on purpose, for a playful look.
I also added a few Tim Holtz Christmas Emporium Layers to the inside.
These vintage artificial snow adds are so pretty.
You can also turn this design into a Christmas card.
You can find my previous Christmas Daily journals here:
2023 - Home December Journal
2022 - Folio December Journal
2021 - Snowy Hills December Journal
2018 - Birch Forest December Daily
2017 - Narnia December Daily
2016 - Winter Village December Daily video
2015 - Believe December Daily
2014 - December Daily
2013 - Christmas Daily
2012 - December Mini-book
2017 - Narnia December Daily
2016 - Winter Village December Daily video
2015 - Believe December Daily
2014 - December Daily
2013 - Christmas Daily
2012 - December Mini-book
Thank you for stopping by!


No comments:
Post a Comment
Thank you so much for leaving a comment! Happy Crafting!