Pages

Thursday, February 9, 2023

Glittery Valentine's Day Card

Hello friends! Today I have a card to share filled with glitter and gloss. 

Please note: this post has affiliate links, for which I receive a small percentage of sales generated by the link, at no extra cost to you.
Layers of ink - Glittery Valentine's Day Card Tutorial by Anna-Karin Evaldsson.

I don't often use patterned paper, but for this card I decided to try to use texture paste and glitter on top of patterned paper and thought the result was pretty fun. The card was made with the Simon Says Stamp Sweet Days February Card Kit, but you can also get the products individually.

Layers of ink - Glittery Valentine's Day Card Tutorial by Anna-Karin Evaldsson.

I die cut the Fancy Love die twice from Simon Says Stamp White Glossy Cardstock and colored the word with the lightest of the three colors in the Spectrum Noir Bright Pink Tri-Blend Brush marker.

Layers of ink - Glittery Valentine's Day Card Tutorial by Anna-Karin Evaldsson.

Next, I decided to also color the outline, using the darkest shade. It is pretty handy having three shades of the same color in one pen.

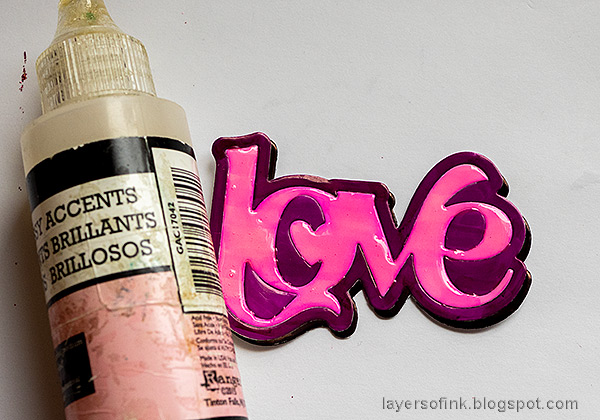
Layers of ink - Glittery Valentine's Day Card Tutorial by Anna-Karin Evaldsson. Coat with Glossy Accents.

The second die cut was colored with a black marker and off set slightly to create a shadow. I coated the word with Glossy Accents, for even more shine.

Layers of ink - Glittery Valentine's Day Card Tutorial by Anna-Karin Evaldsson.

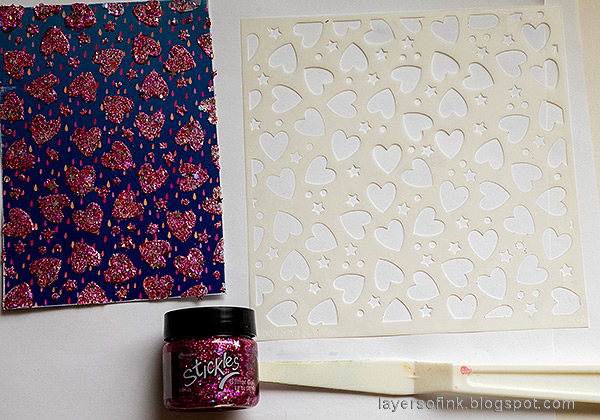
Lightly sand the edges of the paper. Apply texture paste through the Simon Says Stamp Hearts and Stars stencil, working on one of the Paper Rose Cozy Days papers from the card kit. Let dry.

Layers of ink - Glittery Valentine's Day Card Tutorial by Anna-Karin Evaldsson. Apply Ranger Stickles Glitter Gel through stencil.

When the paste was dry, I applied Ranger Venus Stickles Glitter Gel through the stencil. Let dry and repeat until you are happy with the look.

Layers of ink - Glittery Valentine's Day Card Tutorial by Anna-Karin Evaldsson.

The May Arts Wrinkled Faux Silk Ribbon ribbon was also colored with the Bright Pink Tri-Blend marker, first with the lightest shade and then on one side with the mid-tone, creating an ombre effect.

Layers of ink - Glittery Valentine's Day Card Tutorial by Anna-Karin Evaldsson.

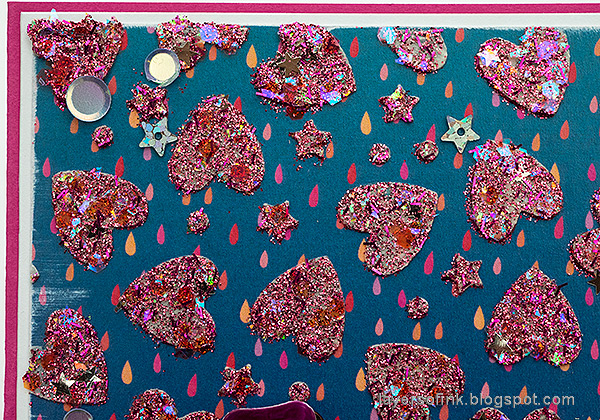
The jars of Ranger Stickles Glitter Gel have glitter pieces of different kinds and sizes as well as sequins in each jar. The small star sequins are part of the Venus glitter jar. The larger stars were added by me. The sequins come from Simon Says Stamp Disco Hearts.

Layers of ink - Glittery Valentine's Day Card Tutorial by Anna-Karin Evaldsson.

You can also skip the paste layer and just apply glitter directly to the paper, but the paste adds an interesting dimensional element.

Layers of ink - Glittery Valentine's Day Card Tutorial by Anna-Karin Evaldsson.

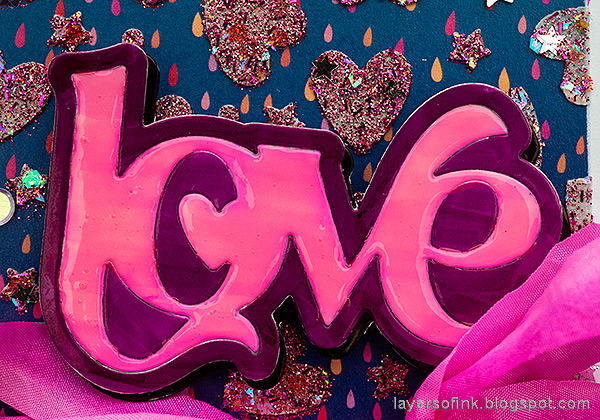
Glossy paper is one of my favorite surfaces and it was super quick to color with the brush marker. It also looks great colored with dye ink, such as Distress Ink. The glossy accents makes the word stand out even more. I adhered it with Simon Says Stamp Pawsitively Perfect Foam Tape.

Layers of ink - Glittery Valentine's Day Card Tutorial by Anna-Karin Evaldsson.

The smaller sentiment comes from Simon Says Stamp Swoopy Flowers

Layers of ink - Glittery Valentine's Day Card Tutorial by Anna-Karin Evaldsson.

The ribbon was tied around the card and I added a second bow too. I was happy to find the May Arts Wrinkled Faux Silk Ribbon since it reminded me of the Tim Holtz Crinkle Ribbon that I used to love and which you can't get hold of anymore. 

Layers of ink - Glittery Valentine's Day Card Tutorial by Anna-Karin Evaldsson.


Thank you so much for visiting my blog today!


Happy stamping!

Anna-Karin


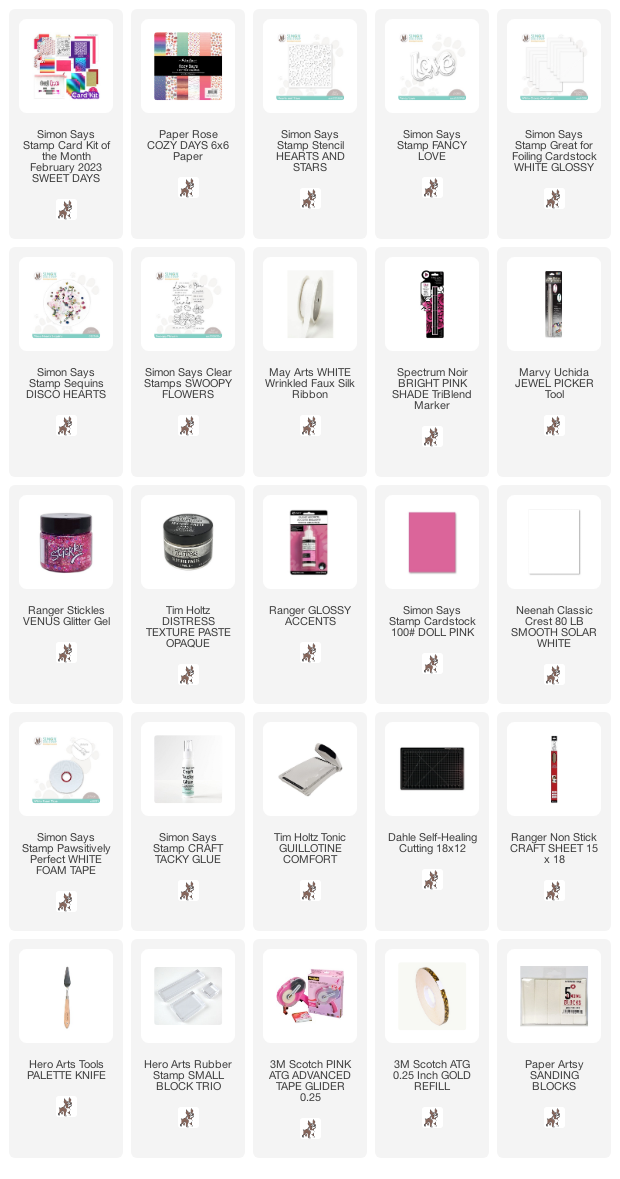
Supplies:

* Please note: the links are affiliate links, for which I receive a small percentage of sales generated by the link, at no extra cost to you.

No comments:

Post a Comment

Thank you so much for leaving a comment! Happy Crafting!