Pages

Monday, May 6, 2024

Peony Card Tutorial

Hello stampers! It is Monday and I hope you had a good weekend! I can't believe May is already here, one of my favorite months of the year.

Please note: this post has affiliate links, for which I receive a small percentage of sales generated by the link, at no extra cost to you.


We are back with a new Simon Says Stamp Monday Challenge and this week our theme it 'Light and Airy', such as pastel colors. Since it is the first Monday of a new month, the team is showcasing products from a specific company/designer and this week it is Studio Light. You can see all their wonderful stamps, papers and other products here. You don't have to use Studio Light products to join in the challenge, but it is fun if you do. 

Since it is a new month, we also have a new guest designer and this month Wanda Hentges is joining us. Don't miss checking out her stunning project.


Layers of ink - Peony Card Tutorial by Anna-Karin Evaldsson.

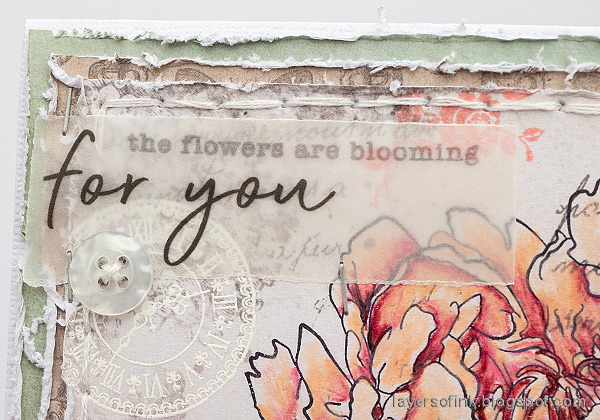
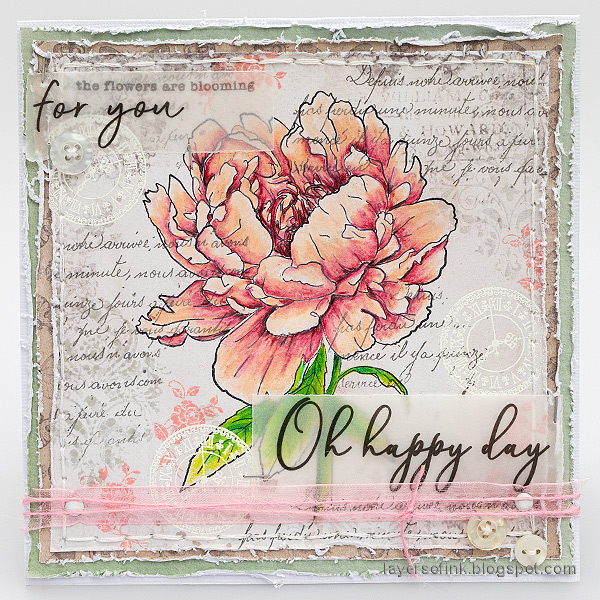
I made a light and airy card this week, using mainly soft colors. Distressed edges, without adding dark ink, also gives a soft look, as does vellum and organza ribbon. I colored a lovely peony stamp from Studio Light with pencils. I stamped the image on patterned paper, and also added stamping to make the paper even more patterned.

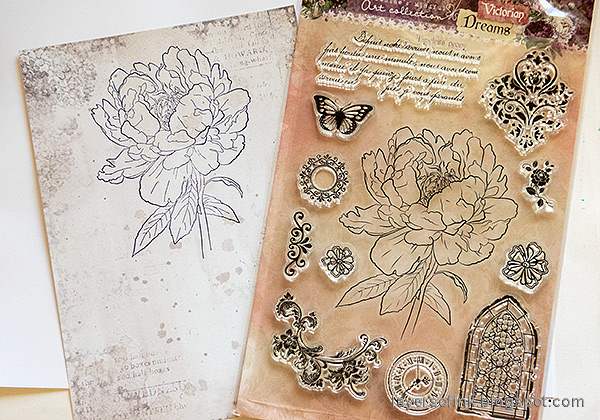
Layers of ink - Peony Card Tutorial by Anna-Karin Evaldsson. Stamp the peony.

Start by stamping the peony from Studio Light Timeless Peony on one of their Vintage Spring Mixed Paper Pad papers.

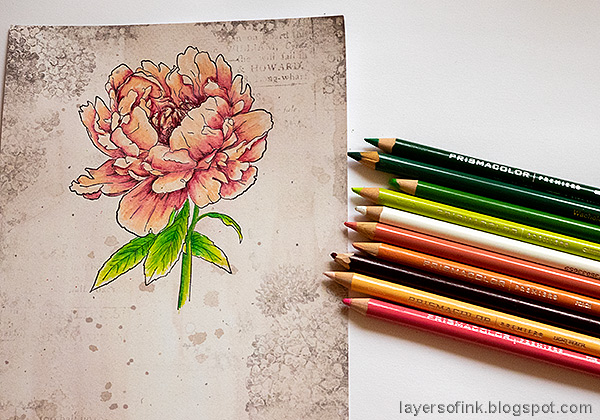
Layers of ink - Peony Card Tutorial by Anna-Karin Evaldsson. Color with Prismacolor pencils.

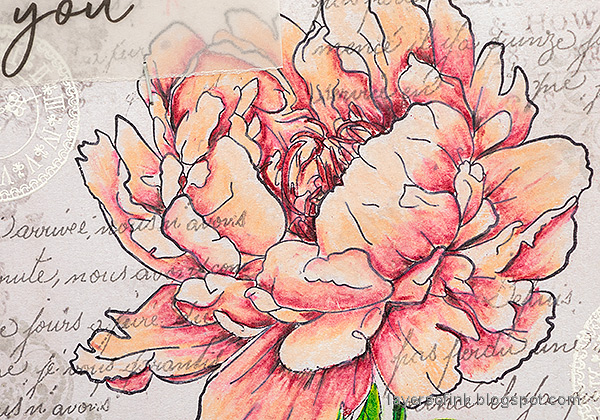
Color the flower with pencils. I used Prismacolors.

Layers of ink - Peony Card Tutorial by Anna-Karin Evaldsson.

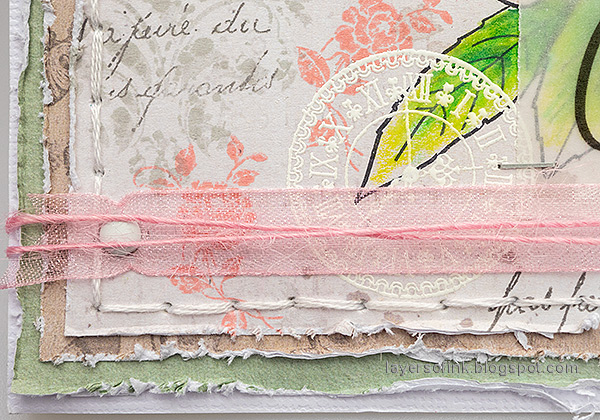
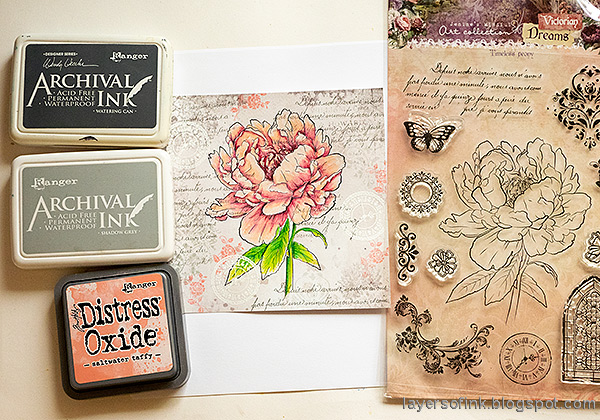
Stamp images from the Timeless Peony set around the paper. The clock was embossed with Simon Says Stamp white embossing powder. The rest of the images were stamped with Archival Inks and Saltwater Taffy Distress Oxide Ink.

Layers of ink - Peony Card Tutorial by Anna-Karin Evaldsson. Add vellum sentiments.

The Vintage Spring Mixed Paper Pad includes sentiments printed on vellum. I stamped an additional sentiment from Simon Says Stamp Season's Greetings with Potting Soil Archival Ink.

Layers of ink - Peony Card Tutorial by Anna-Karin Evaldsson.

The main panel was matted on two papers from the Vintage Spring Mixed Paper Pad. Distress the edges and pierce holes. Stitch with three strands of DMC floss.

Layers of ink - Peony Card Tutorial by Anna-Karin Evaldsson. Distress and stitch the edges.

I always liked clock stamps.

Layers of ink - Peony Card Tutorial by Anna-Karin Evaldsson.

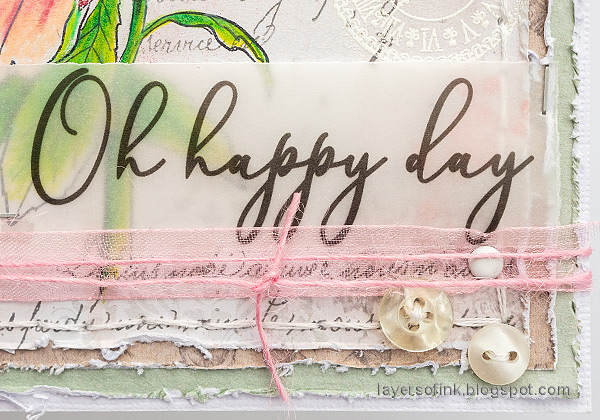
The edges of the vellum sentiments were torn with the help of a ruler. I also stitched a few buttons on the card.

Layers of ink - Peony Card Tutorial by Anna-Karin Evaldsson. Peony in colored pencil.

Peonies are fun to color! Try coloring them with different color combination.

Layers of ink - Peony Card Tutorial by Anna-Karin Evaldsson. Add organza ribbon and twine.

I added a ribbon and twine from Studio Light Organza Ribbon & Hemp Cord Pink.

Join us this week in our Light and Airy challenge! You have a chance to win a $25 gift voucher to do some fun shopping at Simon Says Stamp. You have until Monday 8am Ohio time. 1pm UK time, 2 pm CET to join in.


Do you use Instagram? If so please add #sssmchallenge so we can see your entries there too.


Thank you so much for stopping by here today! 

Happy crafting!

Anna-Karin

Supplies:

* Please note: the links are affiliate links, for which I receive a small percentage of sales generated by the link, at no extra cost to you.


1 comment:

Thank you so much for leaving a comment! Happy Crafting!