Hi friends! It is the last day of April and the sun is shining. I have a tutorial to share of a tag with dimensional roses and a bunch of other fun techniques.
Please note: this post has affiliate links, for which I receive a small percentage of sales generated by the link, at no extra cost to you.
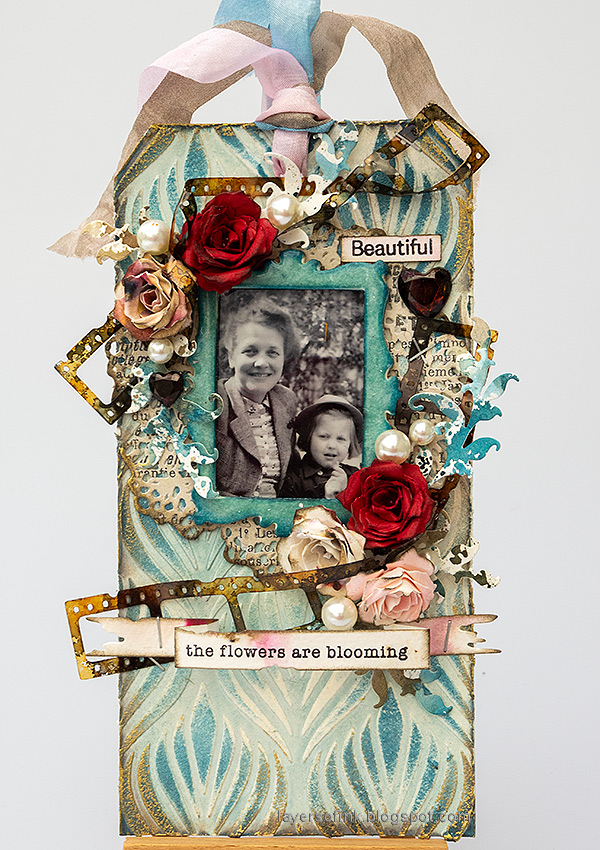
I had such fun making this tag! It has a lot of dimension, a textured background, paper roses, plastic elements and lots of other things. The photo of is my grandmother and mother. I used
Tim Holtz Sizzix Vault Boutique for many of the elements. You can of course use the techniques for cardmaking too.
Let dry and then paint with watered-down Distress Paint.
Place the stencil back on the design and sponge Uncharted Mariner on the background.
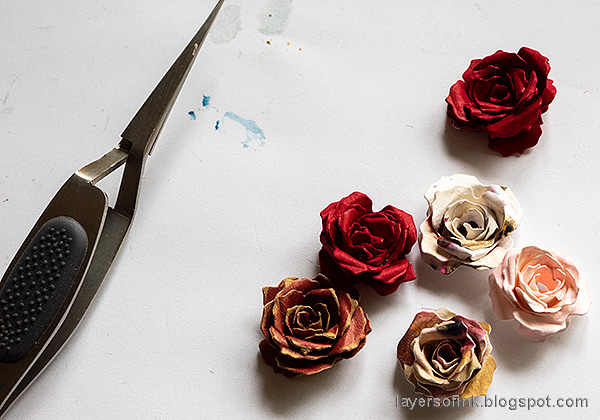
Die cut roses from scrap inky or watercolored papers and from Simon Says Stamp Schoolhouse red cardstock.
Roll them up with a pair of Tim Holtz tweezers.
Fold out the edges with tweezers. Ink them slightly with brown Distress Ink.
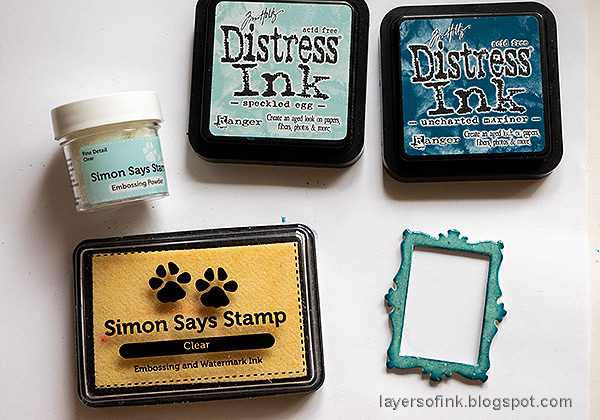
I die cut
the frame about five or six times from heavystock paper and glued the pieces together to make a dimensional frame.
Ink with Distress Ink and emboss with several layers of clear embossing powder. Do not touch the melted powder until it has cooled down completely.
Leaves were die cut from leftover inky papers.
I also die cut the banner from the Boutique set. Tims Tattered Banners Sizzlits die was an old favorite of mine and this banner is such a great size. Stamp a sentiment, fold the banner and adhere with staples.
I also really like the size of the roses and they are very easy to make.
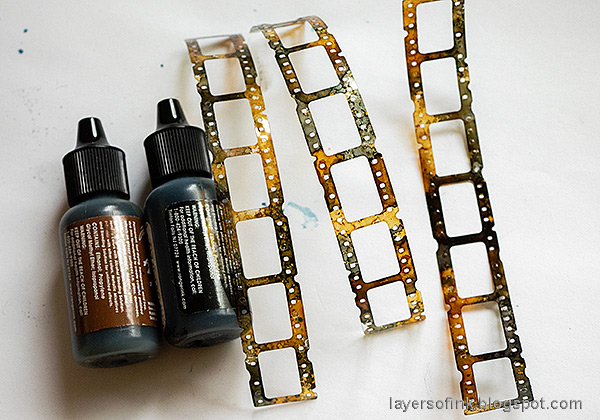
The filmstrip was twisted and stapled to the tag.
Mirrored Hearts were colored with brown alcohol ink. The sentiment comes from Simon Says Stamp Forest Scenery.
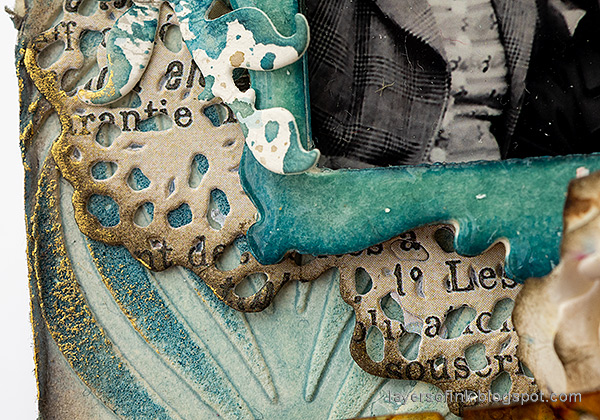
I die cut the doily from the Bouquet set, inked the edges and glued it to the background.
Sizzix Gold Luster Wax was applied here and there around the edges.
I glued some baubles here and there too.
The tag has quite a lot of dimension.
I hope you enjoyed this tutorial! See you again soon!
Thank you so much for stopping by here today!
Anna-Karin
Supplies:
* Please note: the links are affiliate links, for which I receive a small percentage of sales generated by the link, at no extra cost to you.









Just beautiful, Anna-Karin ! I love those roses, and the overall vintage look. That little framed photo is sweet. I thought the little girl was you. The twisted film strips are quite neat as well. I wish I had your creativity. Thank you for sharing. ♥
ReplyDelete