
Hi and welcome to my blog! I am so happy to take part in the Simon Says Stamp Blog Hop to celebrate the new Celebrate release. If you are following along in the hop, you should have come here from Bibi Cameron.
Please note: this post has affiliate links, for which I receive a small percentage of sales generated by the link, at no extra cost to you.

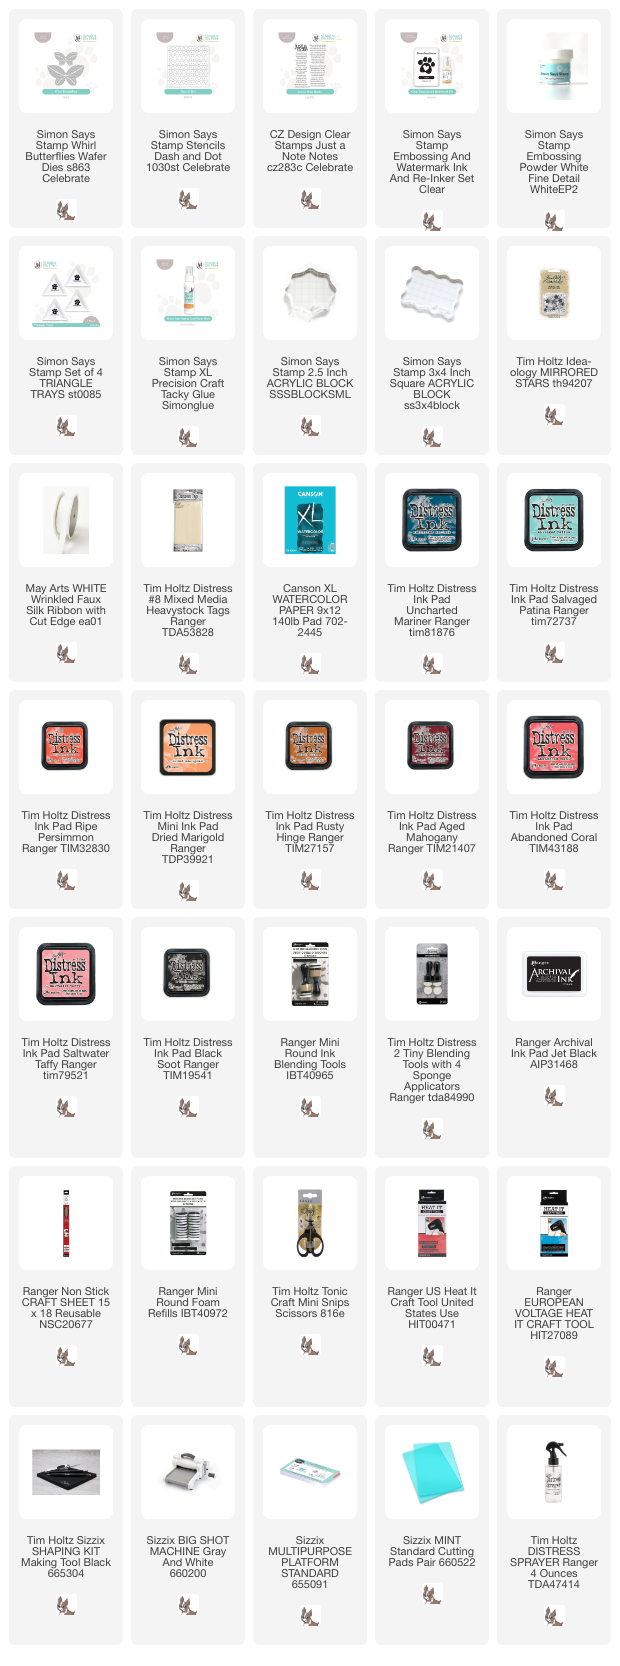
The Celebrate release is full of wonderful new and versatile stamps, stencils, dies, ink and sequins. You can find the entire Celebrate release here. If you use the code GHBD you can get the Groovy Happy Birthday die FREE with any purchase. until 4/21 at 11:59 pm EDT. Make sure that you follow the instructions on the image above to claim your free gift.

I made a tag, but it can also be turned into a card. Let's start.


Start by applying embossing ink through the Simon Says Stamp Dash and Dot stencil. Emboss with white embossing powder.

Ink with Distress Ink. The embossing will resist the ink.

Place the stencil back on the design, off-setting it slightly. Ink with Uncharted Mariner and Black Soot, for a shadow effect.

For the flowers, first create a bunch of paper. Smear Distress Ink on a non-stick craft sheet, mist with water and press the paper into the ink. Let dry and repeat.

Die cut lots of Simon Says Stamp Whirl Butterflies.

Cut off the smaller wings with a pair of scissors.

Shape with Tim Holtz Shaping Kit.

Glue two pairs of wings together like this.

And then glue the two sets together to create a flower.

I made two large flowers and one small. Place smaller flowers in the large ones.

Fringe a piece of scrap paper.


Glue the fringed flowers to the center of the butterfly flowers.

Dye May Arts Wrinkled Faux Silk ribbon with Distress Ink.

Stamp some of the sentences from Simon Says Stamp Just a Note Notes on scrap paper and cut into strips. You can find a lot of useful sentiments on this set. Remember that you don't have to use the entire sentiments. I also added some Tim Holtz Mirrored Stars.

The ribbon coordinates with the tag, since the same inks were used.

This is an easy way to create a 3-D effect with a stencil.

The flowers are quite dimensional. They would also make great gift toppers and/or fridge magnets.

I used lighter colored paper for the larger petals and slightly darker petals for the smaller flower.

This is the small flower, using only the wings from the small butterfly.

I hope you enjoyed this tutorial!
Your next stop on the hop is Heather Hoffman. Don't miss to see the wonderful project she has created. If you get lost along the way, here are all the stops:
Anna-Karin Evaldsson (you are here)
For more inspiration, remember to check out the Celebrate gallery at Simon Says Stamp, and if you make something with products from the range, it is fun if you post it in the galleries too. There are galleries for all releases, and for the card kits, full of inspiration.
This is the first Celebrate blog hop, don't miss blog hop number day number 2, which is tomorrow.
This is the first Celebrate blog hop, don't miss blog hop number day number 2, which is tomorrow.

This is an amazing release! Love you tag.
ReplyDeleteHow clever and creative to turn the butterflies into flowers. Pretty!
ReplyDeleteWow - wonderfully creative tag!! I'm not a huge fan of the Whirl Butterflies dies, but it does make lovely flowers!!
ReplyDeleteI love how you made the flowers so original and creative.
ReplyDeleteAbsolutely Stunning tag! Love the colors! Thanks for showing the steps on how you created this. Now I can give it a try! extremely creative and inspiring!
ReplyDeleteWOW actually just came out of my mouth! Stunning!
ReplyDeleteBeautiful tag. Amazing how you turnd those butterflies into gorgeous flowers.
ReplyDeleteThat flower!!!!! AMAZING!!!
ReplyDeleteAmazing flowers! I love how you've found a way to stretch these dies!
ReplyDeleteWow! I'm definitely nominating you for the most creative creation! Thank you so much for the inspiration!
ReplyDeleteLove how you used the butterflies for flowers. Great idea! Love the colors.
ReplyDeleteStunning...what an eyecatching design. And then cutting the butterflies to make flowers....amazing! Thank you so much for sharing your inspiration.
ReplyDeleteYour mixed media is amazing! Love the colors and butterflies!!!
ReplyDeleteUnbelievable!! Those butterflies make beautiful flowers and that fringe is awesome looking also! Now you've got me wondering if I have some kind of similar butterfly or die shapes that could be used for flowers! Genius!
ReplyDeleteAmazed! You are so creative and talented. Absolutely stunning. Thank you so much for sharing your talent 😊
ReplyDeleteWow!!! Using the butterflies to make flowers. Your tag is fabulous. Thanks for sharing your tips and inspiration!! Amazing work.
ReplyDeleteWonderful creativity with floral creations.
ReplyDeleteWOW, love your card.
ReplyDeleteGorgeous tag! I love the flowers that you created with the butterfly dies! So clever and creative.
ReplyDeleteSuch a creative use of the butterfly dies!
ReplyDeleteThanks for the excellent explanations of how you created this beauty.
ReplyDeleteBeautiful background and flowers! Love these clever blooms you created! Great colors and textures!
ReplyDeleteThis is truly a BUTTERFLY FLOWER! What an amazing imagination you have and what a fantastic flower you created! I can see a whole tree branch in a vase decorated with these beauties! I love this die, as I can see you do too!
ReplyDeleteAll I can say is Wow! Those butterfly dies made an awesome flower. I love how you inked the background and die cut the flowers and the center.
ReplyDeleteBeautiful and clever!
ReplyDeleteWhat a clever twist on the butterfly die! So fabulous xoxo
ReplyDeleteVery bright and cheery!
ReplyDeleteOh WOW! So clever and creative (as always!). I really thought I missed the flowers hahaha Gorgeous all over! YOWZA!
ReplyDeleteso clever to turn the butterfly wings into flower petals.
ReplyDeleteSo pretty. Love all the textures.
ReplyDeleteWow! What a gorgeous tag! I love how you turned the butterfly wings into flowers- you're so creative!
ReplyDeleteWhat a creative way to use those butterfly dies. And I love your background!
ReplyDeleteFun tag! Using the butterfly die to make flowers is so creative!
ReplyDeleteGreat tag and what a great use of the butterfly die!!!
ReplyDeleteAmazing tag!!!! I love that you made a flower from the butterflies dies!!
ReplyDeleteThe tag is so pretty. I like the yellows and oranges.
ReplyDeleteWhen I first saw the Whirl Butterfly I, too, saw petals. Love how you used them to give so much dimension. I haven't tried the fringed centers, but will give it a go now!
ReplyDeletePretty tag. I like the background and how you used butterflies to make flowers.
ReplyDeleteWhat a creative reuse of the butterflies!
ReplyDeleteThis is a stunning tag! Love how you made the flowers!
ReplyDeleteI love the tag and the idea on how to create the flowers!
ReplyDeleteWhat a creative use of the die! I love seeing inspiration like this that showcases ways to make the products more versatile! This was a great idea that you executed wonderfully!
ReplyDeletethis is so pretty - thanks for sharing
ReplyDeleteOh my gosh! How clever! Love those 3D flowers!
ReplyDeleteWow, how creative you are!,amazing creations!
ReplyDeleteI love the way you used the butterflies for the flowers. You are so creative! Thanks for sharing!
ReplyDeleteHow fun to watch this amazing tag come together! So many clever ideas came together to make this and I'm so happy you shared them all with us. You are a brilliant designer, Anna-Karin!
ReplyDeleteTurning the butterfly into flowers is so clever! Thanks for the inspiration!
ReplyDeleteMy jaw is on the ground! Incredibly creative and gorgeous! Thank you for the instructions!
ReplyDeleteI really thought there was a flower version of the Whirled Butterflies. Creativity bonus!
ReplyDeleteSo pretty!
ReplyDeleteThanks for walking us through your creative process
Ingenious idea using the butterflies to make gorgeous flowers.
ReplyDeleteGorgeous 😍 Thanks for all the tips.
ReplyDeleteWhat a beautiful tag!! Thanks for the interesting and helpful tutorial!!
ReplyDelete