Pages

Thursday, February 29, 2024

Colored Pencils on Kraft

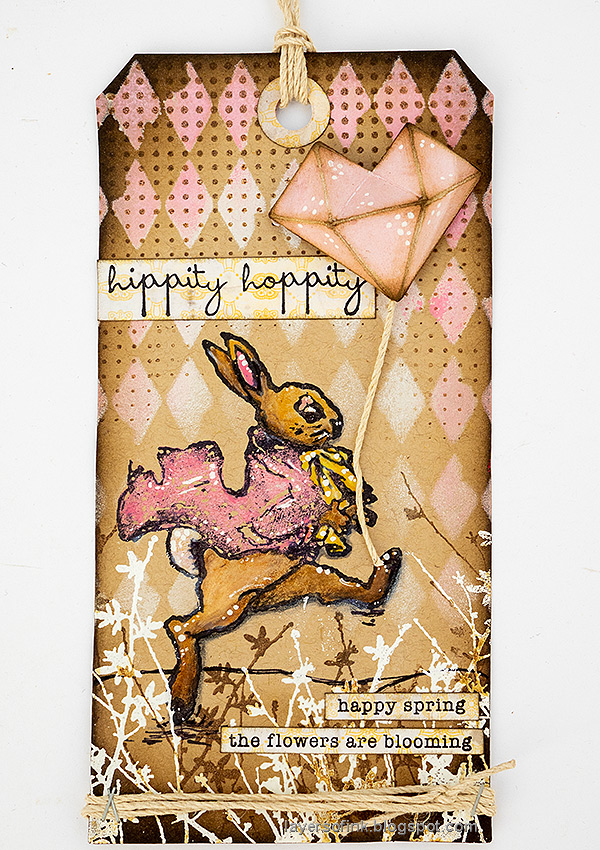
Hi stampers! Today is Leap Day, almost a bonus day and particularly useful in the shortest month of the year. I made an Easter/spring card today since you can start to feel spring in the air. I used colored pencils and Distress Paint on kraft cardstock.

Please note: this post has affiliate links, for which I receive a small percentage of sales generated by the link, at no extra cost to you.


Layers of ink - Colored Pencils on Kraft paper Easter Card Tutorial by Anna-Karin Evaldsson.

I enjoy using colored pencils on kraft cardstock, or almost any kind of tinted cardstock, since it gives a nice effect. For this card I used an older set by Tim Holtz / Stamper's Anonymous called Spring Sprung and combined it with background stamps and a stencil. At first, I planned to place flowers in the bunny's hands, but instead made a dimensional heart-shaped balloon.

Layers of ink - Colored Pencils on Kraft paper Easter Card Tutorial by Anna-Karin Evaldsson. Stamp with Distress Oxide ink.

Die cut a tag from kraft cardstock. I didn't want to jacket to be black, so instead I stamped it with Worn Lipstick Distress Oxide Ink. I used my MISTI to make sure that the tag stayed put during stamping.

Layers of ink - Colored Pencils on Kraft paper Easter Card Tutorial by Anna-Karin Evaldsson. Stamp with Archival Ink.

Leave the stamp and the tag in the same place and ink the stamp with Jet Black ink. Avoid most of the jacket, but add black ink around the edges of the jacket.

Layers of ink - Colored Pencils on Kraft paper Easter Card Tutorial by Anna-Karin Evaldsson. Color with Prismacolor pencils.

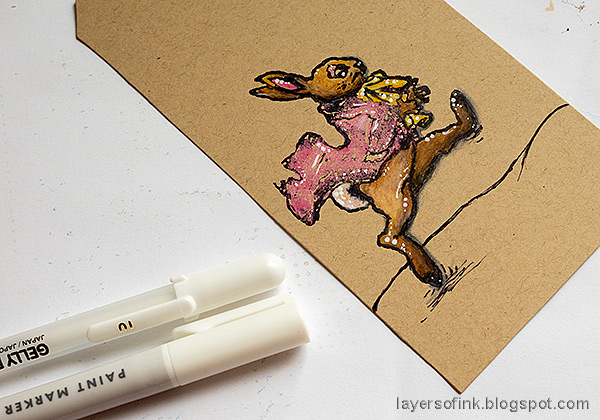
Color the image with colored pencils. I used Prismacolor pencils. 

Layers of ink - Colored Pencils on Kraft paper Easter Card Tutorial by Anna-Karin Evaldsson.

Add shading with grey shades. Draw a line to create ground for the bunny to walk on, and add some scribbles.

Layers of ink - Colored Pencils on Kraft paper Easter Card Tutorial by Anna-Karin Evaldsson. Add white highlights.

Add highlights with a white paint pen and a white gel pen.

Layers of ink - Colored Pencils on Kraft paper Easter Card Tutorial by Anna-Karin Evaldsson. Die cut Tim Holtz Faceted Heart.

Die cut the faceted heart from Tim's Vault Rosettes set, from Backdrops Vol. 5 paper. Fold along all the fold lines and glue together with Simon Says Stamp craft glue. 

Layers of ink - Colored Pencils on Kraft paper Easter Card Tutorial by Anna-Karin Evaldsson. Sponge white paint through stencil.

Stamp the image on Simon Says Stamp Masking paper and cut out. Use Tim's Harlequin stencil together with white and pink Distress Paint to create the background pattern. 

Layers of ink - Colored Pencils on Kraft paper Easter Card Tutorial by Anna-Karin Evaldsson. Stamp grass.

Leave the mask in place and white emboss foliage from Spring Sprung. 

Layers of ink - Colored Pencils on Kraft paper Easter Card Tutorial by Anna-Karin Evaldsson. Heart Balloon.

I sanded and inked the edges of the heart and glued a string to the back. It was adhered to the background with Simon Says Stamp Pawsitively Perfect Foam Tape. 

Layers of ink - Colored Pencils on Kraft paper Easter Card Tutorial by Anna-Karin Evaldsson.

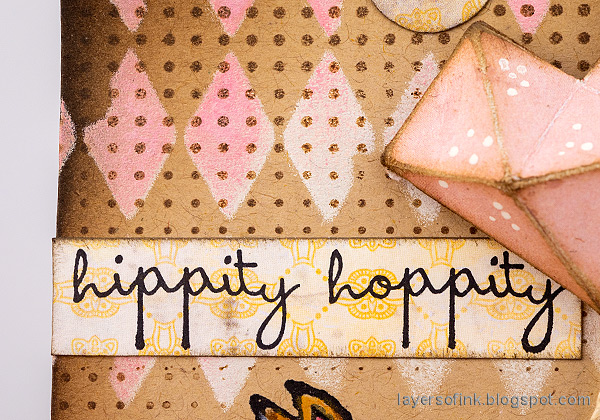
The top of the tag was stamped with Simon Says Stamp Halftone background and Potting Soil ink. Ink the edges of the tag with shades of brown Distress Ink. The sentiment stamp comes from Tim Holtz Crazy Talk.

Layers of ink - Colored Pencils on Kraft paper Easter Card Tutorial by Anna-Karin Evaldsson.

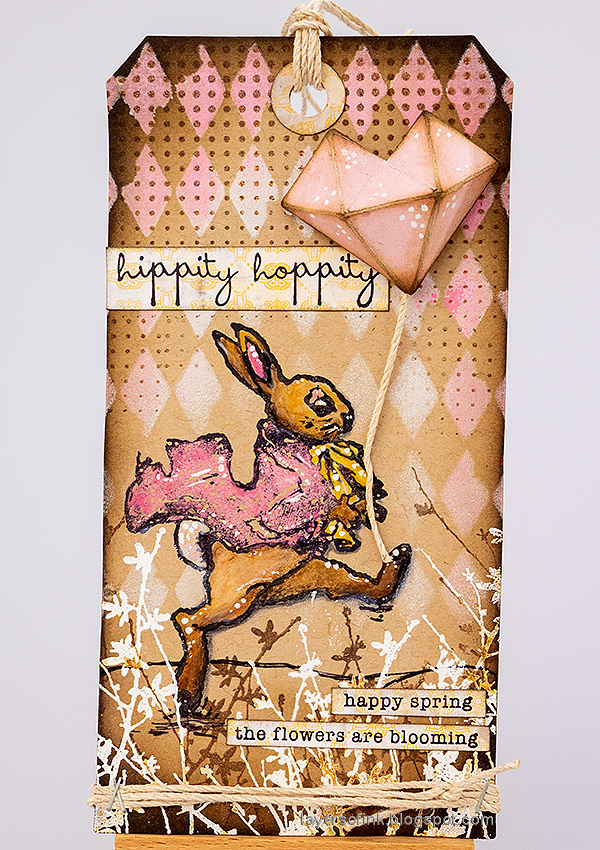
Let the bunny hold the string for the balloon. Here you can also see the effect of the white highlights better. 

Layers of ink - Colored Pencils on Kraft paper Easter Card Tutorial by Anna-Karin Evaldsson.

I restamped the foliage with Potting Soil a couple of times. The sentiments were stamped on Tim's Pocket Cards.

Layers of ink - Colored Pencils on Kraft paper Easter Card Tutorial by Anna-Karin Evaldsson.

The small faceted heart is so cute and works great as a balloon.

Layers of ink - Colored Pencils on Kraft paper Easter Card Tutorial by Anna-Karin Evaldsson.


Thank you for joining me here on this Leap Day 2024. 


See you soon again! 


Anna-Karin

Supplies:

* Please note: the links are affiliate links, for which I receive a small percentage of sales generated by the link, at no extra cost to you.


No comments:

Post a Comment

Thank you so much for leaving a comment! Happy Crafting!