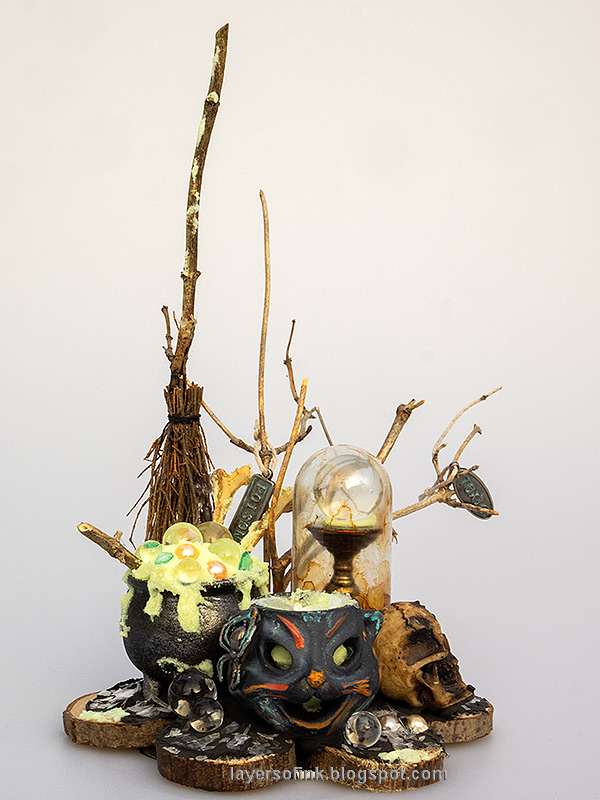
Hi friends! Every year I make new Halloween decorations and today I am sharing a little scene from a witch's backyard.
Please note: this post has affiliate links, for which I receive a small percentage of sales generated by the link, at no extra cost to you.
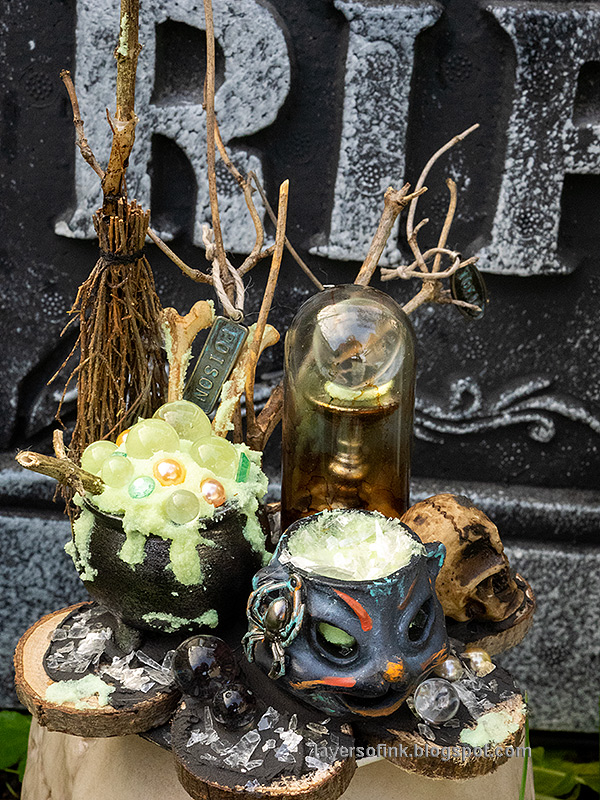
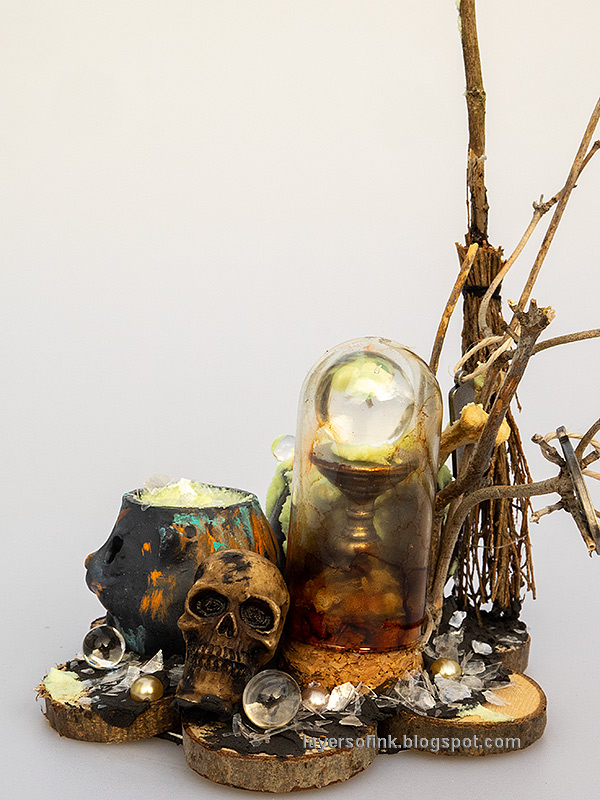
I made a little Halloween scene from a witch's yard or kitchen, using various of different items and scary bubbling brews. There is also a magic crystal ball, a skull, spooky black goo, bones and a spider. The scene glows in the dark since Ranger's Glow Grit Paste was used. The project was made with a bunch of Tim Holtz products.
I like round scenes, which look different if you turn them around and display them from different angles.
The stick from the broom had broken in transit and I replaced it with a twig from the garden.
For the base, I cut a circle from Sizzix Little Sizzles Mat board and covered it with Black Opaque Texture Paste. Wood Slices were placed into the paste. Let dry.
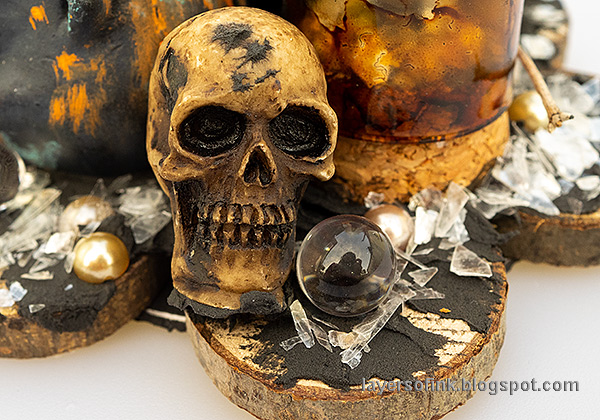
The cork base of the Display Dome was painted with Ground Espresso. I also added some paint to the skull and the bones.
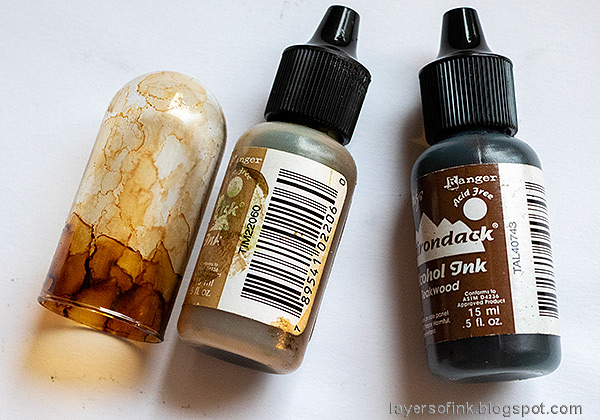
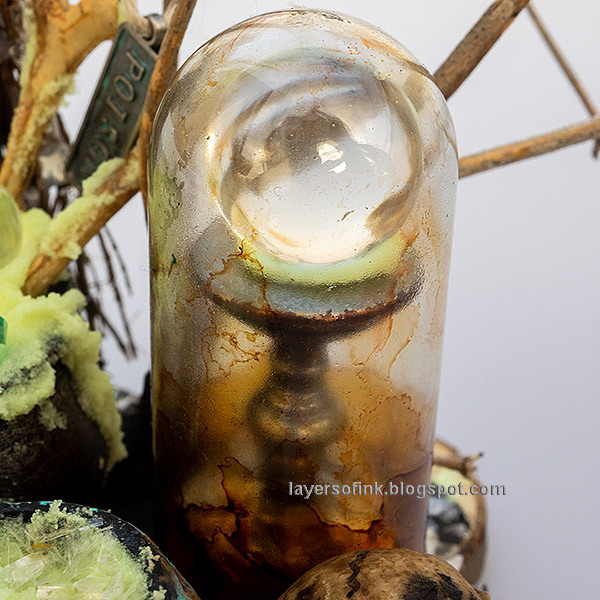
The dome was colored with alcohol ink, making it darker toward the bottom.
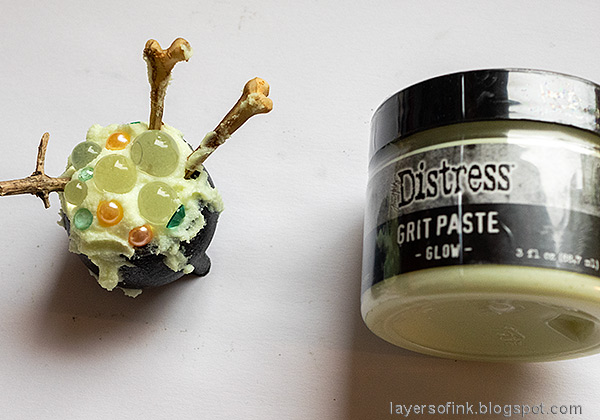
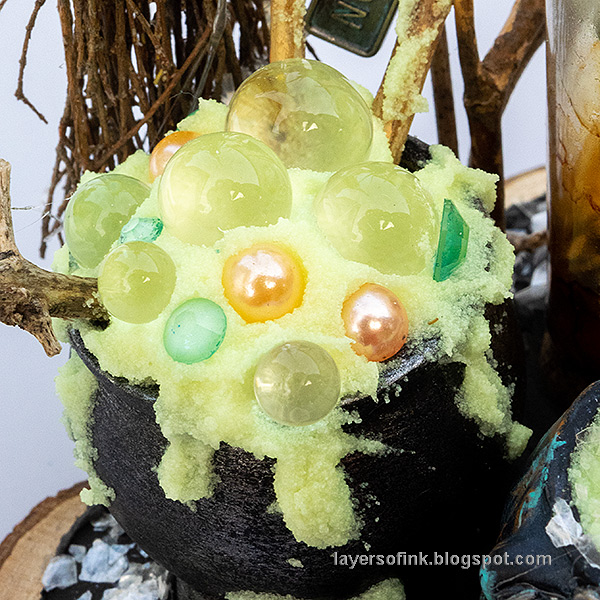
I filled the pot with Glow Grit Paste and placed Bubbles, pearls, jewels, two bones and a stick for stirring into the pot. The broom and the pot come from Tim's Graveyard set.
Place the Display Dome on top and you have a crystal ball on a small table inside the dome.
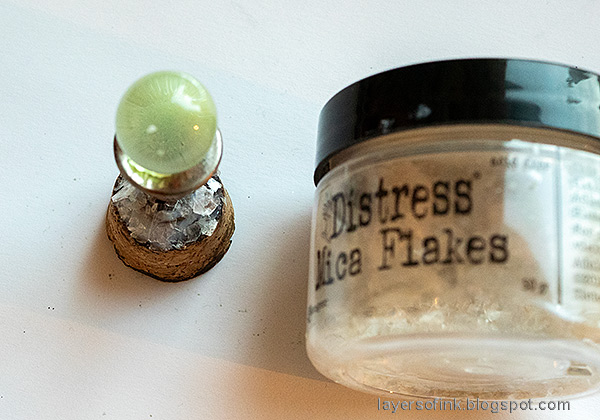
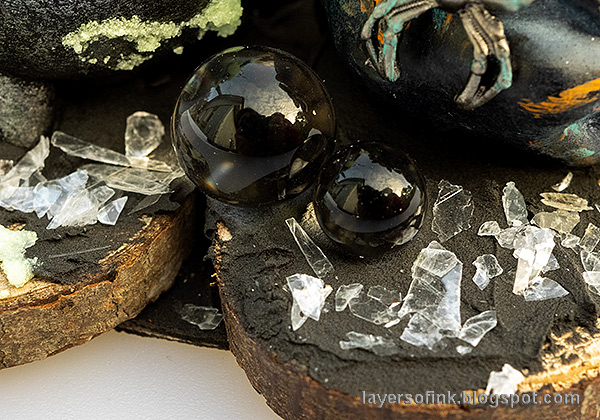
Add Black Opaque Paste to the base, but leave some of the wood showing. Place the items into the paste and it will function as an adhesive. I also sprinkled some mica flakes into the paste and added Bubbles and pearls.
The tree was made from twigs I found outdoors and pressed into one of the openings in the wood slice base. Plan the scene before placing the items down into the paste.
Let some of the Glow Paste flow and bubble outside of the pot for a fun effect. I used Tim Holtz Bubbles, Studio Katia Poseidon Crystals and Buttons Galore Peach pearls.
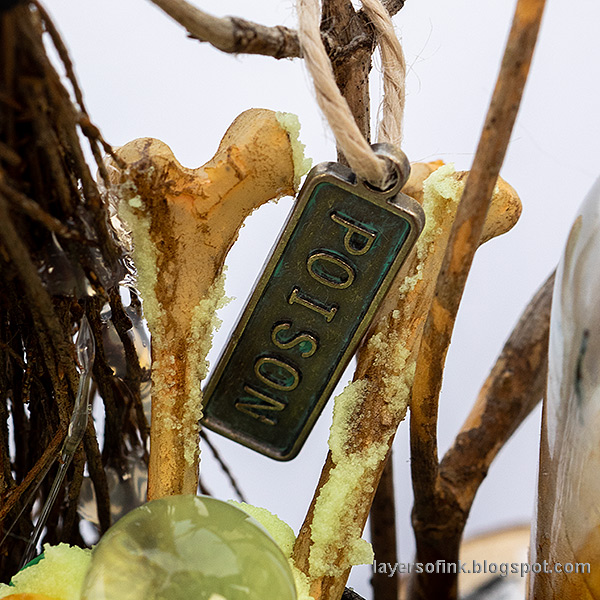
Glow Paste was added to the bones to. The metallic Word Tags hang from the branches of the tree.
These Bubbles look black, but are clear. They pick up the dark shades from the paste and the base of the pots.
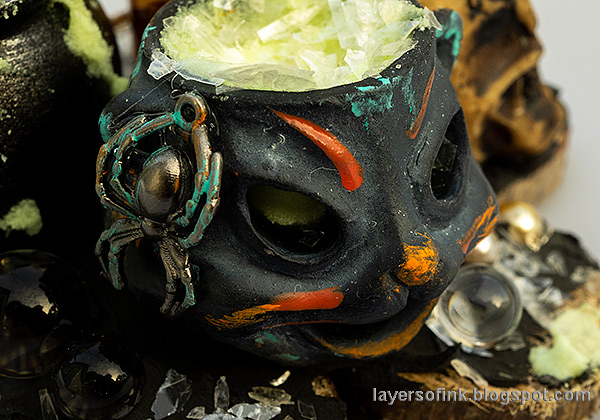
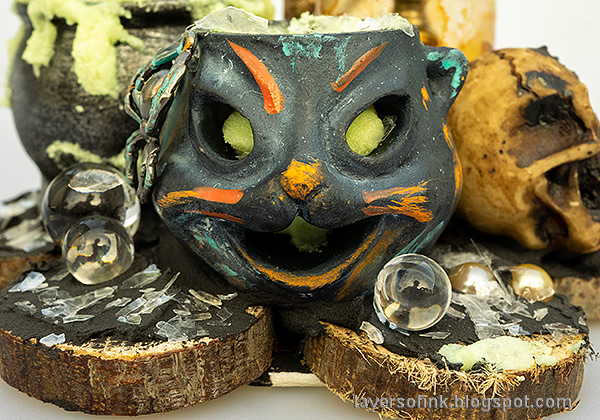
I added Glow Paste into the Jack-o-Lantern cat too and sprinkled Mica Flakes on top. A spider was glued to the cat.
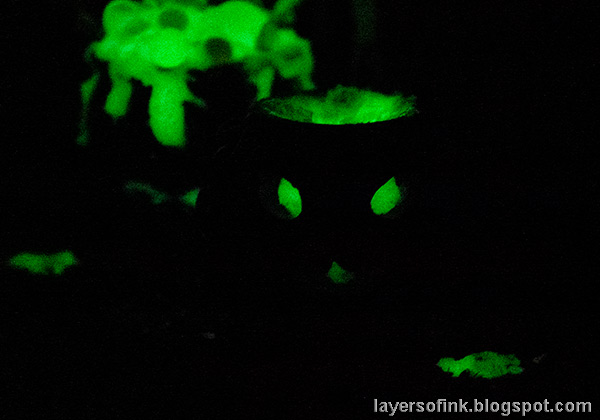
I added some Distress Paint to the cat too and the eyes and mouth glow in the dark.
I just love Mica Flakes.
You can add lots of different little items to the scene.
I rubbed a little paint into the words.
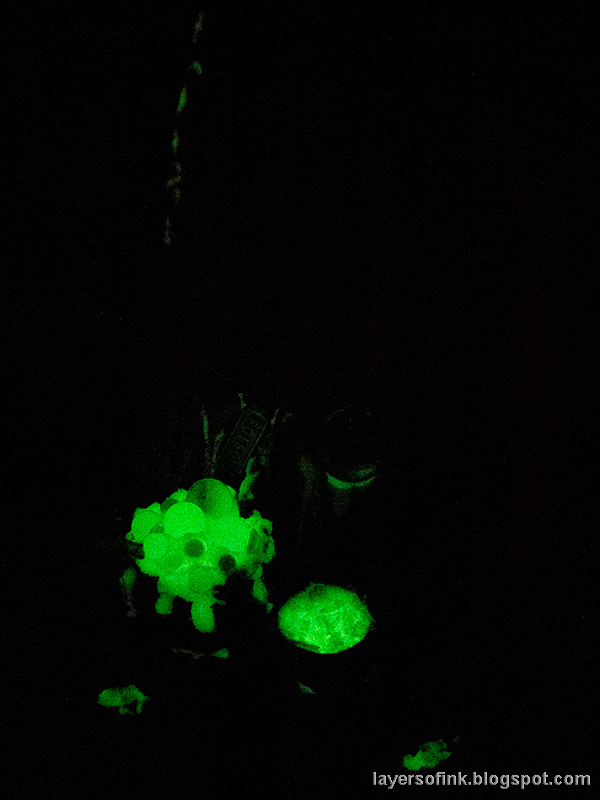
It was hard to get good photos of the glow-in-the-dark effect here. As you can see, even the broom handle glows.
The pots, brews and crystal ball are the coolest when they glow.








No comments:
Post a Comment
Thank you so much for leaving a comment! Happy Crafting!