Pages

Monday, October 24, 2022

Stenciled Magnets Tutorial

Hi friends! I hope you are well! It is Monday and we have a new Simon Says Stamp Monday Challenge for you.

Please note: this post has affiliate links, for which I receive a small percentage of sales generated by the link, at no extra cost to you.


This week our theme is Home Decor. I love to make home decor pieces of different types. Don't miss the beautiful Christmas project by our October guest designer Lori E Kennedy aka cr8tive_lori.

Layers of ink - Stenciled Magnets Tutorial by Anna-Karin Evaldsson.

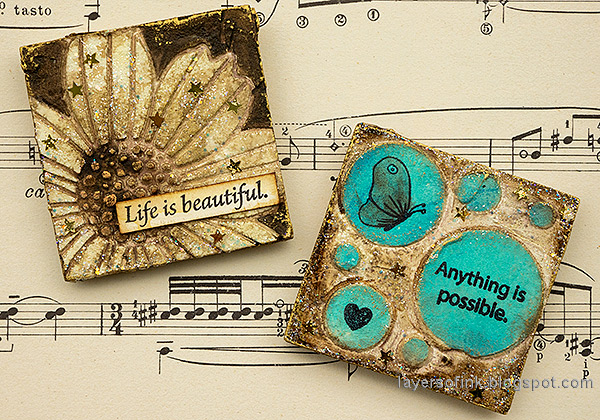
I made two fridge magnets this week, partly because I found these small wooden squares which I bought years ago in South Africa. I made some magnets of them then and thought it would be fun to add to the collection on the fridge. Stencils and texture paste were used to create the texture. The magnets are 2x2 in.

Layers of ink - Stenciled Magnets Tutorial by Anna-Karin Evaldsson.

Start by coating the wooden squares with gesso. You can also use chipboard or mat board as a base, or a small canvas.

Layers of ink - Stenciled Magnets Tutorial by Anna-Karin Evaldsson. Apply texture paste through stencils.


Layers of ink - Stenciled Magnets Tutorial by Anna-Karin Evaldsson.

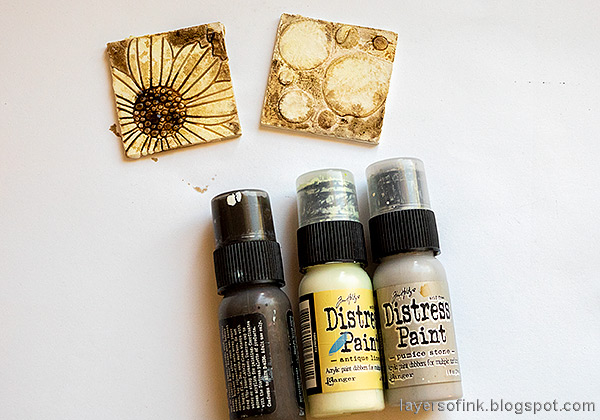
Paint with watered down Distress Paint. Mist with more water if needed.

Layers of ink - Stenciled Magnets Tutorial by Anna-Karin Evaldsson. Paint with Distress Paint.

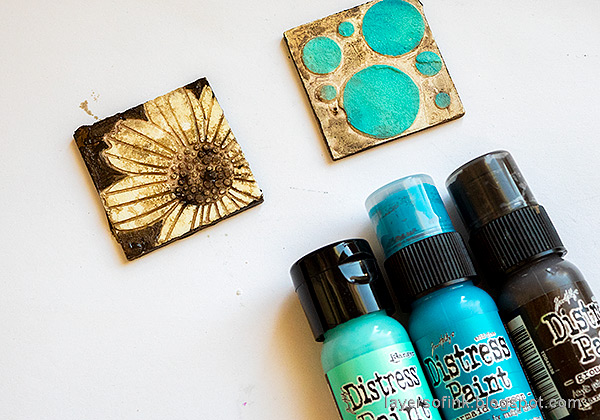
Paint around the flower with Ground Espresso to make it stand out better from the background. Place the Mix and Match Circles Stencil back on the design and paint the circles turquoise.

Layers of ink - Stenciled Magnets Tutorial by Anna-Karin Evaldsson.

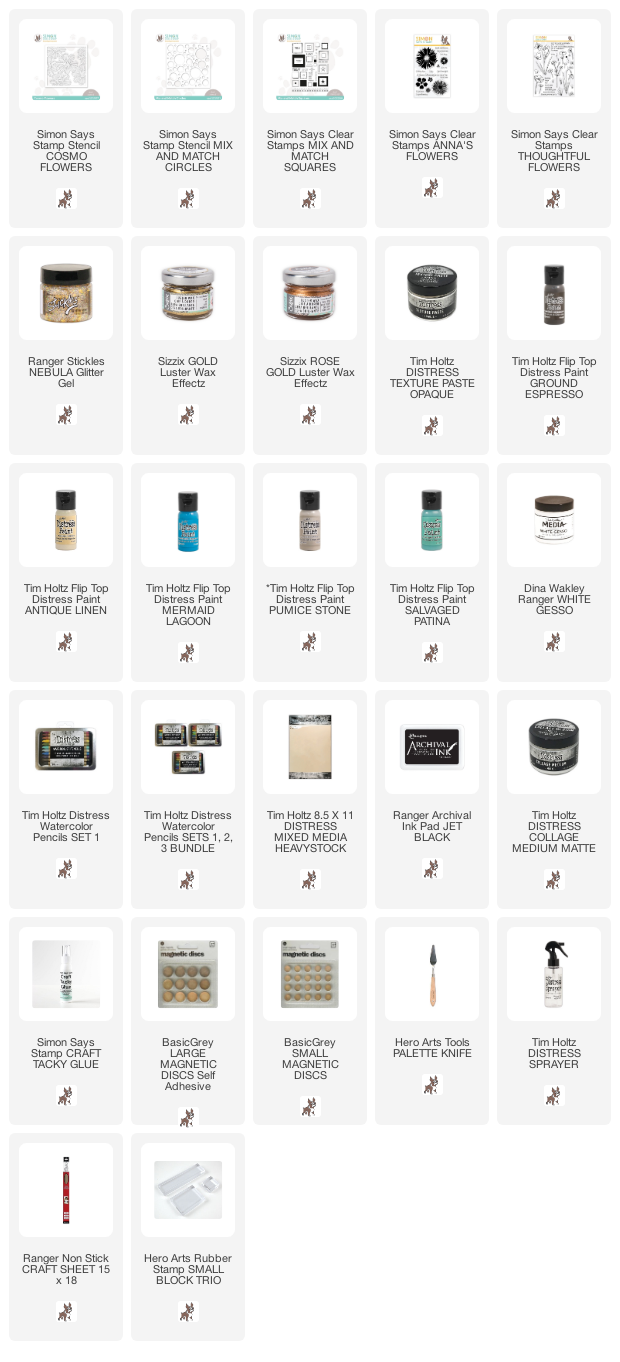
Stamp on the circles with small stamps. Mine come from Simon Says Stamp Thoughtful Flowers, Mix and Match Squares and Anna's Flowers. Apply Sizzix Gold and Rose Gold Luster Wax to the edges, the flower center and here and there. Apply Ranger's Nebula Stickles Glitter Gel to the flower and around the circles.

Layers of ink - Stenciled Cosmo Flower Magnet Tutorial by Anna-Karin Evaldsson.

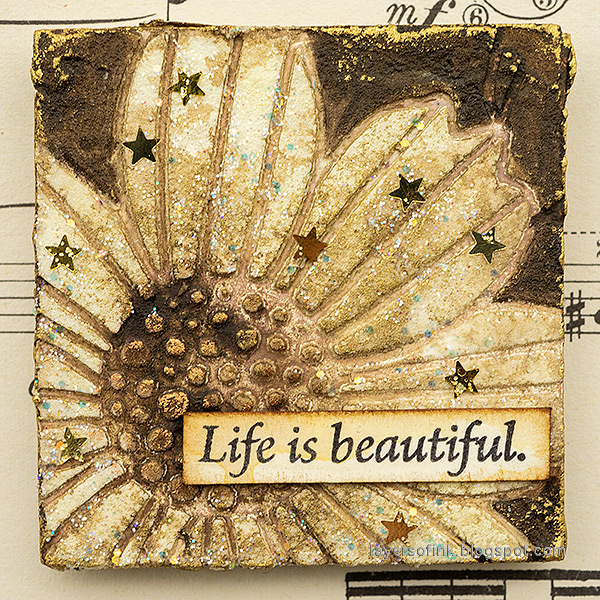
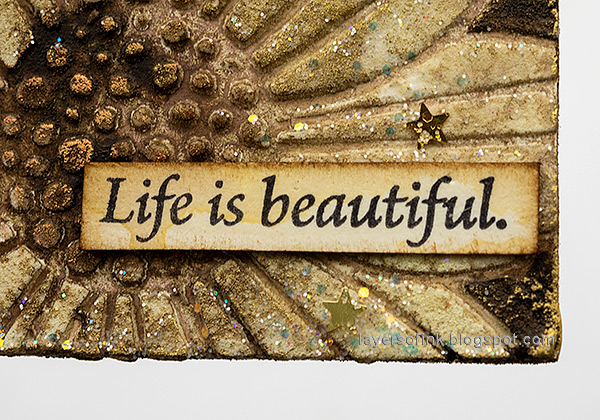
I used only neutral shades for the cosmo flower magnet. I used Rose Gold Luster Wax at the flower center. It is difficult to capture all the sparkle in a photo.

Layers of ink - Stenciled Cosmo Flower Magnet Tutorial by Anna-Karin Evaldsson.

The Nebula Stickles have different sizes of glitter and also some star sequins.

Layers of ink - Stenciled Cosmo Flower Magnet Tutorial by Anna-Karin Evaldsson.

The sentiment comes from Simon Says Stamp Anna's Flowers.

Layers of ink - Stenciled Circles Magnet Tutorial by Anna-Karin Evaldsson.

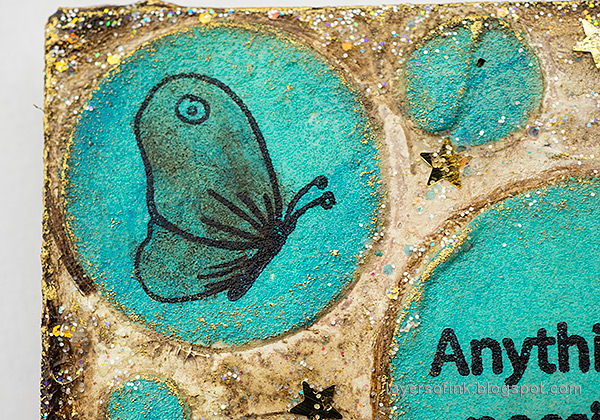
The circle magnet has more colors and more stamping. 
Layers of ink - Stenciled Cosmo Flower Magnet Tutorial by Anna-Karin Evaldsson. Stamp with Simon Says Stamp Thoughtful Flowers.

The Thoughtful Flowers butterfly was colored with a brown Distress Watercolor Pencil.

Layers of ink - Stenciled Cosmo Flower Magnet Tutorial by Anna-Karin Evaldsson.

Here you can see the combination of the Luster Wax and the Nebula Stickles

For another home decor piece check out my Bat Magnet and Moon Box from yesterday. I hope you will join us this week in our Home Decor challenge. You have a chance to win a $25 gift voucher to do some fun shopping at Simon Says Stamp. You have until Monday 8am Ohio time. 1pm UK time, 2 pm CET to join in.


Do you use Instagram? If so please add #sssmchallenge so we can see your entries there too.


Thank you so much for stopping by here today! 

Happy crafting!

Anna-Karin

Supplies:

* Please note: the links are affiliate links, for which I receive a small percentage of sales generated by the link, at no extra cost to you.


No comments:

Post a Comment

Thank you so much for leaving a comment! Happy Crafting!