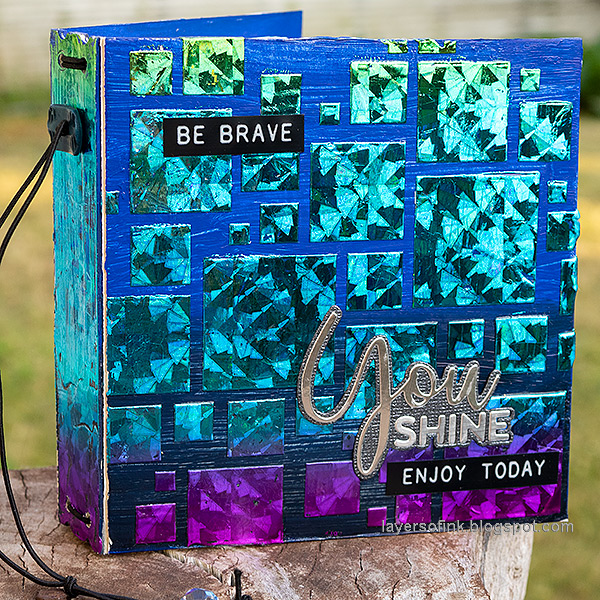
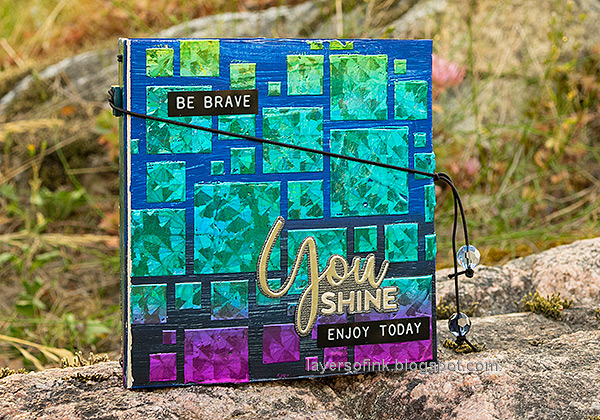
Hi crafters! Today I have a mini book / notebook tutorial to share, with lots of shine created with a stencil and a foil sheet. You can also use the technique for other projects.
Please note: this post has affiliate links, for which I receive a small percentage of sales generated by the link, at no extra cost to you.
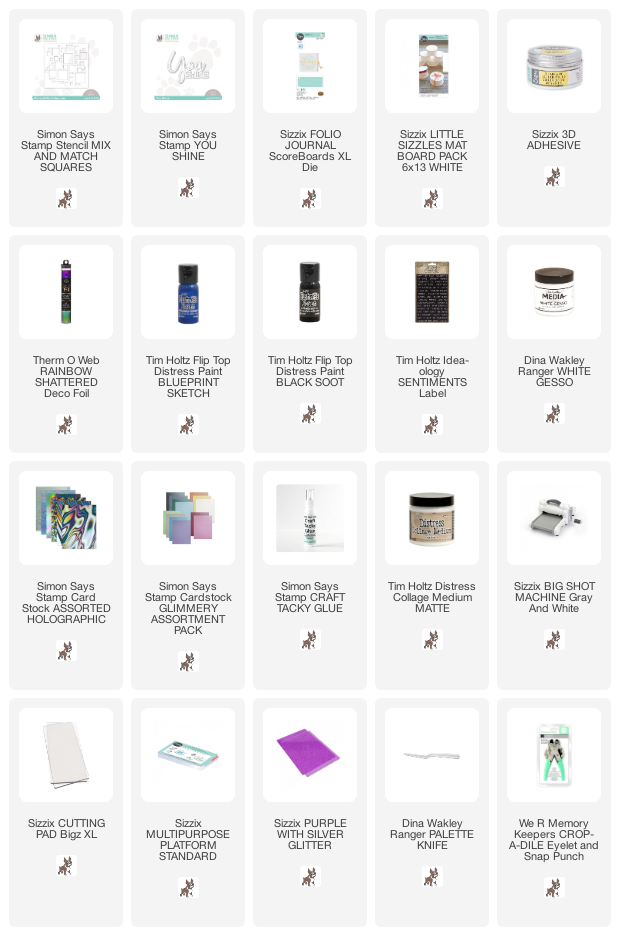
I made this for my eldest to use for his drawings and I knew that he likes holographic foil effects, since he often wants to use my Simon Says Stamp holographic papers. Here I used a foil sheet instead of paper, combined with the Simon Says Stamp Mix and Match Squares stencil and Sizzix 3-D adhesive.
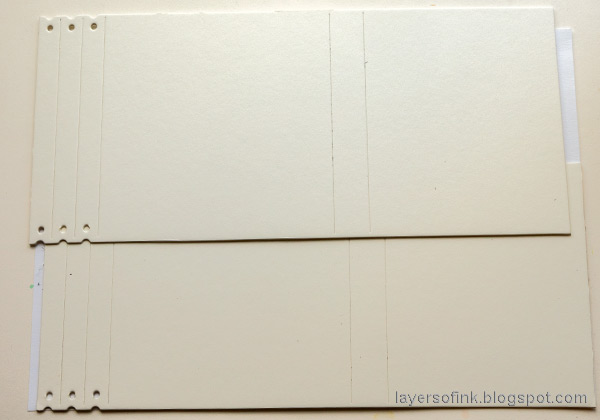
Start by die cutting Eileen Hull's Folio Journal from Sizzix Little Sizzles mat board. This is an XL die, so you need the XL cutting pads, but it fits perfectly through an ordinary Big Shot.
I cut off the 'box' pieces from the covers. For an example of what the book looks with those pieces still on, check out my Floral Folio.
Apply gesso to the background.
When dry, paint with Distress Paint. I made a graduated background with Blueprint Sketch and Black Soot.
Apply Sizzix 3-D Adhesive through the Mix and Match Squares Stencil. Clean the stencil immediately. Let dry until the adhesive is tacky to the touch.
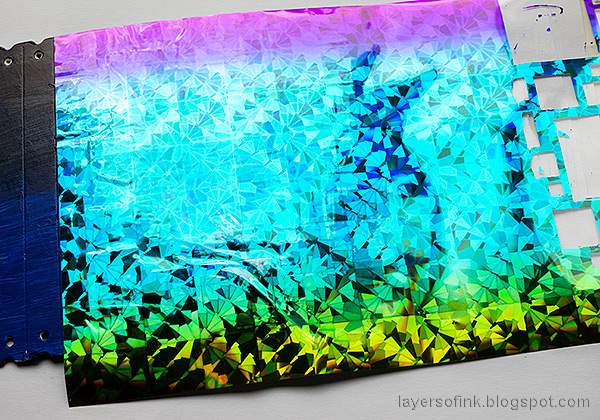
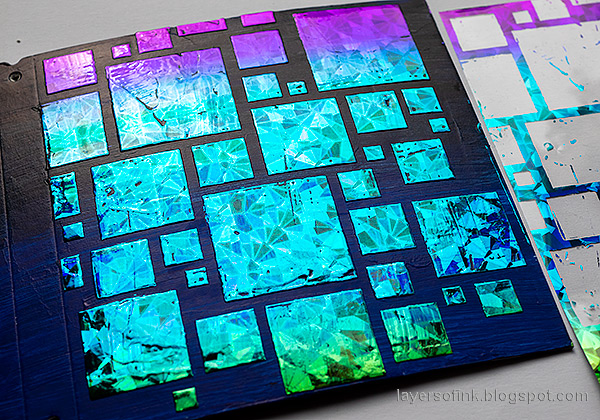
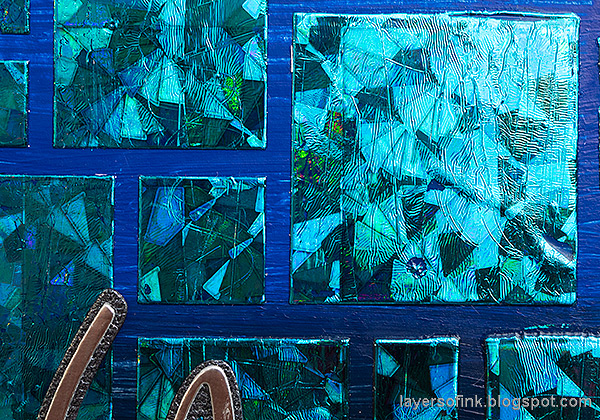
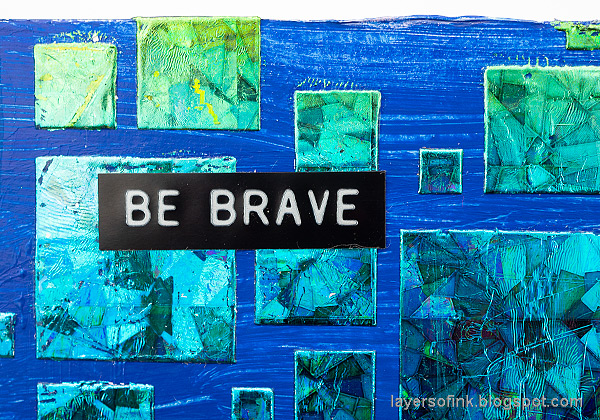
Place down Therm-o-web Rainbow Shattered Glass foil sheet with the shiny side up and rub.
Remove the foil sheet and the foil will have transferred to the adhesive.
The transfer might not be perfect since the paste won't be completely even, but as you know, I like those little imperfections in a project. Repeat on the back cover.
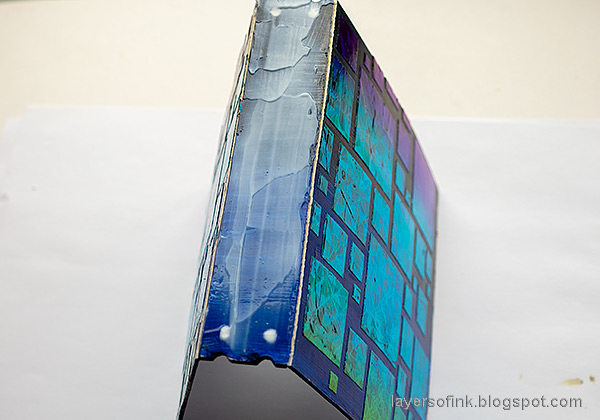
For the spine, I applied adhesive down the whole spine. Again, let dry until it is transparent and tacky.
Apply foil to the spine and glue the album together.
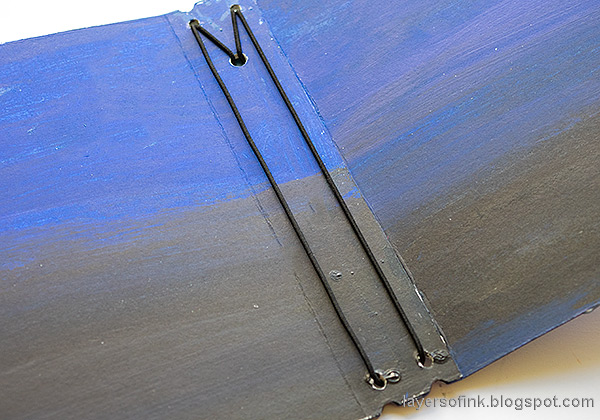
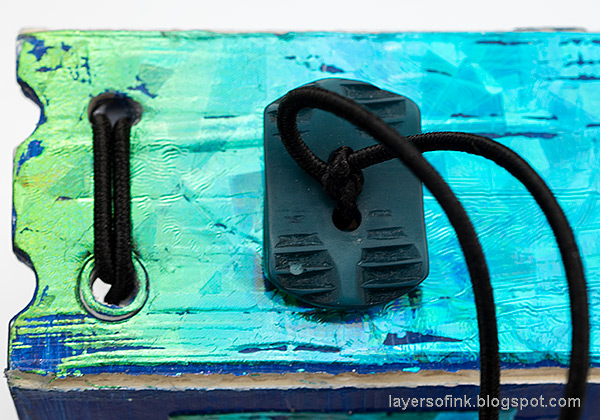
The binding was done with an elastic string.
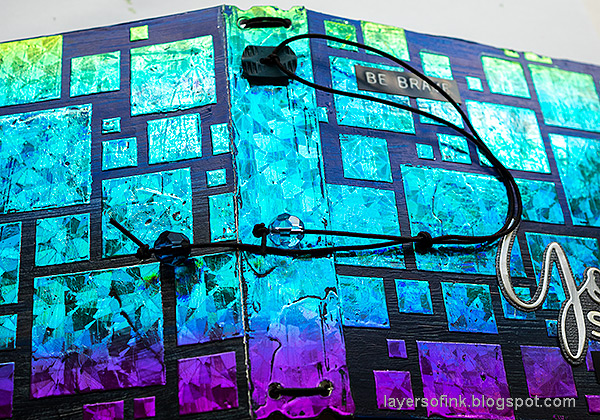
I added a hole with my Crop-a-dile and tied the string through a button to secure it. Tie it again at the end to create a closure mechanism.
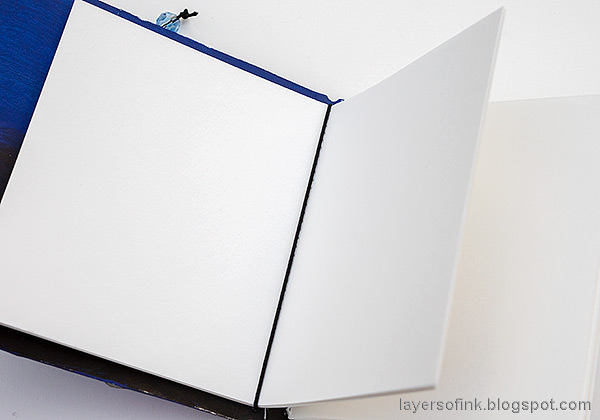
Cut pages for the signatures using your favorite paper. I used sketching paper for this album. Sometimes, I use a mix of sketch and watercolor paper. Stitch down the center or staple.
Slip the signatures under the elastic string. You can also easily exchange them if you want fresh papers.
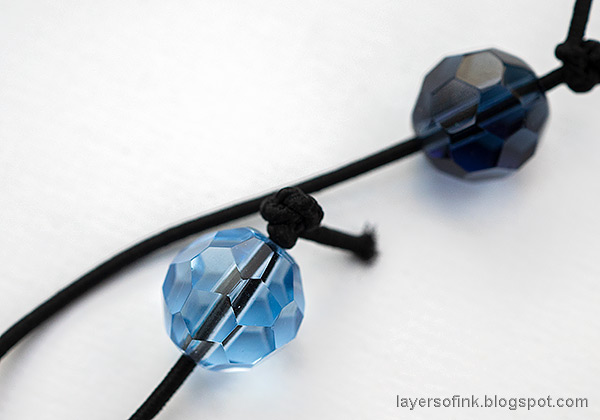
I tied the ends through two beads.
The string keeps the book closed.
For even more shine, I die cut the Simon Says Stamp You Shine die from holographic cardstock and glimmery cardstock.
I am always happy to dig through my stash of buttons, which I used to use a lot on projects in the early days of my crafting.
The sentiments comes from Tim Holtz Label Stickers.
Thank you so much for taking the time to stop by here today!
Happy crafting!
Anna-Karin
Supplies:
* Please note: the links are affiliate links, for which I receive a small percentage of sales generated by the link, at no extra cost to you.
* Please note: the links are affiliate links, for which I receive a small percentage of sales generated by the link, at no extra cost to you.









No comments:
Post a Comment
Thank you so much for leaving a comment! Happy Crafting!