Pages

Monday, November 30, 2020

Cardinal Tag Tutorial

Hi friends! The cold weather seems to be here finally and we had a nice Advent Sunday yesterday. I should have worked at a big traditional Christmas market, but it of course had to be cancelled. Today I have a fun tutorial using alcohol ink and also Scribble Sticks for watercoloring a cardinal bird.


This week we have a Alcohol Ink theme on the Simon Says Stamp Monday challenge blog. We are looking forward to seeing all the alcohol ink submissions. Don't miss the last project by our November guest designer Laura Cassina aka elaborando on instagram


Layers of ink - Cardinal Tag Tutorial by Anna-Karin Evaldsson.

I love creating projects from an acetate or Clearly For Art Modeling Film base and combined with dry embossing and alcohol ink, you will get a quick and stunning background. You don't need to make a tag since the technique works great for cardmaking too. Just fold a piece of acetate and dry emboss it on one side only (or both1). I also used a beautiful cardinal bird stamp by Memory Box. 


Layers of ink - Cardinal Tag Tutorial by Anna-Karin Evaldsson. Emboss the tag with SSS Floral Field.

Start by die cutting a tag from fairly thick acetate or Clearly for Art Modeling Film. Emboss it in the SSS 3-D Floral Field Embossing Folder.

Layers of ink - Cardinal Tag Tutorial by Anna-Karin Evaldsson. Color with alcohol inks.

Turn the tag around and add drops of alcohol ink to it. I used Patina, Turquoise, Denim and Espresso. The add a few drops of Alcohol Blending Solution

Layers of ink - Cardinal Tag Tutorial by Anna-Karin Evaldsson. Splatter with white acrylic mist.

The front of the tag was splattered with white Gloss Spray, for a wintery look.

Layers of ink - Cardinal Tag Tutorial by Anna-Karin Evaldsson. Stamp the Memory Box Spirit of Christmas.

Stamp the cardinal from the Memory Box Spirit of Christmas Set on watercolor paper.


Layers of ink - Cardinal Tag Tutorial by Anna-Karin Evaldsson. Color with Scribble Sticks.

Pick up colors directly from the tip of Scribble Sticks with a paint brush and paint the bird. I used mainly the Sedona shade, which was the right red-orange shade I was looking for. Add some shading and texture with the black stick.

Layers of ink - Cardinal Tag Tutorial by Anna-Karin Evaldsson.

Die cut with the coordinating die set, or cut with scissors.


Layers of ink - Cardinal Tag Tutorial by Anna-Karin Evaldsson.


Layers of ink - Cardinal Tag Tutorial by Anna-Karin Evaldsson. Watercolor cardinal.

Stamp the sentiment with SSS Island Blue ink and die cut with the coordinating die - which also happens to be a really nice oval die on its own too. Layers a piece of lace, the two leafy branches and a piece of tinsel. 


Layers of ink - Cardinal Tag Tutorial by Anna-Karin Evaldsson.

Leave some of the white paper showing through when coloring, to create highlights.

Layers of ink - Cardinal Tag Tutorial by Anna-Karin Evaldsson.

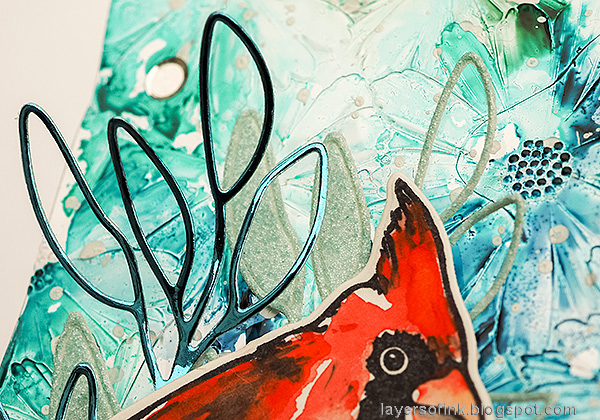
The background has a interesting look with the embossing, alcohol ink, splatters and lastly also a few silver sequins.


Layers of ink - Cardinal Tag Tutorial by Anna-Karin Evaldsson.

The alcohol ink will collect in unpredictable ways in the grooves of the embossing.

Layers of ink - Cardinal Tag Tutorial by Anna-Karin Evaldsson.

The Frosted Glitter and Polished Foil papers look so nice together and add both shine and bling. I left some of the leaves inside the outline on the glitter die cut.

Layers of ink - Cardinal Tag Tutorial by Anna-Karin Evaldsson.

Here you can see the tag on a white background. I am planning to hang my tag in our Christmas tree, since I think it will look nice there, with the see-through background, glitter and shine. 

I hope you will join us this week in our Alcohol Ink challenge. You have a chance to win a $25 gift voucher to do some fun shopping at Simon Says Stamp. You have until next Monday 8am Ohio time. 1pm UK time, 2 pm CET to join in.

Don't forget to follow Simon Says Stamp on Instagram, they post great stuff daily. 


Do you use Instagram? If so please add #sssmchallenge so we can see your entries there too.


Thank you so much for stopping by here today! 

Happy crafting!

Anna-Karin

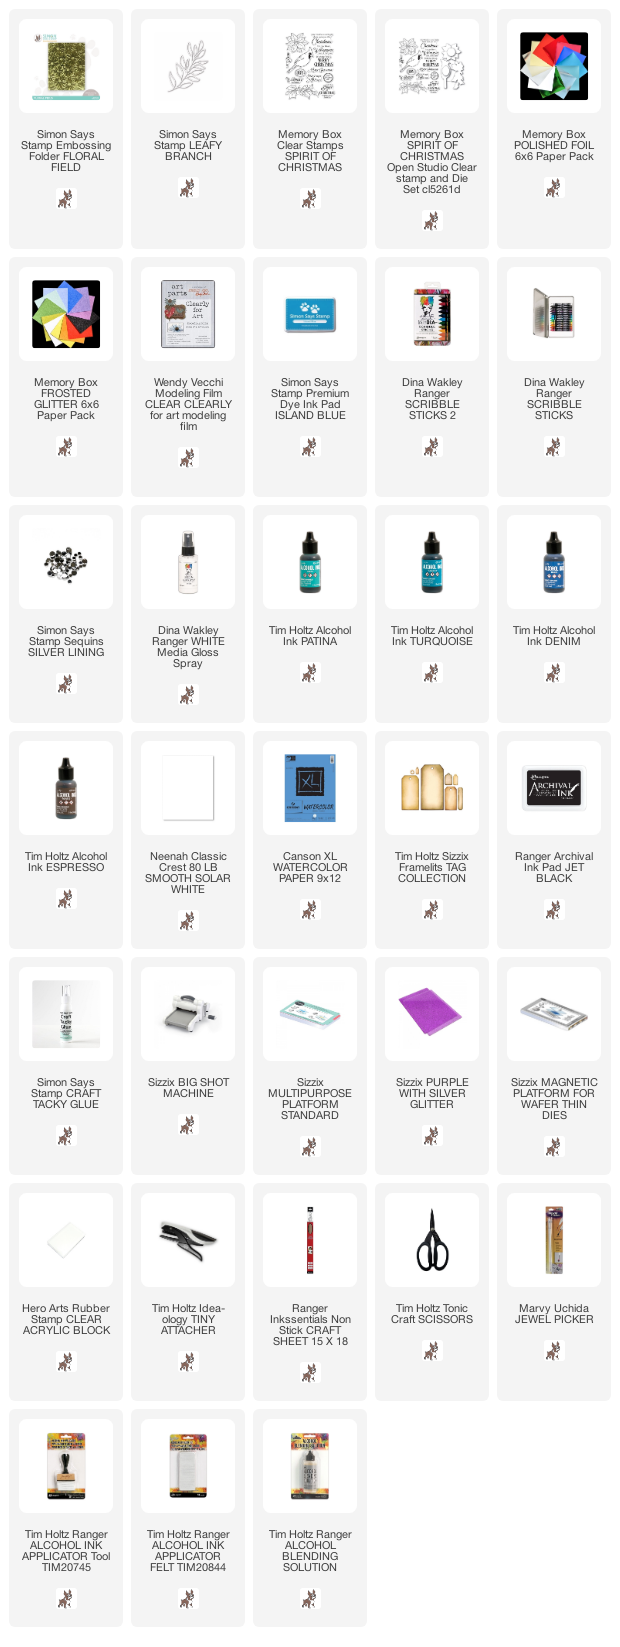
Supplies:

* Please note: the links are affiliate links, for which I receive a small percentage of sales generated by the link, at no extra cost to you.
Sunday, November 29, 2020

December Countdown Calendar

Hello friends! Today is the first of Advent and my Christmas lights are up in the windows. It's a combination of chandeliers and stars. I also put up a bunch of other lights. It is nice when it is dark so early. It was also time to finish my tags for this year's December Countdown Calendar. If you don't want to do a countdown calendar, the tutorial will be perfect for quick and simple Christmas cards. You can make a whole bunch of cards in one go.

Layers of ink - December Countdown Calendar Tutorial by Anna-Karin Evaldsson.

The tags do double-duty as a countdown calendar, hanging on the wall in the living room, and as journaling cards for my December Daily journal. I simply take down a tag in the evening and write my journaling on it. Sometimes I add photos or ephemera too, but the words are the focus of my December journal. I document the photos in different ways. 

Layers of ink - December Countdown Calendar Tutorial by Anna-Karin Evaldsson.

The tags are a little different this year. Usually I use #8 sized tags and keep them in Tim Holtz's tag page pockets, but I didn't have enough page pockets at home and therefore I decided to cut my own tags in a larger, chunkier format. On these tags there is also more space for journaling. I made sure they would fit on my Countdown Calendar and in the journal before deciding on the size.

Layers of ink - December Countdown Calendar Tutorial by Anna-Karin Evaldsson. Ink with Distress Ink.

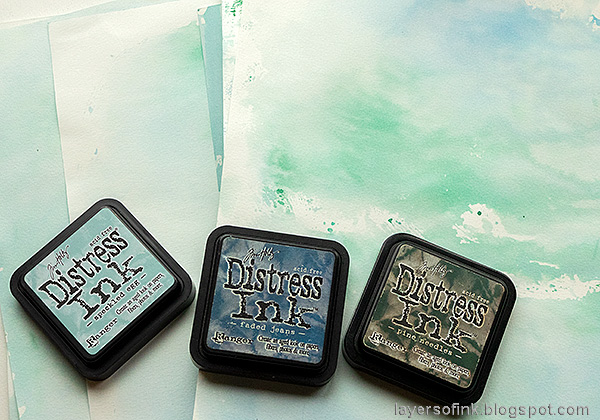
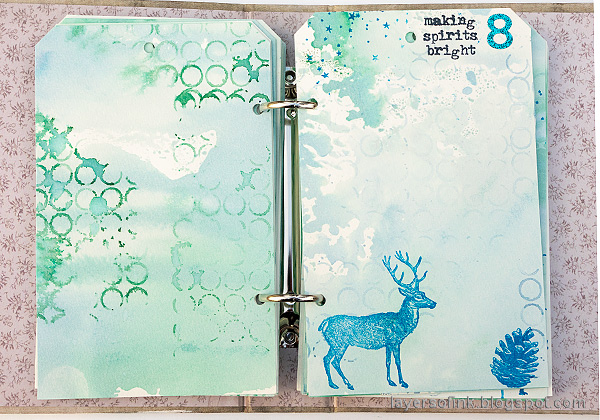
Start by smearing three colors Distress Ink on a non-stick craft sheet. I used most of the Speckled Egg ink, less of Faded Jeans, and the least of Pine Needles. These were also the colors I used on my December Journal cover. Mist with water and press watercolor sheets into the ink. Color both sides of the paper.

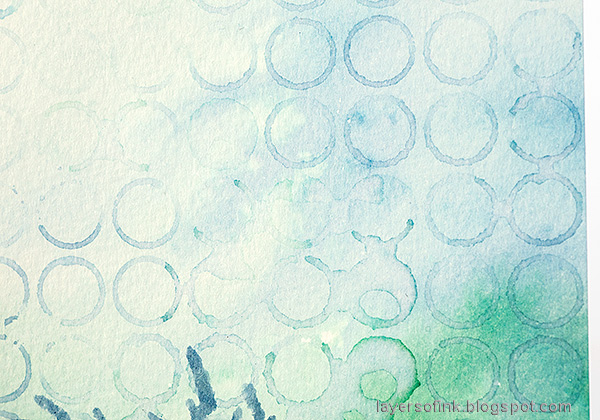
Layers of ink - December Countdown Calendar Tutorial by Anna-Karin Evaldsson. Stamp with Simon Says Stamp Circle Pattern Background.

For a quick background texture, which won't overwhelm the writing, ink the SSS Circle Background stamp with Distress Ink, mist pretty heavily with water and stamp repeatedly. I used mainly the Faded Jeans here, since Speckled Egg was a little too light and Pine Needles was a little too dark.

Layers of ink - December Countdown Calendar Tutorial by Anna-Karin Evaldsson.

When dry, cut the tags into the size that you want. Mine are 4x6.2 in. Turn them into tags with the We R Memory Keepers Angle Corner Chomper tool. This tool makes it so easy to make your own tags. It is quite a hassle trying to cut those even angles by hand. Measure the ring binder in your journal to make sure you get the holes in the right place. Punch holes with a Crop-a-Dile.

Layers of ink - December Countdown Calendar Tutorial by Anna-Karin Evaldsson.

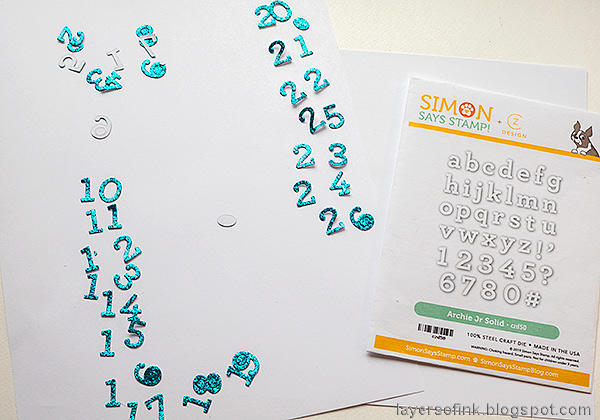
I do the dates in a different way each year and this year I die cut them from SSS Teal Glitter paper with the Archie Jr Solid die

Layers of ink - December Countdown Calendar Tutorial by Anna-Karin Evaldsson.

Glue the dates in the top right corner of the tag.

Layers of ink - December Countdown Calendar Tutorial by Anna-Karin Evaldsson.

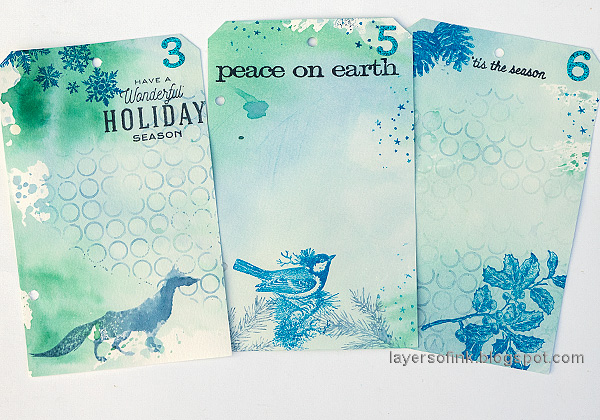
Next comes the fun part. Stamp the tags with a variety of Christmas stamps. I don't plan this much, but simply grab some stamps and stamp them. I used the SSS Soft Navy ink, Faded Jeans Distress Ink and Manganese Blue Archival ink for the stamping. Use stamps that you have at home. 

Layers of ink - December Countdown Calendar Tutorial by Anna-Karin Evaldsson.

The tags then fit on the Countdown Calendar that I made five years ago. You can find that post here. You could make any kind of background for the tags, or just hang them from a hook.

Layers of ink - December Countdown Calendar Tutorial by Anna-Karin Evaldsson.

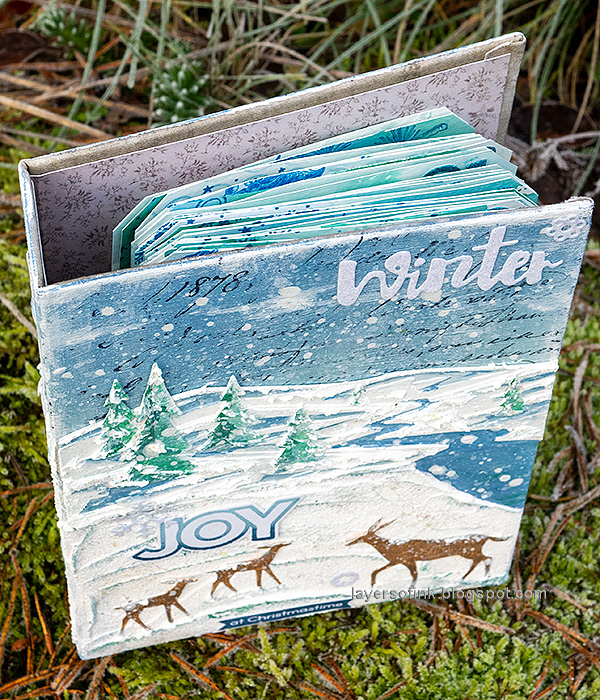
And then one by one the journaling tags will make their way into the December Daily journal. Find the tutorial for my 2020 December Daily cover here.

Layers of ink - December Countdown Calendar Tutorial by Anna-Karin Evaldsson.

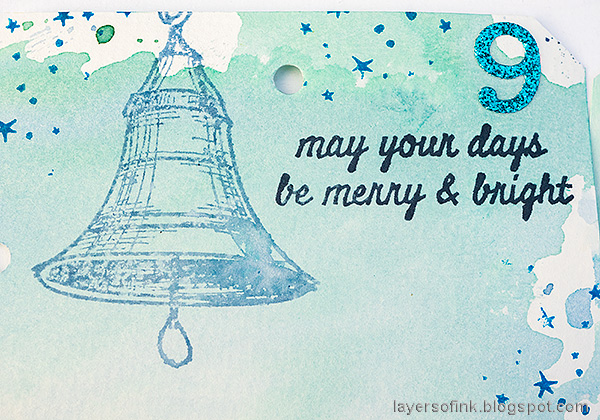
The first tag has a hello December sentiment.

Layers of ink - December Countdown Calendar Tutorial by Anna-Karin Evaldsson.

I usually stamp the ledger stamp from Tim's School Desk set on my tags, but this year I used the Circle Pattern Background instead and I don't have lines to write on. The reason for that is that the tags are wider, so the ledger stamp was a little too narrow.

Layers of ink - December Countdown Calendar Tutorial by Anna-Karin Evaldsson.

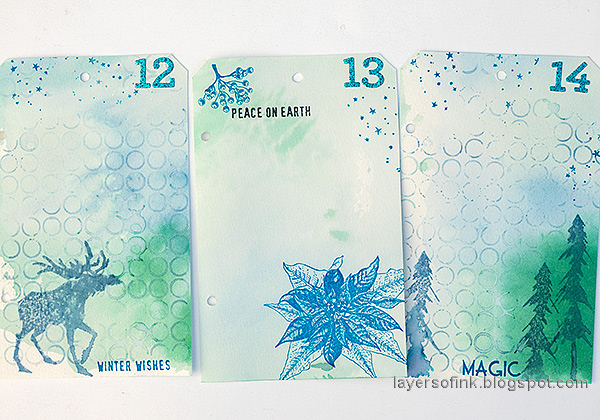
Each tag is different, but with the same colors.

Layers of ink - December Countdown Calendar Tutorial by Anna-Karin Evaldsson.

I just love the details of these pine cones from Tim's Yuletide Gathering.

Layers of ink - December Countdown Calendar Tutorial by Anna-Karin Evaldsson.

There is a mix of normal and watercolor stamping, with Faded Jeans being used for the watercolor part.

Layers of ink - December Countdown Calendar Tutorial by Anna-Karin Evaldsson.

The moose comes from Tim's Into the Woods set.

Layers of ink - December Countdown Calendar Tutorial by Anna-Karin Evaldsson.

Every tag has a stamped sentiment.

Layers of ink - December Countdown Calendar Tutorial by Anna-Karin Evaldsson.

As we get closer to Christmas Eve, Santa makes his first appearance. 

Layers of ink - December Countdown Calendar Tutorial by Anna-Karin Evaldsson.

Santa delivers gifts personally on Christmas Eve in Sweden, which is why there is always a Santa stamp on the 24th. Christmas Day is usually a calm day.

Layers of ink - December Countdown Calendar Tutorial by Anna-Karin Evaldsson.

Christmas celebrations continue until the 26th, so that is always the end of my December Daily. I made a couple of extra tags if there were days that needed more journaling. 

Layers of ink - December Countdown Calendar Tutorial by Anna-Karin Evaldsson.

There is only stamping on the front of the tags this year. But you can of course stamp images and words on both sides.

Layers of ink - December Countdown Calendar Tutorial by Anna-Karin Evaldsson.

And more tags ready to be filled with memories, from this unusual Christmas.

Layers of ink - December Countdown Calendar Tutorial by Anna-Karin Evaldsson.

Now we just need some snow.

Layers of ink - December Countdown Calendar Tutorial by Anna-Karin Evaldsson.

I always liked the textures and colors of these Letterpress letters

Layers of ink - December Countdown Calendar Tutorial by Anna-Karin Evaldsson.

I hope you enjoyed this post and that it inspired you to document your month of December in some way. It doesn't have to be a complicated projects that takes a lot of time. A few sentences each day can be enough and when you have time to write more, do that. 

Here are the previous countdown calendars:

2015 Christmas Countdown Calendar (the first calendar with a tutorial for the burlap base)
2016 Christmas Countdown Calendar (with a video for how I made the tags)
2018 Christmas Countdown Calendar
2019 Christmas Countdown Calendar


Thank you so much for stopping by here today! 

Happy Christmas crafting!

Anna-Karin

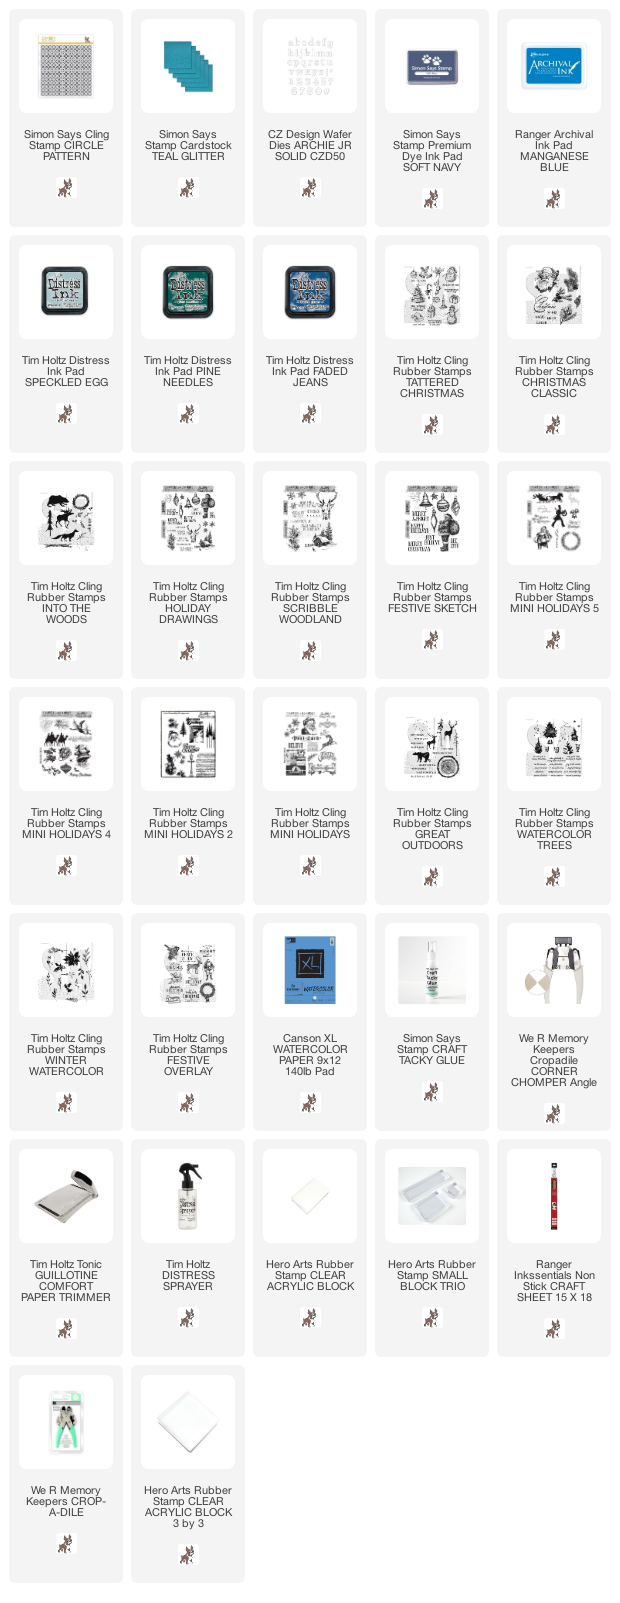
Supplies:

* Please note: the links are affiliate links, for which I receive a small percentage of sales generated by the link, at no extra cost to you.


Monday, November 23, 2020

Watercolor Apples Tutorial

Hello friends! I hope you are well and healthy. We had one day of rainy weather this weekend and one day of sunshine. I walk in any weather (except if it is really icy), but Saturday's walk was a wet one, even so I never regret going for a walk. 

Today, I have an art journal page to share with Distress Ink watercoloring. You can use the techniques for other themes and projects too.


At the Simon Says Stamp Monday Challenge Blog we have a Food and Drink theme this week. Don't miss our November guest designer's beautiful project, at Laura Cassina aka elaborando on instagram. And don't miss the very creative approaches to this theme by the design team.


Layers of ink - Watercolor Apples Art Journal Tutorial by Anna-Karin Evaldsson.

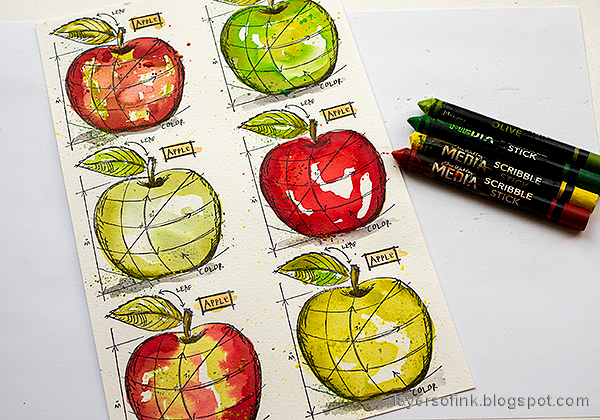
I love apples and grew up with apple trees in the garden. There are almost always apples in the house and my youngest loves them too. He prefers red apples, while I like almost any apple. I did an art journal page featuring some of my favorite apples and watercolored them. The names were printed and cut into strips. The page was stapled to a burlap page in my Dina Wakley Media Journal.

Layers of ink - Watercolor Apples Art Journal Tutorial by Anna-Karin Evaldsson. Stamp the apples.

I used Tim Holtz Schoolhouse Blueprint set and stamped the apple six times on watercolor paper.

Layers of ink - Watercolor Apples Art Journal Tutorial by Anna-Karin Evaldsson. Watercolor the green apple with Distress Ink.

Each apple is painted with a different combination of green and red Distress Inks. Smear the ink pads on a non-stick craft sheet, mist once with water and then pick up with a paint brush. By using more or less water you can get a lot of shades from just one ink pad.

Layers of ink - Watercolor Apples Art Journal Tutorial by Anna-Karin Evaldsson.

Continue with the rest of the mainly green apples. 

Layers of ink - Watercolor Apples Art Journal Tutorial by Anna-Karin Evaldsson.

I looked at reference photos, but didn't aim at perfection. Leave white highlights on the apples to give them life. Paint shadows with Black Soot.

Layers of ink - Watercolor Apples Art Journal Tutorial by Anna-Karin Evaldsson. Add texture with Scribble Sticks.

When the Distress Ink was dry, I splattered some Scribble Sticks on the apples, to add texture. Dip a Scribble Stick in water and then flick a paint brush against it. This is one of my favorite ways of adding splatters and it is also fairly mess-free. I used sticks from both Scribble Sticks 1 and Scribble Sticks 2.

Layers of ink - Watercolor Apples Art Journal Tutorial by Anna-Karin Evaldsson.

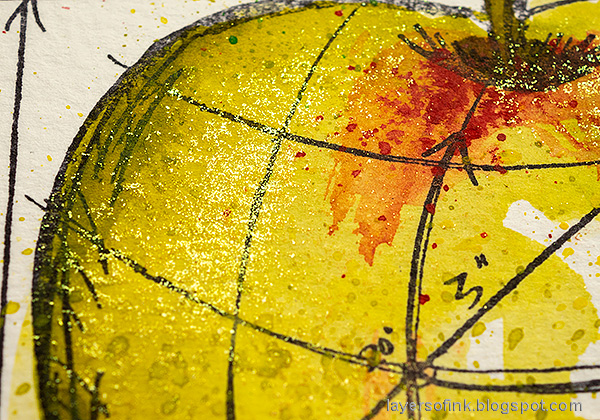
Finally, when the apples were dry, I added a little bit of Gilded Avocado Opal Blaze Polish. Apply it with your finger.

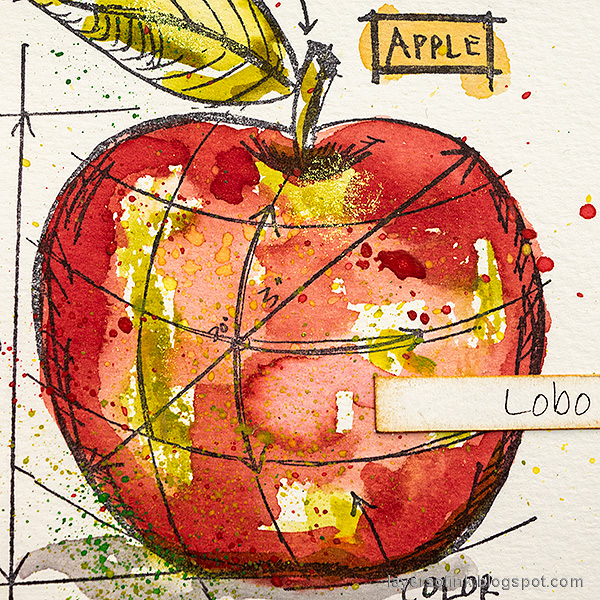
Layers of ink - Watercolor Apples Art Journal Tutorial by Anna-Karin Evaldsson. Lobo apple

Lobo is my all-time favorite apple. We had a tree in the garden of my childhood home and I am forever looking for the same kind of apples that came from that tree. It is not an easy apple sort to find. One day, I hope I can have my own tree. It is a late autumn apple.

Layers of ink - Watercolor Apples Art Journal Tutorial by Anna-Karin Evaldsson.

The Scribble Sticks gives a great texture and since they are more opaque than the Distress Ink, even the lighter colors show. 

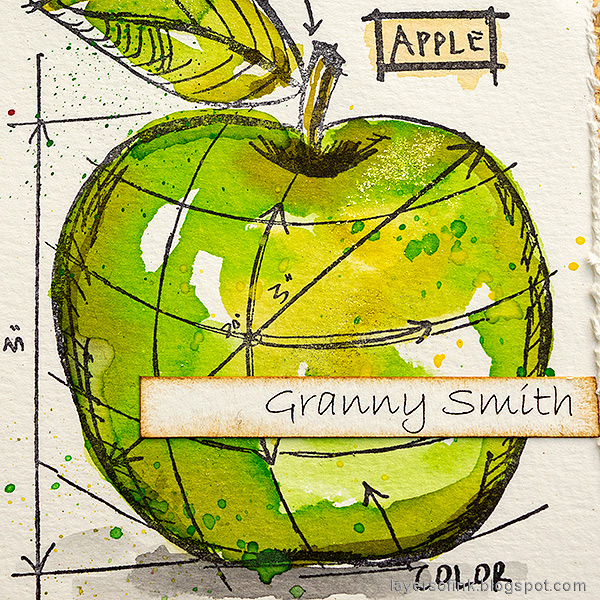
Layers of ink - Watercolor Apples Art Journal Tutorial by Anna-Karin Evaldsson. Granny Smith apple.

Granny Smith is best for baking, but sometimes I feel like eating them as is too. I like the bright green color of this apple. 

Layers of ink - Watercolor Apples Art Journal Tutorial by Anna-Karin Evaldsson. Golden Delicious apple.

Golden Delicious is another apple that I eat sometimes. I like varying the apples we have at home. 

Layers of ink - Watercolor Apples Art Journal Tutorial by Anna-Karin Evaldsson. Ingrid Marie apple.

Ingrid Marie is another autumn garden apple, which I always get when it is available in the shop. It's got a deep red color, in fact, a little darker than my apple here.

Layers of ink - Watercolor Apples Art Journal Tutorial by Anna-Karin Evaldsson.

The title was die cut from kraft paper with the SSS Archie Jr. Solid die

Layers of ink - Watercolor Apples Art Journal Tutorial by Anna-Karin Evaldsson. Royal Gala apple.

Royal Gala is one of those apples that are almost always available in the shop and I like how crisp it is. It is also one of the apples that were most widely available in South Africa. 

Layers of ink - Watercolor Apples Art Journal Tutorial by Anna-Karin Evaldsson.

Here you can see the texture of the splatters and the polish.

Layers of ink - Watercolor Apples Art Journal Tutorial by Anna-Karin Evaldsson. Gravenstein apple.

Gravenstein is another garden apple, which we used to have in the garden. As you can see, I added some red to this apple, which was initially green/yellow. The red was added with a Scribble Stick.

Layers of ink - Watercolor Apples Art Journal Tutorial by Anna-Karin Evaldsson.

The polish shimmers real nice from certain angles of light. 

I hope you will join us this week in our Food and Drink challenge. You have a chance to win a $25 gift voucher to do some fun shopping at Simon Says Stamp. You have until next Monday 8am Ohio time. 1pm UK time, 2 pm CET to join in.

Don't forget to follow Simon Says Stamp on Instagram, they post great stuff daily. 


Do you use Instagram? If so please add #sssmchallenge so we can see your entries there too.


Thank you so much for stopping by here today! 

Happy crafting!

Anna-Karin

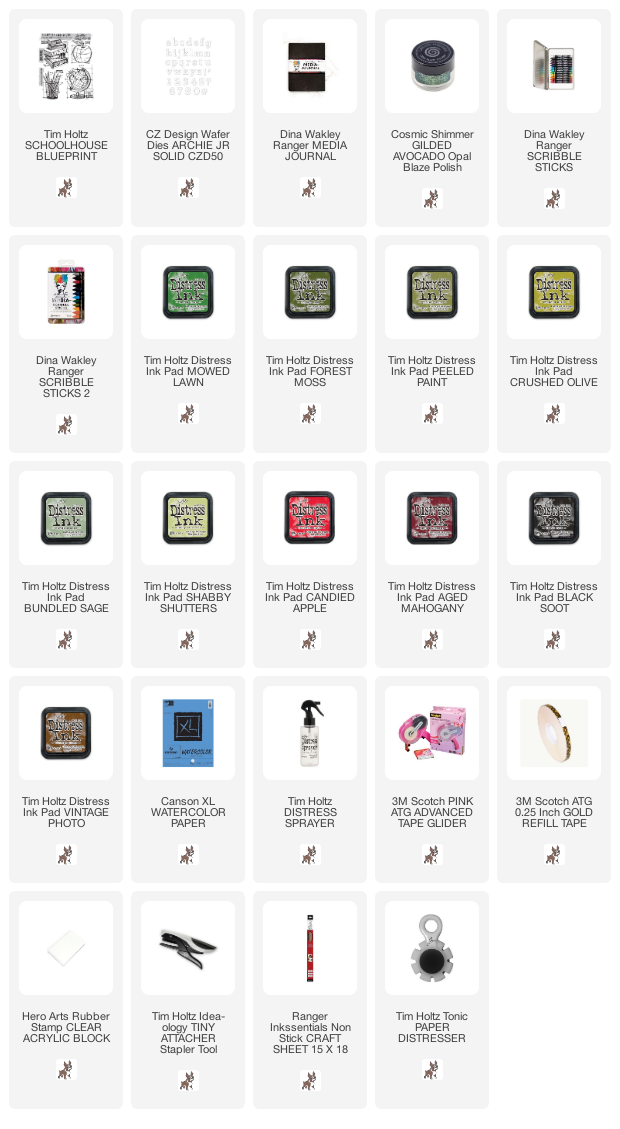
Supplies:

* Please note: the links are affiliate links, for which I receive a small percentage of sales generated by the link, at no extra cost to you.