Pages

Monday, November 30, 2020

Cardinal Tag Tutorial

Hi friends! The cold weather seems to be here finally and we had a nice Advent Sunday yesterday. I should have worked at a big traditional Christmas market, but it of course had to be cancelled. Today I have a fun tutorial using alcohol ink and also Scribble Sticks for watercoloring a cardinal bird.


This week we have a Alcohol Ink theme on the Simon Says Stamp Monday challenge blog. We are looking forward to seeing all the alcohol ink submissions. Don't miss the last project by our November guest designer Laura Cassina aka elaborando on instagram


Layers of ink - Cardinal Tag Tutorial by Anna-Karin Evaldsson.

I love creating projects from an acetate or Clearly For Art Modeling Film base and combined with dry embossing and alcohol ink, you will get a quick and stunning background. You don't need to make a tag since the technique works great for cardmaking too. Just fold a piece of acetate and dry emboss it on one side only (or both1). I also used a beautiful cardinal bird stamp by Memory Box. 


Layers of ink - Cardinal Tag Tutorial by Anna-Karin Evaldsson. Emboss the tag with SSS Floral Field.

Start by die cutting a tag from fairly thick acetate or Clearly for Art Modeling Film. Emboss it in the SSS 3-D Floral Field Embossing Folder.

Layers of ink - Cardinal Tag Tutorial by Anna-Karin Evaldsson. Color with alcohol inks.

Turn the tag around and add drops of alcohol ink to it. I used Patina, Turquoise, Denim and Espresso. The add a few drops of Alcohol Blending Solution

Layers of ink - Cardinal Tag Tutorial by Anna-Karin Evaldsson. Splatter with white acrylic mist.

The front of the tag was splattered with white Gloss Spray, for a wintery look.

Layers of ink - Cardinal Tag Tutorial by Anna-Karin Evaldsson. Stamp the Memory Box Spirit of Christmas.

Stamp the cardinal from the Memory Box Spirit of Christmas Set on watercolor paper.


Layers of ink - Cardinal Tag Tutorial by Anna-Karin Evaldsson. Color with Scribble Sticks.

Pick up colors directly from the tip of Scribble Sticks with a paint brush and paint the bird. I used mainly the Sedona shade, which was the right red-orange shade I was looking for. Add some shading and texture with the black stick.

Layers of ink - Cardinal Tag Tutorial by Anna-Karin Evaldsson.

Die cut with the coordinating die set, or cut with scissors.


Layers of ink - Cardinal Tag Tutorial by Anna-Karin Evaldsson.


Layers of ink - Cardinal Tag Tutorial by Anna-Karin Evaldsson. Watercolor cardinal.

Stamp the sentiment with SSS Island Blue ink and die cut with the coordinating die - which also happens to be a really nice oval die on its own too. Layers a piece of lace, the two leafy branches and a piece of tinsel. 


Layers of ink - Cardinal Tag Tutorial by Anna-Karin Evaldsson.

Leave some of the white paper showing through when coloring, to create highlights.

Layers of ink - Cardinal Tag Tutorial by Anna-Karin Evaldsson.

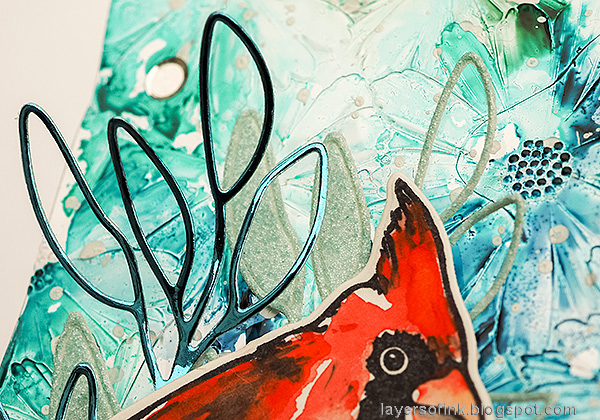
The background has a interesting look with the embossing, alcohol ink, splatters and lastly also a few silver sequins.


Layers of ink - Cardinal Tag Tutorial by Anna-Karin Evaldsson.

The alcohol ink will collect in unpredictable ways in the grooves of the embossing.

Layers of ink - Cardinal Tag Tutorial by Anna-Karin Evaldsson.

The Frosted Glitter and Polished Foil papers look so nice together and add both shine and bling. I left some of the leaves inside the outline on the glitter die cut.

Layers of ink - Cardinal Tag Tutorial by Anna-Karin Evaldsson.

Here you can see the tag on a white background. I am planning to hang my tag in our Christmas tree, since I think it will look nice there, with the see-through background, glitter and shine. 

I hope you will join us this week in our Alcohol Ink challenge. You have a chance to win a $25 gift voucher to do some fun shopping at Simon Says Stamp. You have until next Monday 8am Ohio time. 1pm UK time, 2 pm CET to join in.

Don't forget to follow Simon Says Stamp on Instagram, they post great stuff daily. 


Do you use Instagram? If so please add #sssmchallenge so we can see your entries there too.


Thank you so much for stopping by here today! 

Happy crafting!

Anna-Karin

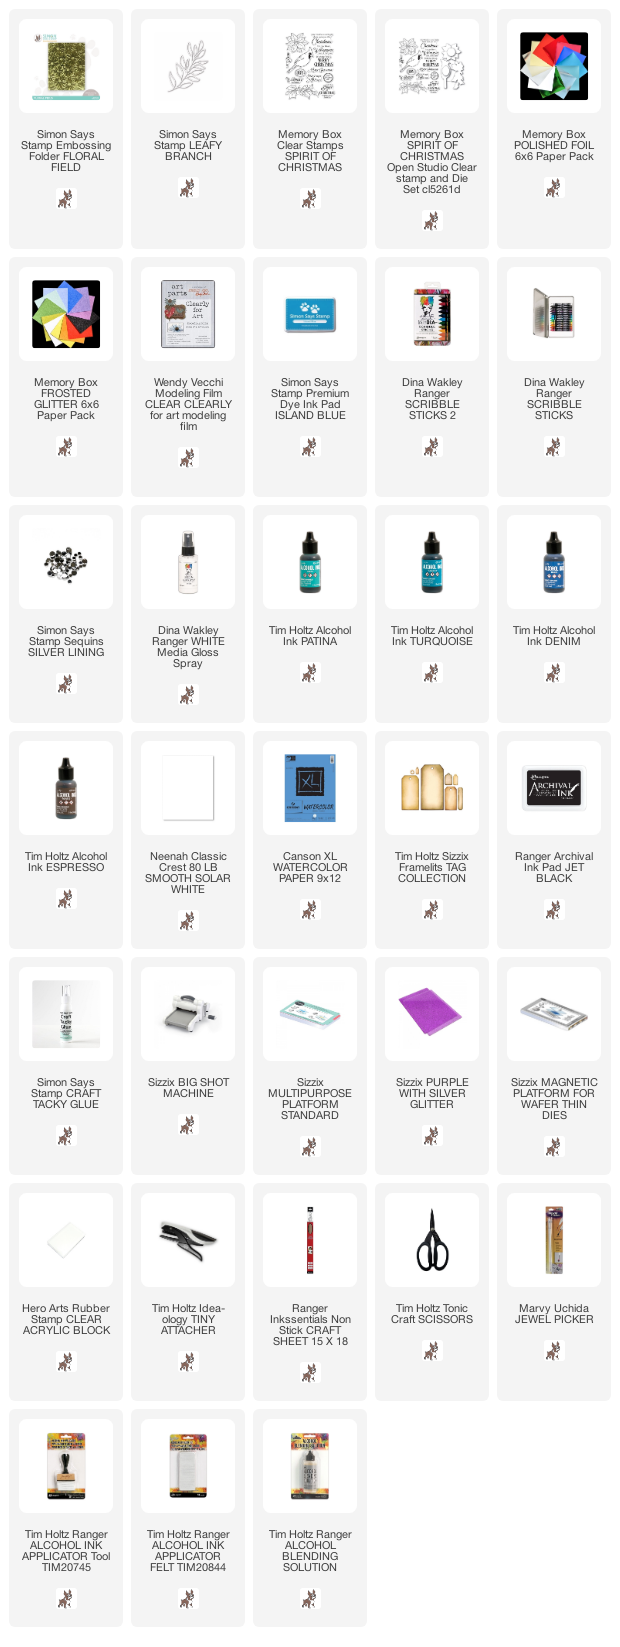
Supplies:

* Please note: the links are affiliate links, for which I receive a small percentage of sales generated by the link, at no extra cost to you.
4 comments:

  1. How incredible, Anna Karin! Thank you for documenting such a beautiful technique! I love it!

    ReplyDelete
  2. The background is stunning. Thanks for sharing.

    ReplyDelete

Thank you so much for leaving a comment! Happy Crafting!