Hello again! Today, I have a Sizzix tutorial to share with you, which I was waiting to post until my mom got this card for her birthday.
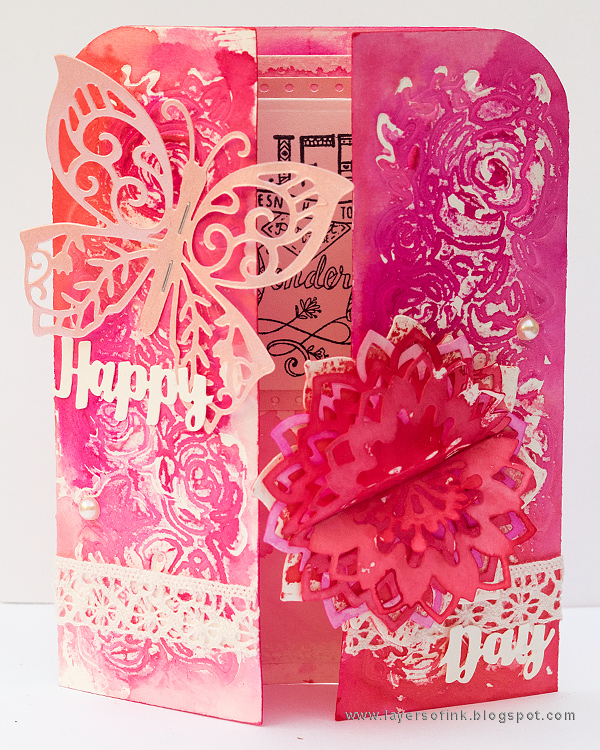
I went with a pink, red and cream color combo for this intricate card, which looks much harder to make than it actually is. My sister even thought that I had cut all those details out myself, but no, all the cutting was of course done with dies. I used new Sizzix dies, embossing folders and stamps by Katelyn Lizardi. I like gatefolded cards, but don't do them nearly often enough, so this was a fun change.

Start by die cutting the base with the Hello Friend Gatefolded Card set. The set contains 9 dies.This is a really useful shape for the base of a card. I used watercolor paper.

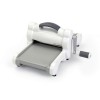
I used the Emboss & Transfer set to emboss one of the intricate dies in the set into the side panels, instead of die cutting them. Use this sandwich: Sizzix Multipurpose Platform no tabs (or one tab if your paper is thinner), Cutting Pad, die facing up, paper, Silicon Rubber, and Impressions pad.

Here's the result, pretty cool isn't it? You can see that the embossing to the right got flattened out a little bit when I embossed the left-hand panel, but it doesn't really show at the end.

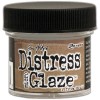
Lightly apply Distress Micro Glaze with you finger on the raised areas, here and there. Don't worry about perfection.
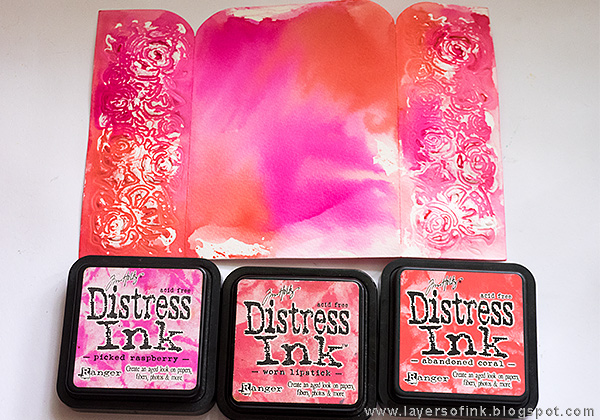
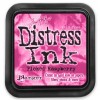
Smear Picked Raspberry, Worn Lipstick and Abandoned Coral on a craft sheet, mist with water and press the paper into the ink. Repeat on the inside. The micro glaze resists the ink, creating a textured effect.

Die cut an inner panel and the flower pieces shown here. These are also a part of the Hello Friend Gatefold Card set. You might need to use the Precision Base Plate to get a clean cut for the intricate flowers, especially if you use heavier paper.

Apply a little micro glaze around the edges of the panel as well as around the edges of the full flower and on the stamen of the intricate flowers.

Color as before with Distress Inks.

These dies are meant to be used with a fun Flip and Fold technique for creating dimensional flowers, but if you want to, you can of course also layer them on top of each other. Fold the inner parts as shown here.

Layer and glue them together like this, for a very intricate looking dimensional flower, but which is really easy to do.

Die cut a hexagon shape from the Thanks for Being You Framelits Die set w/Stamps and stamp the sentiment on top.
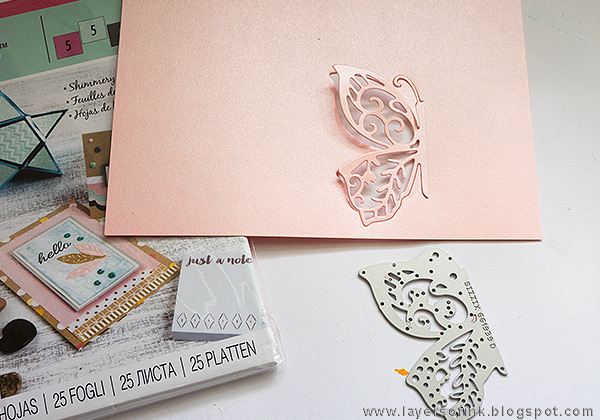
I wanted a butterfly and this one, also from Thanks for Being You, is so pretty. If you want to, you can only die cut half, as shown above, and fold it out from a piece of paper.
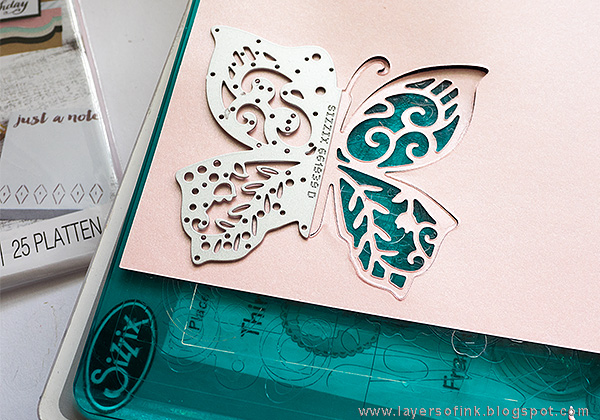
Or you can line the die up on the other side, and die cut a full butterfly. I used the Sizzix Magnetic Platform to hold it in place. This sandwich: magnetic platform, Cutting Pad, paper, die facing down, second Cutting Pad.

The butterfly was die cut from Sizzix Brite-Ons paper, and I die cut a dotted hexagon from the same paper.

Staple the butterfly to the card. The 'happy day' sentiment comes from Hello Friend Gatefold Card. Both words are versatile and can be used on their own, or together with other words.
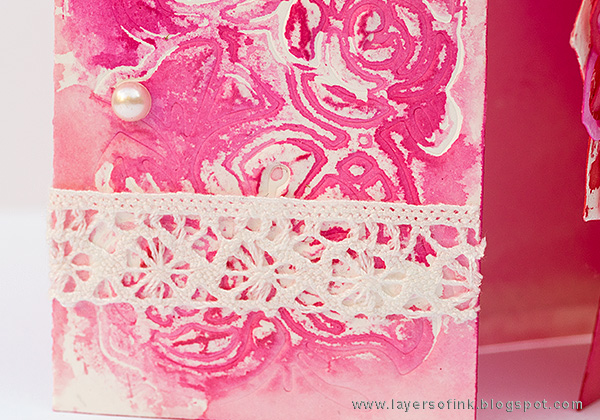
I glued lace trim and some beads to the card. Here you can also see the textured effect of the micro glaze resist better.

Use the flower partly as a closure mechanism for the card. This flower would look great on top of gift packaging too, or on any type of 3-D project.

Adhere the panel to the inside of the card and place the dotted hexagon and sentiment on top.

I really like this sentiment, and the stamp is so pretty.

Folded out the card looks like this, so it is colored at the back too. You could let the lace go all the way, but the piece I found on my desk was a little too short, so I cut it off.
Thank you so much for visiting my blog today! I will see you soon again.
Happy crafting!!
Anna-Karin
Supplies (affiliate links):





Absolutely beautiful Anna-Karin, I am sure your Mom loved it. (I just learned another new way to use the Micro Glaze! TFS!)
ReplyDelete