Pages

Thursday, October 31, 2024

Flowers on wood planks

Hello friends! It is the last day of October and I have an autumn flower project to share.

Please note: this post has affiliate links, for which I receive a small percentage of sales generated by the link, at no extra cost to you.

Layers of ink - Flowers on wood planks tutorial by Anna-Karin Evaldsson.

I stamped and watercolored a whole lot of flowers in mainly autumn shades and let them flow down a tag. The tag was covered with Halloween Baseboard wood planks to create a sturdy and interesting background.

Sand edges of Halloween Baseboard chipboard pieces.

Start by sanding the Halloween Baseboards wood planks.

Ink the faux wood plank pieces with brown ink.

Ink them with Scorched Timber.

Glue the woodplanks on a tag.

Glue them to a tag die cut from black kraft-stock. You need to cut some of the wood planks and sand the edges where you cut them.

Stamp with Simon Says Stamp Old Letter.

White emboss Simon Says Stamp Old Letter on the tag, but don't cover it completely.

Stamp Simon Says Stamp flowers on watercolor paper.

Stamp Simon Says Stamp Beautiful Blooms on watercolor paper. I stamped more than I needed. These flower stamps are so pretty.

Watercolor and then cut out the flowers.

Watercolor the flowers and cut them out when dry. There are coordinating Beautiful Bloom dies, which would speed this process up a lot. 

Add details with a white gel pen.

Add details and highlights with a black pen and a white gel pen.

Shape the flowers.


Dye May Arts Faux Wrinkled Silk Ribbon with coordinating colors. I used Distress Ink.


Don't worry if you get specks of white embossing powder here and there, it just adds texture.


Some of the flowers were glued directly to the background, while others were adhered with Simon Says Stamp Pawsitively Perfect Foam Tape.

Add Simon Says Stamp Pawsitively Dazzling Gems to the flowers.

I added Simon Says Stamp Pawsitively Dazzling Gems to most of the flower centers.

Stamp and die cut sentiments.

The main sentiment was stamped with Pawsitively Saturated Violet ink. The sentiment stamps comes from Simon Says Stamp Create stamp set.They were die cut with the coordinating Create dies.


Leaves of of the white of the paper showing for highlights when watercoloring. I dropped blue paint into the purple paint when it was still wet. 

Adhere flowers with foam tape.

Shaping the flowers gives them life and dimension.

Layers of ink - Flowers on wood planks tutorial by Anna-Karin Evaldsson.

You could also turn this project into a card instead, or use just a few flowers.

Layers of ink - Flowers on wood planks tutorial by Anna-Karin Evaldsson.

Thank you for stopping by here today! Happy Halloween!


Happy crafting!

Anna-Karin

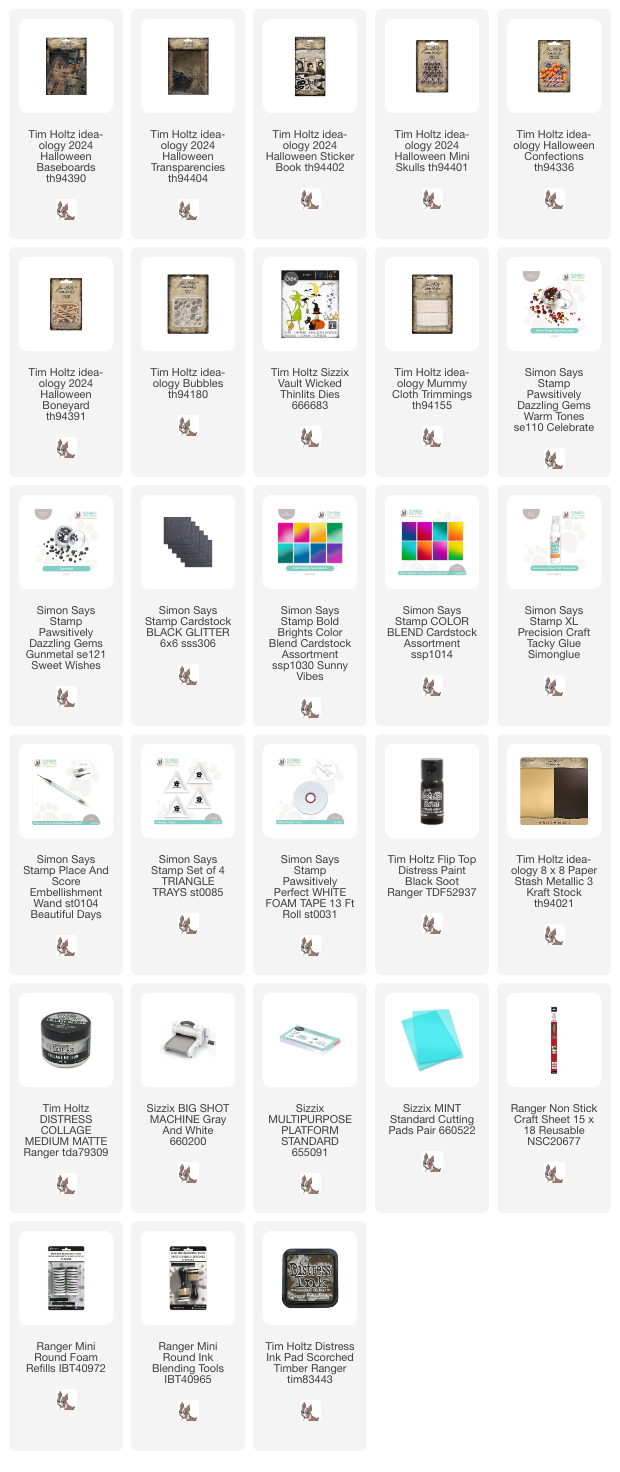
Supplies:

* Please note: the links are affiliate links, for which I receive a small percentage of sales generated by the link, at no extra cost to you.


Tuesday, October 29, 2024

The Apothecary Tutorial

Hello crafters! I have one more Halloween project to share, the front door of a spooky apothecary practice. 

Please note: this post has affiliate links, for which I receive a small percentage of sales generated by the link, at no extra cost to you.

Layers of ink - The Apothecary Halloween Tutorial by Anna-Karin Evaldsson.

I really like Tim Holtz Baseboard pieces and they are fun to layer. Here I layered an arch and a door, with the addition of a sign post and a sentiment strip. Lots of fun little details which can belong to a spooky apothecary: bottles, jars, glass balls, sweets and of course skulls of some of his victims.

Sand the edges of the idea-ology Halloween baseboards pieces.

Here you can see the individual pieces. The shelf was made by gluing to wood planks from the Baseboard set together. Sand all the edges.

Add a Halloween transparency.

Glue a Halloween Transparency to the arch. I used one of the spider web transparencies.

Stain the skulls and bones with black paint.

Glue the door on top and glue the shelf under the door. Splatter black paint on the background. The skulls and bones were also distressed with black paint.

Die cut bottles with Tim Holtz Vault Wicked set.

Using the Sizzix Vault Wicked set, the bottles were die cut from leftover papers, Simon Says Stamp Color-Blend cardstock (which is glossy), Black Glitter Cardstock and gold metallic cardstock.

Add Halloween sticker book sentiments to the signpost.

Glue sentiments from the Halloween Sticker Book to the sign post. I really enjoying picking clipping sentiments, creating a story.

Glue Simon Says Stamp Pawsitively Dazzling Gems here and there.

Two bottles were placed on the title and adhered with Simon Says Stamp Pawsitively Perfect Foam Tape. 

Add a transparent moth.

I glued a transparent bat to the door too. Fold up the wings.

Make a shelf with baseboard pieces and place bottles, glass balls, bones and skulls on it.

Glue mummy cloth to the shelf, as a table cloth. Add Bubbles, skulls, Simon Says Stamp Pawsitively Dazzling Gems, bones and bottles to the shelf. I used two layers of foam tape for the bottles.

Tiny bottles.

I added clippings number stickers to some of the bottles and wrote numbers on the rest.


Here you can see the shelf from above with all the little details. 


Shelves are easy to build and give space for many different types of dimensional items.


Stack three skulls on top of each other, with a bone under one of them. I also added idea-ology candy corn.

Layers of ink - The Apothecary Halloween Tutorial by Anna-Karin Evaldsson.

The project has quite a lot of dimension.

Layers of ink - The Apothecary Halloween Tutorial by Anna-Karin Evaldsson.

I hope you enjoyed this tutorial! See you soon again!


Thank you so much for stopping by here today! Have a good weekend!

Happy crafting!

Anna-Karin

Supplies:

* Please note: the links are affiliate links, for which I receive a small percentage of sales generated by the link, at no extra cost to you.


Monday, October 28, 2024

Skull Mixed Media Tag

 Hello crafters! I hope you are well and had a good weekend. 

Please note: this post has affiliate links, for which I receive a small percentage of sales generated by the link, at no extra cost to you.


This week Stencil it is our theme at the Simon Says Stamp Monday Challenge Blog. I hope you will make something for the challenge. Also, remember to look at the gorgeous project by our October guest designer Alison Bomber. 


Layers of ink - Skull Mixed Media Tag Tutorial by Anna-Karin Evaldsson.

I made a skull tag with easy mixed media techniques and a bunch of products by Tim Holtz. The skull comes from the Halloween Collage Paper set and fit well on the tag, making the skull look large since it covers the tag.

Apply the skull design paper to the tag.

Start with a tag that has been coated with gesso. Apply the collage paper with Ranger's matte medium. Then add a couple of coats of clear gesso on top, letting it dry in between. The gesso will give tooth for the Distress Watercolor Pencils to adhere to.

Apply texture paste through Tim Holtz Skull stencil.

Add a little Uncharted Mariner paint to Texture Paste and apply through Tim's Batground folder.

Color with Distress Watercolor pencils.

When the paste is dry, paint the background with Distress Watercolor Crayons. Use water to blend.

Add glitter with Ranger Stickles gel.


Stamp with Simon Says Stamp Crackle background.

Stamp in a few places with Simon Says Stamp Crackle Background.

Die cut bats from Simon Says Stamp black glitter cardstock.


Die cut a moon and coat with Ranger Glow Grit paste.

Die cut the moon from Vault Wicked from heavystock paper and coat with Ranger's Glow Grit Paste. The moon glows in the dark, which is pretty cool. I inked the edges slightly so that it wouldn't look quite as bright on the background. For an example of how the Glow Grit Paste looks in the dark check out my Beware Pumpkins and Witches' Brew tutorials.

Add idea-ology Halloween stickers as sentiments.

Pick a bunch of sentiments from the idea-ology Halloween Sticker Book.

Add Simon Says Stamp Gunmetal Pawsitively Dazzling Gems.

I also added Simon Says Stamp Gunmetal Pawsitively Dazzling Gems. 

Sand the edges of the sentiment strips.

There is a bit of dyed mummy cloth under the sentiment from Halloween Baseboards and also tied to the top of the tag. The sentiment was cut into two and the edges were sanded. I also added a Halloween Quote Flair. 

Join us this week in our Stencil It challenge! You have a chance to win a $25 gift voucher to do some fun shopping at Simon Says Stamp. You have until Monday 8am Ohio time. 1pm UK time, 2 pm CET to join in.


Do you use Instagram? If so please add #sssmchallenge so we can see your entries there too.


Thank you so much for visiting my blog today! 

Happy crafting!

Anna-Karin

Supplies:

* Please note: the links are affiliate links, for which I receive a small percentage of sales generated by the link, at no extra cost to you.