Hello crafters! Today I have a tag to share with an olive branch on a dry embossed background.
Please note: this post has affiliate links, for which I receive a small percentage of sales generated by the link, at no extra cost to you.
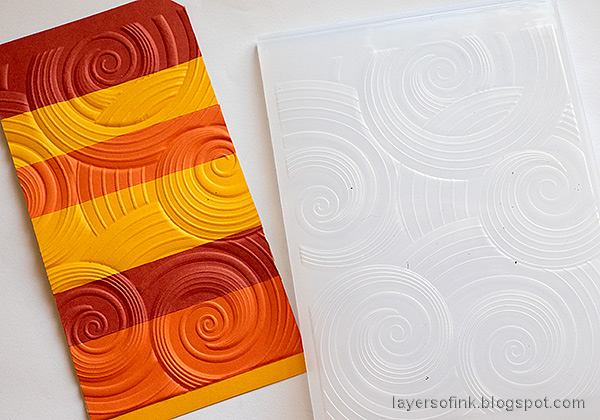
I started out by picking three shades of Simon Says Stamp cardstock: Orange Peel, Burnt Orange, and Sunshine. Cut them into strips and adhere to a tag. Trim the edges.
Emboss the tag in the Simon Says Stamp Swirled Ridges 3-D Embossing Folder.
Die cut Tuscan Olive Branches from heavystock paper.
Smear Distress Inks on a non-stick craft sheet and mist with water. Press the branches and olives into the ink. Let dry.
Repeat with more Distress Ink, let dry again and then add Distress Oxide Ink as the last layer. Only dab the branches here and there into the Oxide ink.
Use Tim Holtz Shaping Tool Kit and Simon Says Stamp Pawsitively Perfect Craft Pad to give shape to the olives and leaves.
Plan where to place the branches and start gluing them down. I cut some of them in two parts. Adhere the olives with Simon Says Stamp Pawsitively Perfect Foam Tape.
I also doodled white highlights on the olives with a white gel pen.
The olive branches stand out nicely against the colorful background.
The sentiment was stamped and die cut with Simon Says Stamp Create stamp set and coordinating dies. Adhere the larger sentiment with foam tape.
The May Arts Faux Wrinkled Silk Ribbon was dyed with Simon Says Stamp Pawsitively Saturated inks in colors coordinating with the background cardstock.
Don't add glue to all the leaves, since you want to dimension.


No comments:
Post a Comment
Thank you so much for leaving a comment! Happy Crafting!