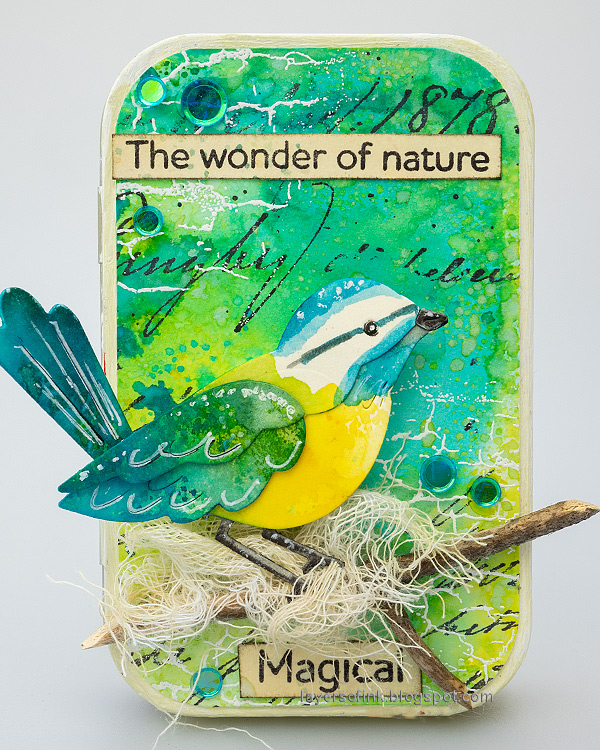
Hello crafters! Today I have an altered tin to share. I made it for a friend who likes birds, but you can of course use a different theme instead.
Please note: this post has affiliate links, for which I receive a small percentage of sales generated by the link, at no extra cost to you.
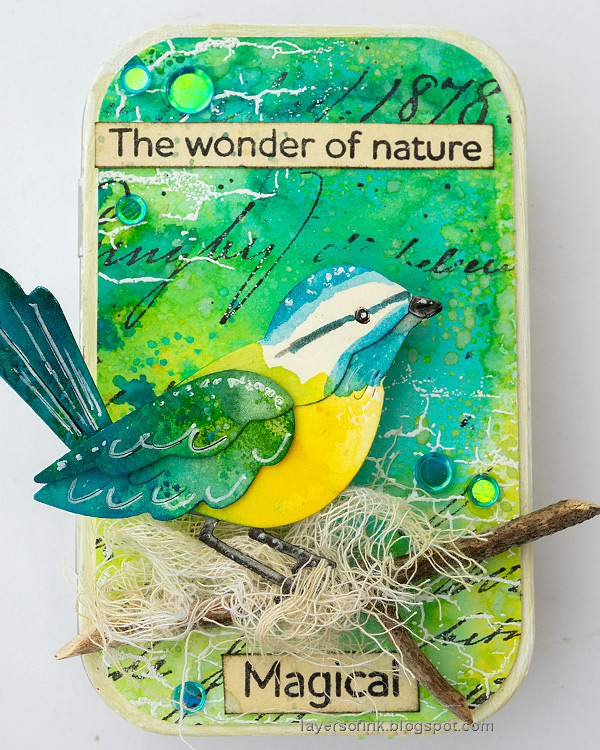
I recycled an old mint tin for this project and altered it with lots of ink, stamping and blue tit birds. The birds were die cut and then watercolored with Distress Ink. Tins are fun because you get four different surfaces to decorate, the front, the inside (which is great for fragile dimensional items), and the back.
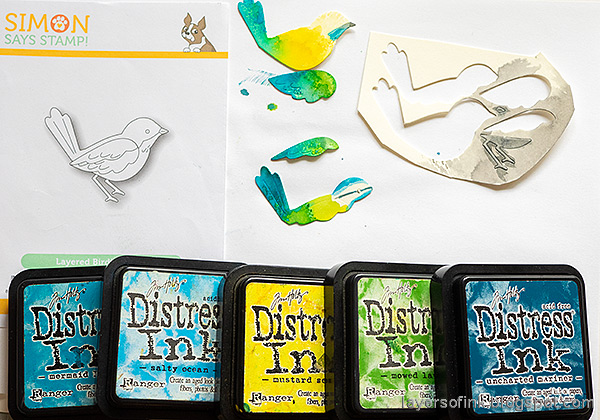
Start by die cutting Simon Says Stamp Layered Bird Bunch from Ranger's heavystock paper. Smear Distress Inks on a non-stick craft sheet and press some of the pieces into the ink. Let dry and repeat. Paint the heads with a paint brush.
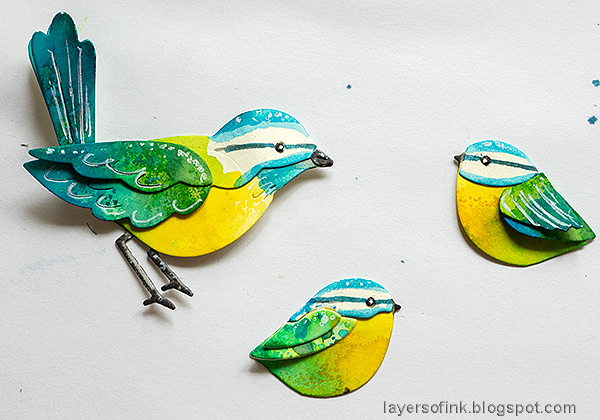
I did the same with the Simon Says Stamp Layered Birdie, only here I used the paintbrush a little more. The legs and beak were later colored with a darker shade of Black Soot.
Shape the wings a little and piece together the birds. Add white highlights with a gel pen and color the eyes with a black pen.
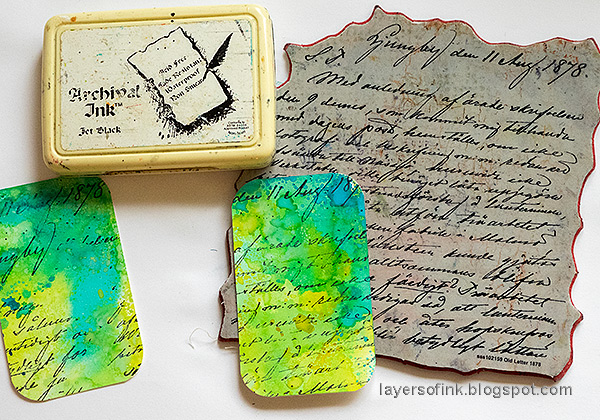
For the backgrounds I colored heavystock cardstock with several layers of first Distress Ink and then at the end, also Distress Oxide Ink. Let the paper dry in between.
Cut them into cards and round the edges with a We R Memory Keepers Corner Chomper. Later I also cut a fourth card for the back of the tin.
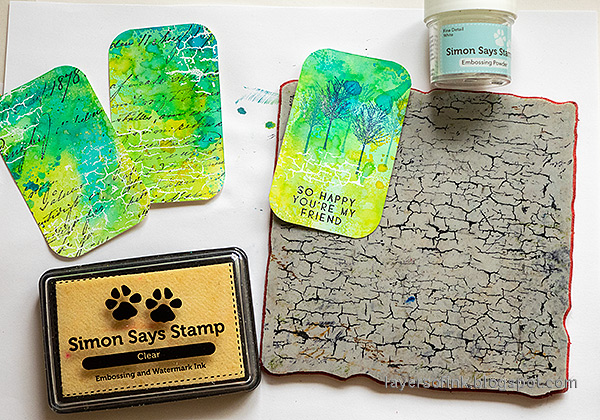
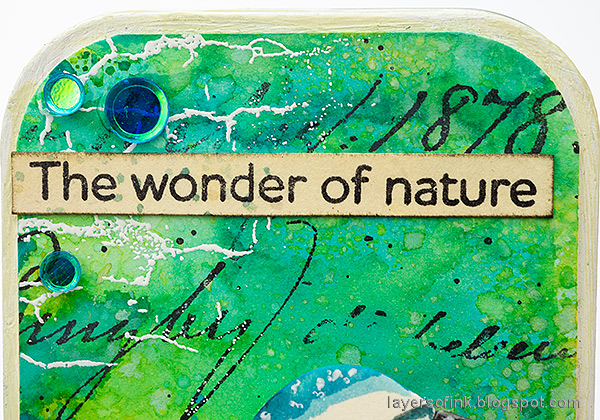
Stamp two of the cards with Simon Says Stamp Old Letter.
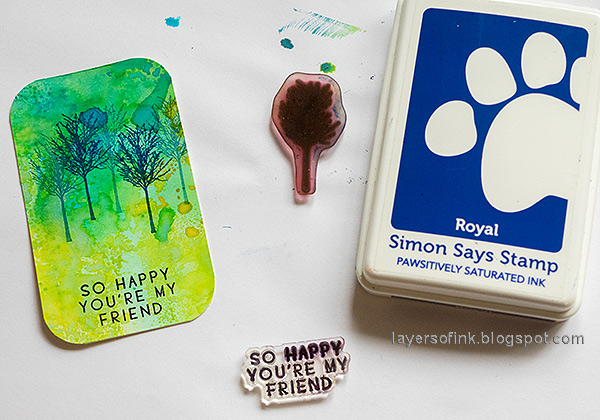
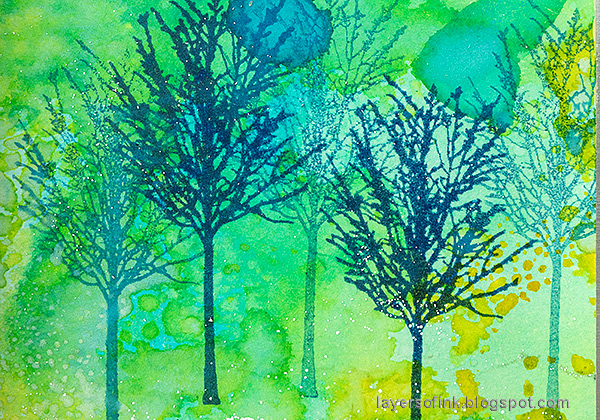
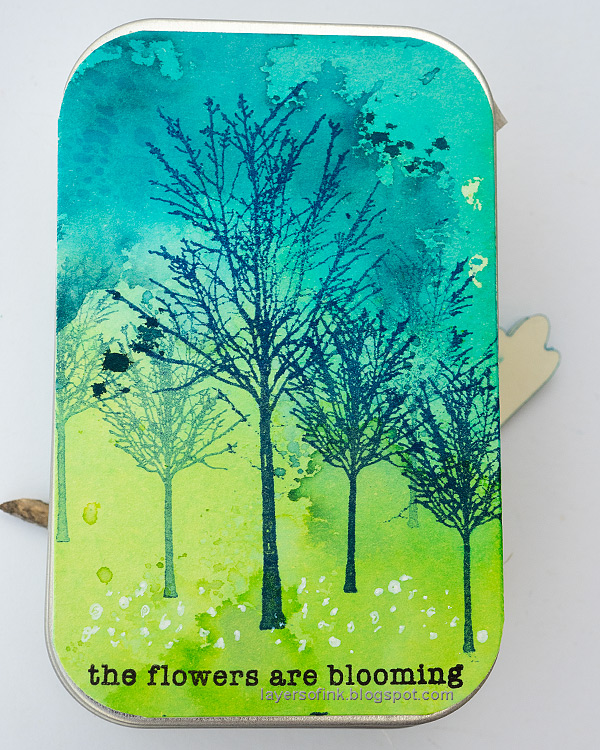
Stamp the third card with a sentiment. Stamp the small tree from Simon Says Stamp All Seasons Tree with Pawsitively Saturated Royal ink. Stamp twice without reinking.
Stamp in a few places with Simon Says Stamp Crackle Background and white emboss.
Adhere the papers to the inside of the tin. Add small twigs, dyed mummy cloth/cheese cloth and some sequins. The birds were adhered with three layers of Simon Says Stamp Pawsitively Perfect Foam Tape.
Make sure that it is possible to close the tin before gluing everything in place. I have made a few tins that don't close too, but I wanted this one to close.
The small birds and twigs are protected inside the tin. They are meant to be baby blue tit birds.
If there is space, you can tuck in another sentiment.
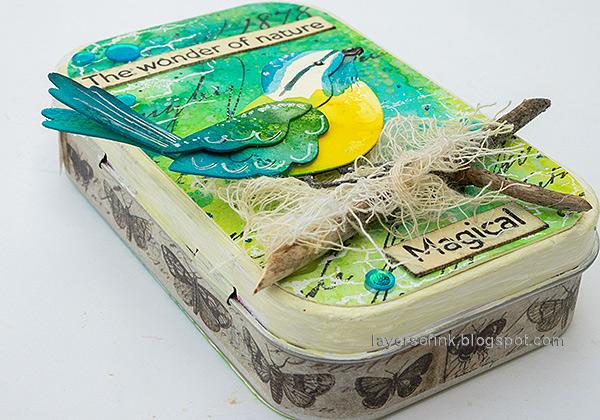
The lid of the tin had been coated with two layers of gesso and painted with Antique Linen Distress Paint. Glue a twig to the front of the tin and add some dyed mummy cloth / cheese cloth. Adhere the bird with two layers of foam tape.
I adhered Tim Holtz Tissue Tape around the tin, adding a little glue too, to make sure it was stuck down well.
The sentiments were stamped on inky paper and cut into strips. They come from Simon Says Stamp Forest Scenery.
The ink background has a lot of texture and in some places it looks like the ink shines.
I turned the birds into blue tits, which is one of my favorite birds, but you can also turn them into other birds.
By stamping twice without reinking in between, you create a sense of dimensions, since the fainter trees appear to be further away.
Don't worry about stray embossing powder, it only adds texture.
I decided to add paper to the back too. It was stamped with two sizes of trees from All Seasons Tree and and a sentiment from Simon Says Stamp Season's Greetings.
Add white anemone flowers with a white gel pen.













I absolutely love the bright cheery colors of the birds!!! So adorable!! 💜. Thanks for sharing your talent.
ReplyDelete