Hello friends! It is the last day of the year and I have a New Year's art journal page to share. I like to make these pages at the end of a year or start of a new year.
Please note: this post has affiliate links, for which I receive a small percentage of sales generated by the link, at no extra cost to you.
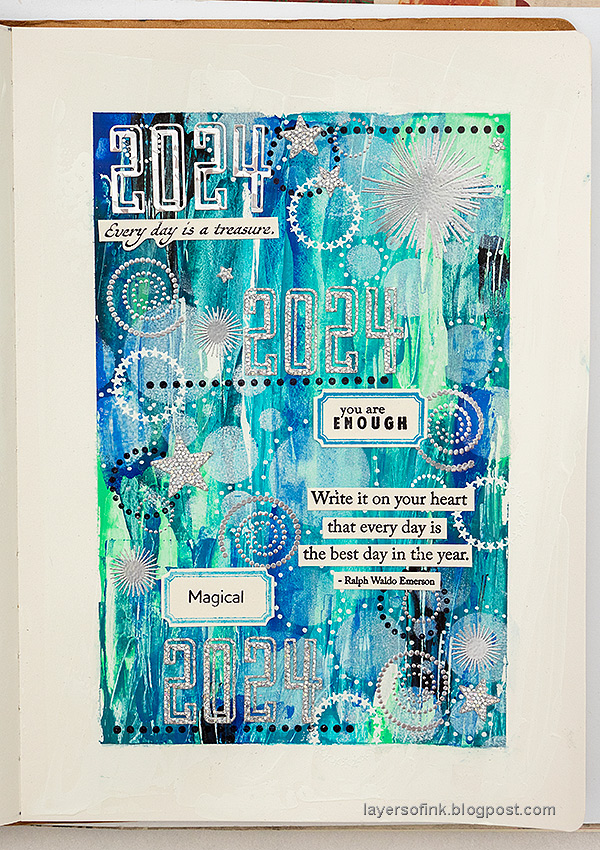
To welcome the new year, I made this page, with lots of glitter and shine. I used some of my favorite shades of blue and turquoise for the background, stamped and stenciled circles and stamped sentiments. The page was done in a Dylusions Journal.
Apply gesso with a palette knife and let dry. Make a border with masking tape.
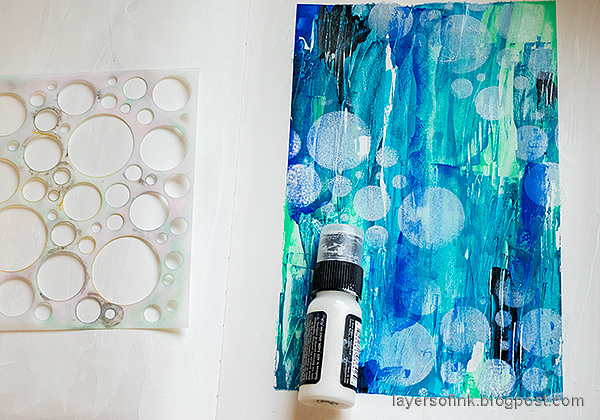
Paint the background using a palette knife. I started with the lightest shade. Carefully remove the tape.
When the paint is dry, place Simon Says Stamp Mix and Match Circles stencil on the background. Use white Distress Paint together with a mini-round ink applicator. I wanted partly transparent circles, if you want opaque circles, use a thicker type of acrylic paint instead.
Add a dotted border around some of the circles with a white paint pen.
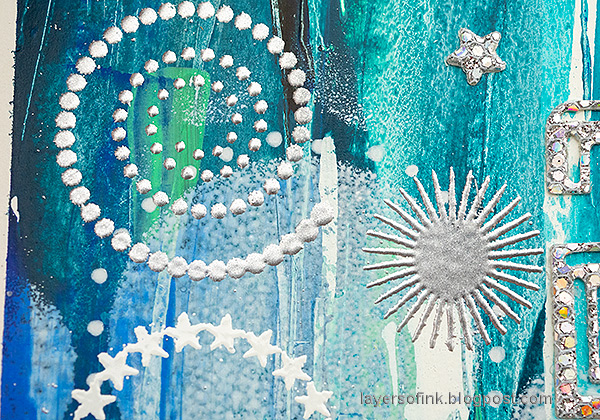
Silver and white-emboss circles and shapes from Simon Says Stamp Mix and Match Circles stamp set on the background. Most of mine were silver embossed.
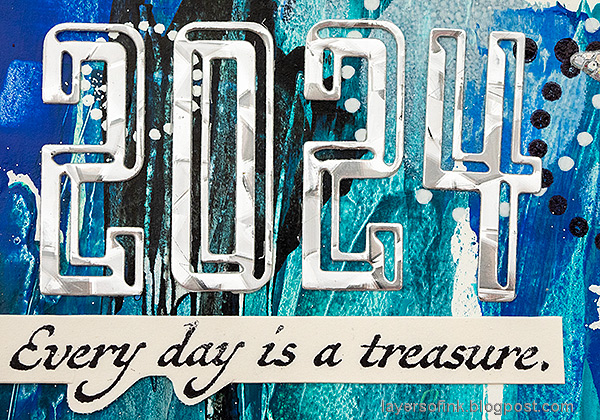
The year was die cut three times using Tim Holtz Alphanumeric Emporium die set. I die cut the year once from Simon Says Stamp Holographic cardstock and twice from Luxe glitter cardstock.
Here are the very glittery numbers. The ticket comes from Simon Says Stamp Mixed Labels and was stamped with Cadette Pawsitively Saturated ink. I also stamped a dot border and a dot circle stamp with black ink.
This sentiment comes from Simon Says Stamp Document It and fit well with a New Year's theme.
The ticket was also stamped with Cadette ink, but without reinking after already having stamped it once, giving a more distressed look.
The stars were die cut with Simon Says Stamp Stars die and look almost dimensional because of the Luxe glitter paper.
The large silver burst made me think of fire works.


No comments:
Post a Comment
Thank you so much for leaving a comment! Happy Crafting!