Pages

Wednesday, November 29, 2023

Snowy Winter Landscape Canvas

Hello friends! We have gotten a whole lot of snow and the world is beautiful outdoors. I made a mixed media canvas with a winter landscape.

 Please note: this post has affiliate links, for which I receive a small percentage of sales generated by the link, at no extra cost to you.

Layers of ink - Snowy Glittery Forest Canvas Tutorial by Anna-Karin Evaldsson.

I wanted the landscape to look a bit like a hill from the side, with the trees climbing higher towards the right-hand edge. I always add words to my projects, but in this case I decided to skip it, in order to only get that frosty and glittery feel. The project is very glittery, which you might not see on the photos since it was overcast when I took them. The canvas is 5.5x8 in.


Layers of ink - Snowy Glittery Forest Canvas Tutorial by Anna-Karin Evaldsson. Die cut Tim Holtz Forest Shadows.

Coat the canvas with gesso and then die cut Tim Holtz Forest Shadows from watercolor paper and coat with gesso.

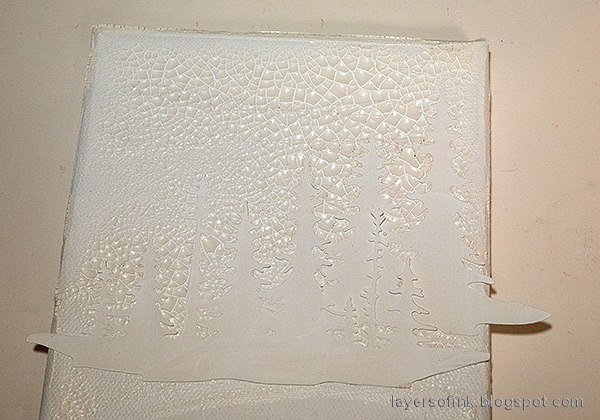
Layers of ink - Snowy Glittery Forest Canvas Tutorial by Anna-Karin Evaldsson. Add Ranger Crackle Paste.

Apply Ranger Crackle Paste to the canvas and press trees into the paste. The crackles will appear as the paste dries. The thicker the paste, the larger the crackles. You need to add a little matte medium behind the trees where they overlap.

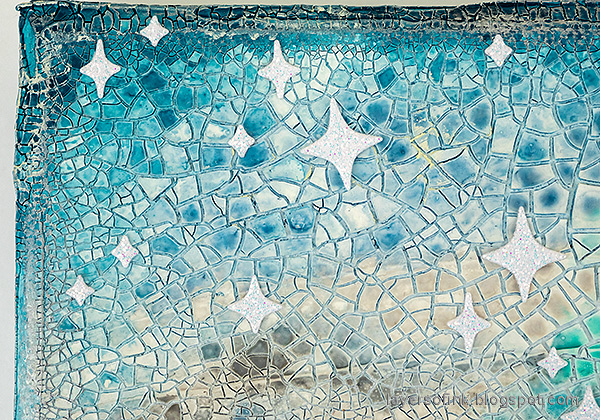
Layers of ink - Snowy Glittery Forest Canvas Tutorial by Anna-Karin Evaldsson. Paint with Distress Paint.

Paint with blue and grey shades of Distress Paint. Mist with water to blend and so that the paint seeps into the crackles.

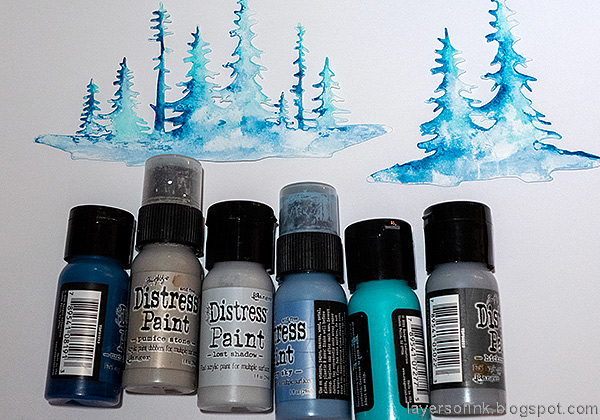
Layers of ink - Snowy Glittery Forest Canvas Tutorial by Anna-Karin Evaldsson. Paint the trees.

Paint the trees and mist with water.

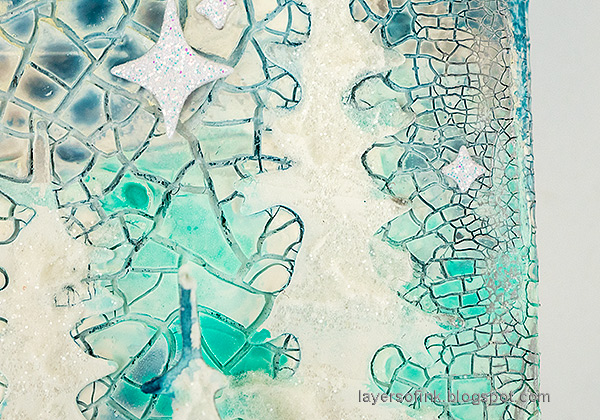
Layers of ink - Snowy Glittery Forest Canvas Tutorial by Anna-Karin Evaldsson. Add texture paste and glitter for snow.

Glue the trees to the canvas with matte medium. Apply a little Texture Paste to the branches and sprinkle with Rock Candy Glitter.

Layers of ink - Snowy Glittery Forest Canvas Tutorial by Anna-Karin Evaldsson.

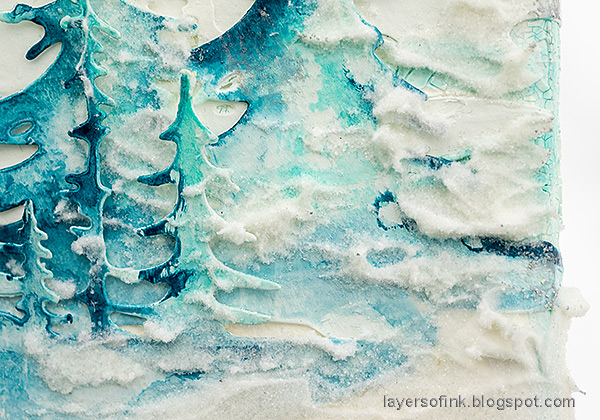
Apply a thick layer of texture paste as a snowy hill. Place a few drops of Salvaged Patina paint into the paste. Cover with Rock Candy glitter.

Layers of ink - Snowy Glittery Forest Canvas Tutorial by Anna-Karin Evaldsson. Apply Sizzix Luster Wax.

Apply a little Sizzix Luster Wax in Silver and Ivory, for extra shine.

Layers of ink - Snowy Glittery Forest Canvas Tutorial by Anna-Karin Evaldsson. Die cut stars from glitter paper.

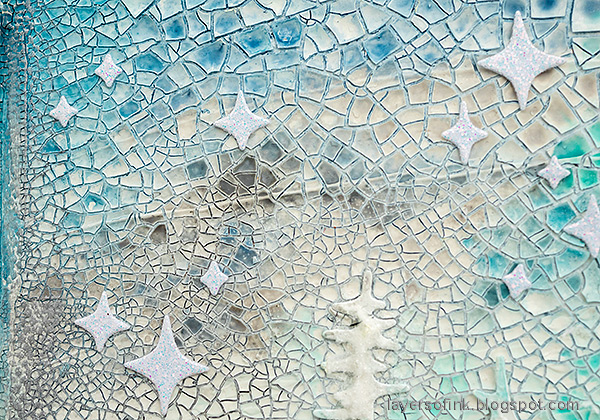
Die cut the stars from Forest Shadows from Simon Says Stamp White Glittery cardstock.

Layers of ink - Snowy Glittery Forest Canvas Tutorial by Anna-Karin Evaldsson.

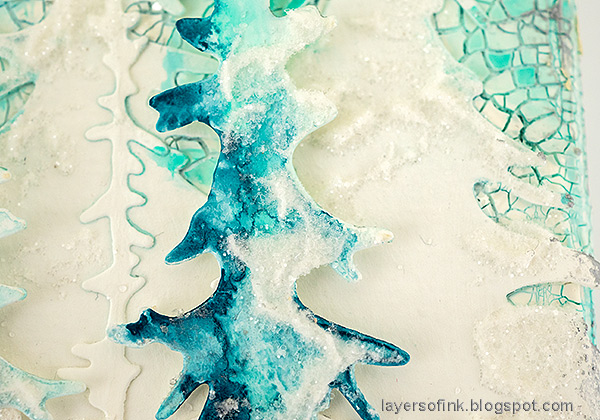
The texture paste and Rock Candy combo looks like cold snow.

Layers of ink - Snowy Glittery Forest Canvas Tutorial by Anna-Karin Evaldsson.

I painted the trees darker on one side as a shadow.

Layers of ink - Snowy Glittery Forest Canvas Tutorial by Anna-Karin Evaldsson. Snowy trees.

I like the combination of larger and smaller trees in the Forest Shadows set.
Layers of ink - Snowy Glittery Forest Canvas Tutorial by Anna-Karin Evaldsson.

More tree details. You could also make these trees for a card.

Layers of ink - Snowy Glittery Forest Canvas Tutorial by Anna-Karin Evaldsson.

It was hard to capture just how much the snow glitters since the day was so grey (and it was snowing). I added a little Silver Wax to the snow too.

Layers of ink - Snowy Glittery Forest Canvas Tutorial by Anna-Karin Evaldsson.

The mix of larger and smaller crackles makes for an interesting textured background.

Layers of ink - Snowy Glittery Forest Canvas Tutorial by Anna-Karin Evaldsson.

This is about how our forest looks right now, although with even more snow.

Layers of ink - Snowy Glittery Forest Canvas Tutorial by Anna-Karin Evaldsson.

I hope you enjoyed this tutorial. The canvas will make a great gift and you can easily adapt it to a smaller or larger size.


Thank you for visiting my blog! 

Happy crafting!

Anna-Karin

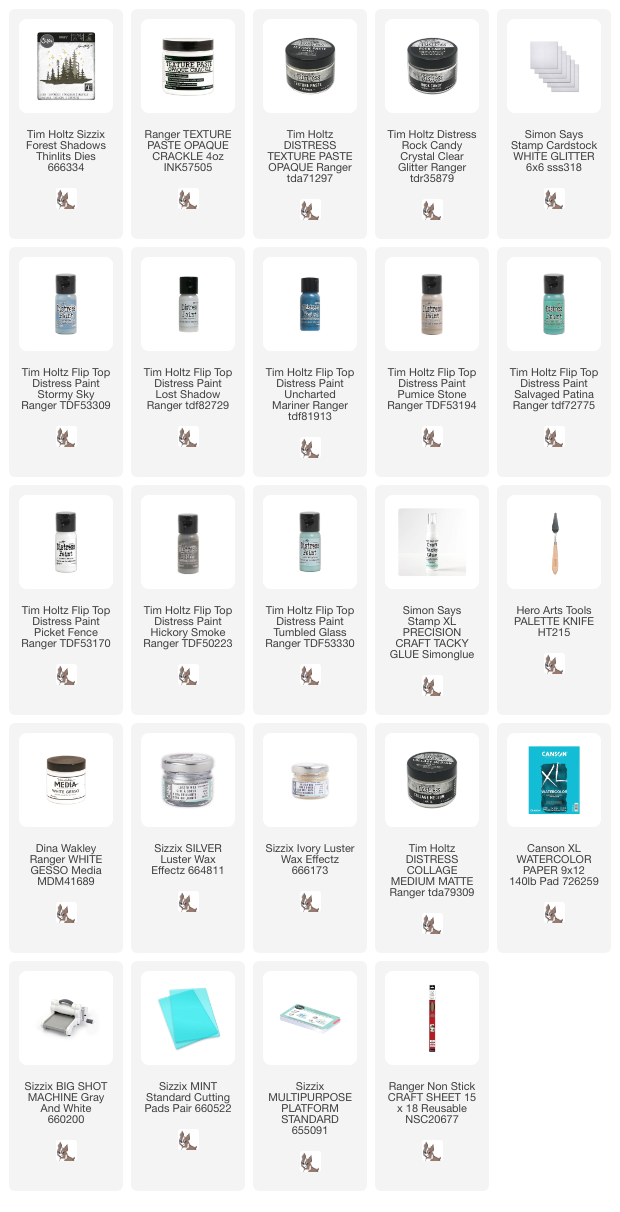
Supplies:

* Please note: the links are affiliate links, for which I receive a small percentage of sales generated by the link, at no extra cost to you.


No comments:

Post a Comment

Thank you so much for leaving a comment! Happy Crafting!