Hi everyone! I hope you had a good weekend! We had a fun weekend with the movies and Pokémon catching.
Please note: this post has affiliate links, for which I receive a small percentage of sales generated by the link, at no extra cost to you.
This week we have an Easter / Spring theme at the Simon Says Stamp Monday Challenge Blog. Don't miss the stunning project by our March guest designer Pauline C.
I made a sweet bunny card this week, using mainly dies and ink. The group of friends are hopping around looking for carrots.
Start by die cutting the Tim Holtz Bunny Stitch dies from heavystock paper.
Smear Distress Ink on a non-stick craft sheet, mist with water and press the shapes into the ink.
Let dry and add additional layers, using Distress Ink. Finish with just a touch of Distress Oxide Inks.
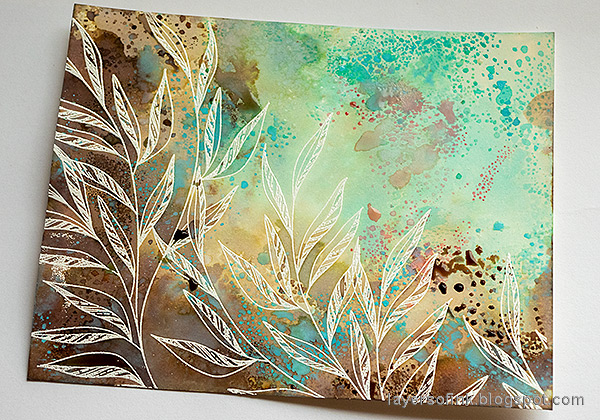
White emboss the Simon Says Stamp Leaf Edge from the new Just For You release on heavystock paper. I used Simon Says Stamp Anti Static Brush Powder tool first.
Color in the same way as the bunnies, with layers of Distress Ink and a little Distress Oxide Ink to finish.
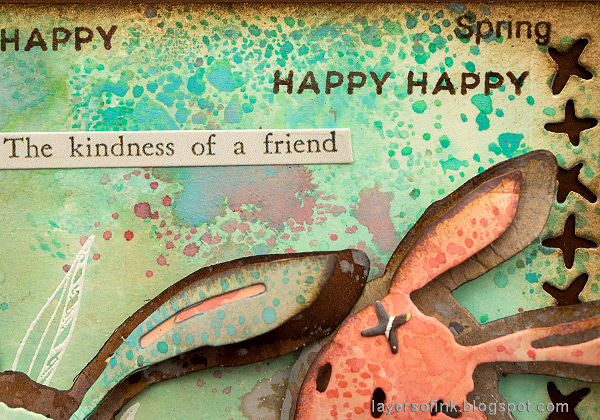
Sentiments were stamped on the background and I also added a Clippings Sticker. I die cut the cross-stitch die from Bunny Stitch on the background.
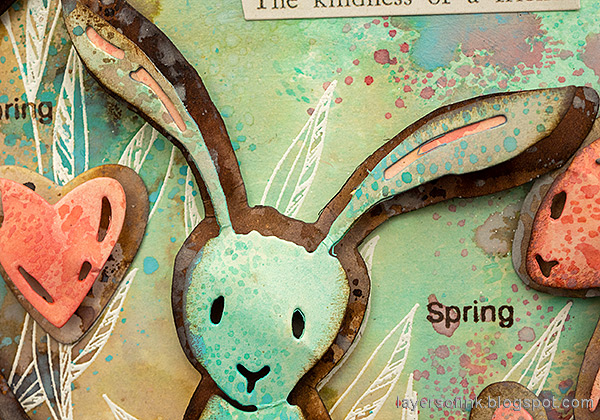
Shape the bunnies with Tim Holtz Shaping Kit and and assemble with a layer of Simon Says Stamp Pawsitively Perfect Foam tape between the colorful bunny and the mat and between the latter and the background.
The left-over cross-stitches were glued to the bunnies. Isn't this one so cute?
On the grey and blue bunny, I glued pink paper behind the ears.
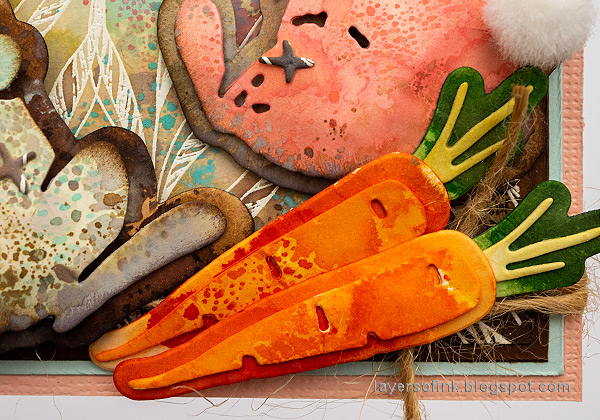
Tie twine around the card before adding the bunnies and carrots.
The Distress Oxide adds a nice opaque texture to the bunnies and the background. I also found some white pom poms in a drawer and used them as tails.
The heart was also adhered with foam tape, giving it more dimension.
I hope you will join us this week in our Easter / Spring challenge. You have a chance to win a $25 gift voucher to do some fun shopping at Simon Says Stamp. You have until Monday 8am Ohio time. 1pm UK time, 2 pm CET to join in.


This is an adorable card Anna-Karin with so much stunning detail.
ReplyDeletePauline xx