Pages

Thursday, March 31, 2022

Snowdrop Tag Tutorial

Hi friends! I hope you are well this last day of the month. We have chilly weather and even some snow, but I have a spring project to share.

Please note: this post has affiliate links, for which I receive a small percentage of sales generated by the link, at no extra cost to you.

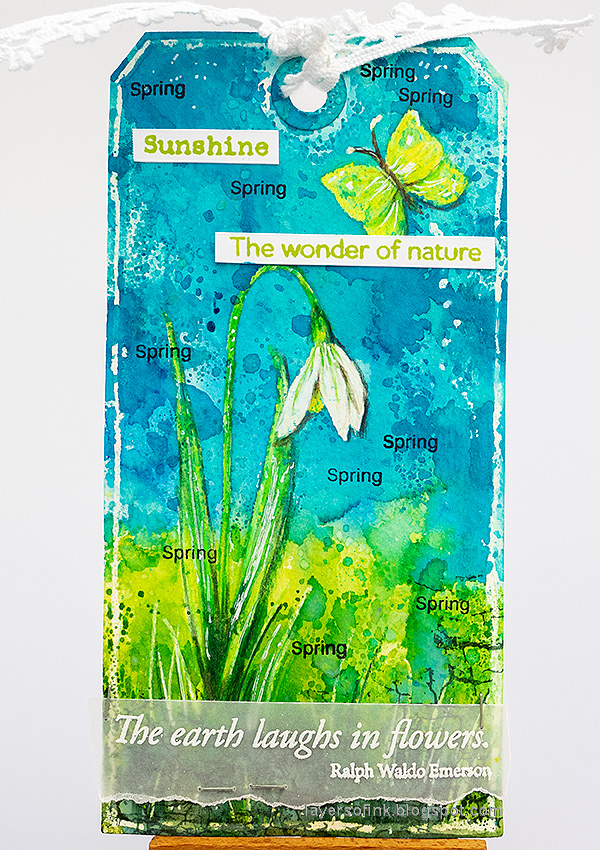
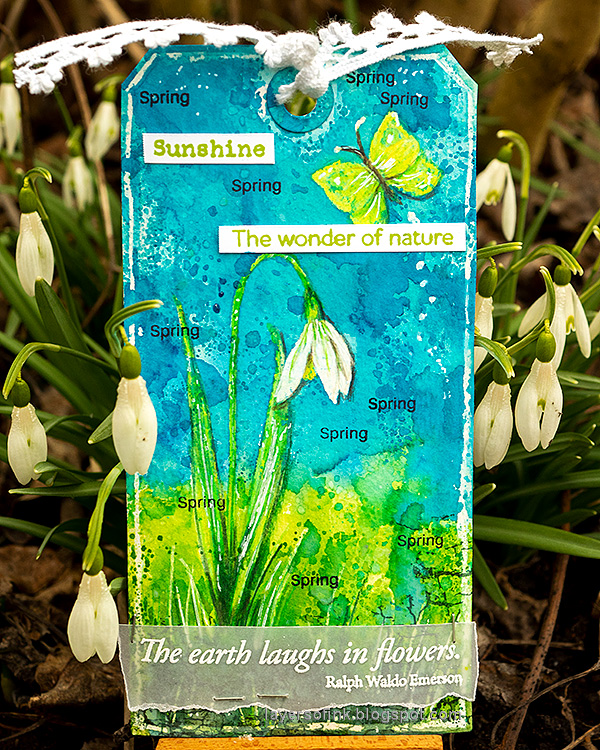
Layers of ink - Snowdrop Tag Tutorial by Anna-Karin Evaldsson. With Simon Says Stamp Thoughtful Flowers stamp set.

The snowdrops started to flower here some weeks ago, being the very first sign of spring. I wanted to make a tag featuring one of these little flowers, together with a lemon butterfly. I used a fun no-line resist technique with colored pencils. Not all colored pencils have the same effect, which probably depends on the binder used in the pencils. Test on a small piece of paper first. Watercolor pencils will not work.

Layers of ink - Snowdrop Tag Tutorial by Anna-Karin Evaldsson. With Simon Says Stamp Thoughtful Flowers stamp set. Stamp the snowdrop and butterfly.

Start by stamping the snowdrop and one of the butterflies from Simon Says Stamp Thoughtful Flowers with Antique Linen ink. I used watercolor paper, but you can also experiment with other papers.

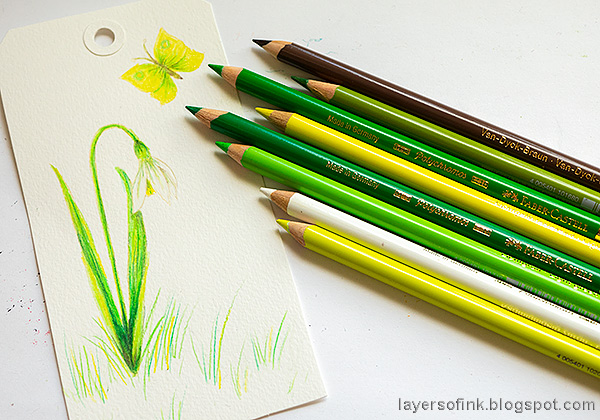
Layers of ink - Snowdrop Tag Tutorial by Anna-Karin Evaldsson. With Simon Says Stamp Thoughtful Flowers stamp set. Color with colored pencils.

Color the flower and the butterfly. Use white for the flower itself and be careful to cover it as well as possible. Add some grass too. I also scribbled a white frame around the tag. I used Faber-Castell Polychromos pencils.

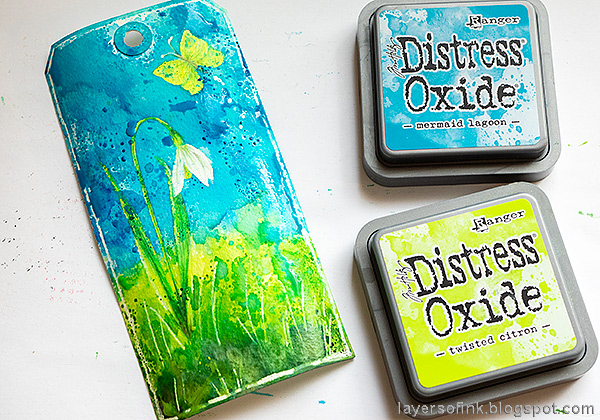
Layers of ink - Snowdrop Tag Tutorial by Anna-Karin Evaldsson. With Simon Says Stamp Thoughtful Flowers stamp set.

Smear Distress Inks on a non-stick craft sheet and mist with water. Press the tag into the ink. If you want a light and bright look, leave the background as it is.


 Or you can continue adding more layers of Distress Ink, letting the paper dry in between.

Layers of ink - Snowdrop Tag Tutorial by Anna-Karin Evaldsson. With Simon Says Stamp Thoughtful Flowers stamp set.

My last layer was Distress Oxide Ink, but only here and there.

Layers of ink - Snowdrop Tag Tutorial by Anna-Karin Evaldsson. With Simon Says Stamp Thoughtful Flowers stamp set.

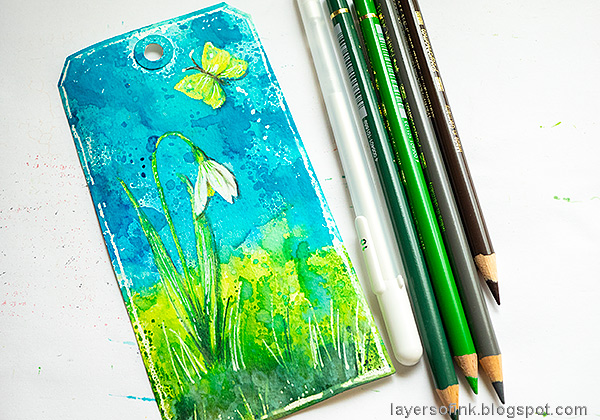
Add some shading and details to the flower with colored pencils. And a few highlights and strands of grass with a white gel pen.

Layers of ink - Snowdrop Tag Tutorial by Anna-Karin Evaldsson. With Simon Says Stamp Thoughtful Flowers stamp set. Stamp with Simon Says Stamp Crackle Background.

Stamp the foreground with the Simon Says Stamp Crackle Background stamp and Library Green ink.

Layers of ink - Snowdrop Tag Tutorial by Anna-Karin Evaldsson. With Simon Says Stamp Thoughtful Flowers stamp set.

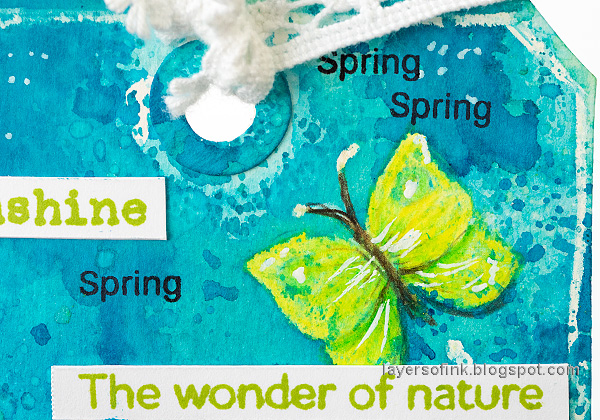
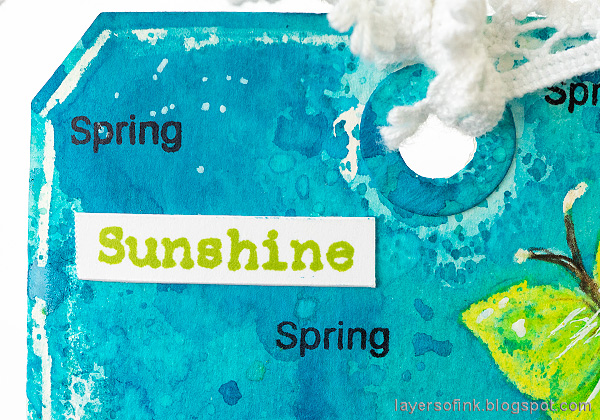
I stamped sentiment strips with Simon Says Stamp Pawsitivily Saturated Pearfection ink. The stamps come from the Forest Scenery and Thoughtful Flowers set.

Layers of ink - Snowdrop Tag Tutorial by Anna-Karin Evaldsson. With Simon Says Stamp Thoughtful Flowers stamp set.

I also repeat-stamped the word 'spring' all over the tag, from the All Seasons Tree set.

Layers of ink - Snowdrop Tag Tutorial by Anna-Karin Evaldsson. With Simon Says Stamp Thoughtful Flowers stamp set.

White flowers are a challenge to color, since they won't show well unless there is some color in the background. I added a little bit of shading to make it stand out more.

Layers of ink - Snowdrop Tag Tutorial by Anna-Karin Evaldsson. With Simon Says Stamp Thoughtful Flowers stamp set.

The green shades might disappear a bit against the green background. You can add back details and draw and outline with a pencil.

Layers of ink - Snowdrop Tag Tutorial by Anna-Karin Evaldsson. With Simon Says Stamp Thoughtful Flowers stamp set.

A stamped sentiment would have disappeared on the darker background, so instead I white embossed the sentiment on vellum. The sentiment comes from Simon Says Stamp Laugh In Flowers.

Layers of ink - Snowdrop Tag Tutorial by Anna-Karin Evaldsson. With Simon Says Stamp Thoughtful Flowers stamp set.

It started snowing when I photographed this project. I with this was the last snow of for now. I hope you enjoyed this tutorial. 


Thank you so much for taking the time to stop by here today!

Happy crafting!

Anna-Karin

Supplies:

* Please note: the links are affiliate links, for which I receive a small percentage of sales generated by the link, at no extra cost to you.

Wednesday, March 30, 2022

Mother's Day Card Tutorial

 Hi friends! Today I have a Mother's Day card to share with a fun background technique.

Please note: this post has affiliate links, for which I receive a small percentage of sales generated by the link, at no extra cost to you.


Layers of ink - Mother's Day Card Tutorial by Anna-Karin Evaldsson.

I wanted a soft textured background and combined a stencil, texture paste and Scribble Sticks to make this. You can also experiment with other coloring methods, such as ink or watercolor paint. And the card can be made in any theme. 

Layers of ink - Mother's Day Card Tutorial by Anna-Karin Evaldsson.

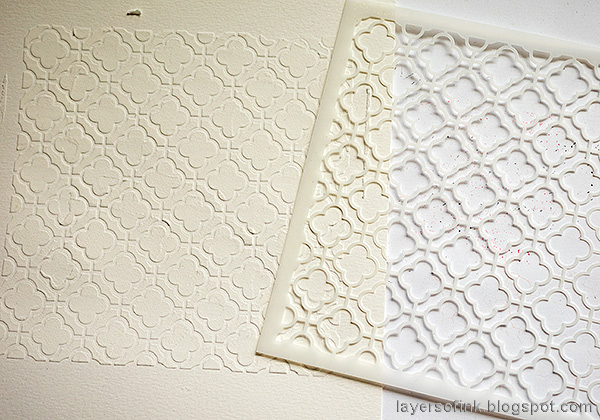
Start by applying texture paste through the Simon Says Stamp Tin Tile stencil. This pretty stencil comes from the new Hello Gorgeous release. I worked on watercolor paper. Let dry.

Layers of ink - Mother's Day Card Tutorial by Anna-Karin Evaldsson.

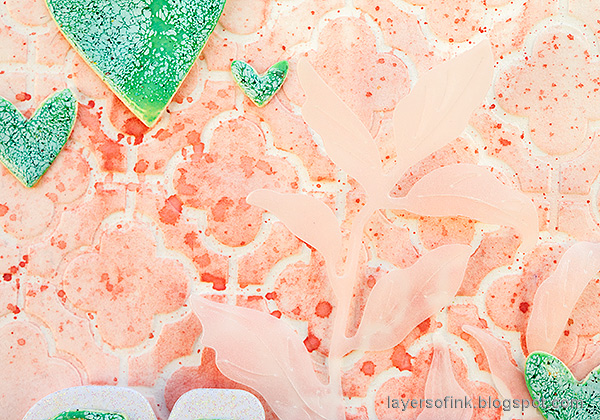
Scribble a Dina Wakley Scribble Stick over the background, making it darker towards the center. The crayon will stick to the raised parts.

Layers of ink - Mother's Day Card Tutorial by Anna-Karin Evaldsson.

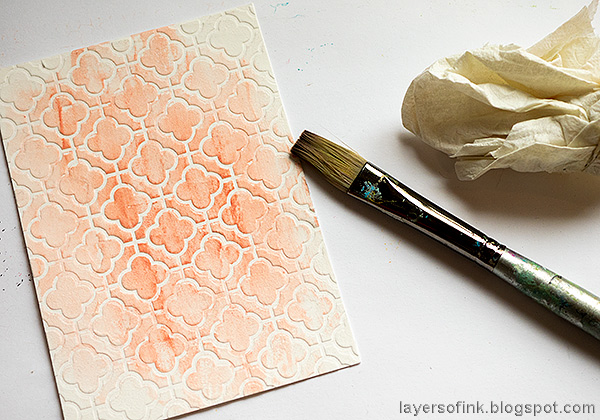
Dipp a paint brush in water and use it to turn the Scribble Stick into watercolor. Wipe the pigment off and use new water if you want the edges of the design to remain lighter. A flat paint brush is the easiest to use. If an area is too dark, dabb with a paper towel. Let dry.

Layers of ink - Mother's Day Card Tutorial by Anna-Karin Evaldsson.

Dipp the same pink Scribble Stick in water and flick a paint brush against it to create splatters. This is my favorite way of creating spatters and it is fairly mess-free.

Layers of ink - Mother's Day Card Tutorial by Anna-Karin Evaldsson.

Die cut the Simon Says Stamp Fancy Mom from heavystock paper.

Layers of ink - Mother's Day Card Tutorial by Anna-Karin Evaldsson.

Ink with Cracked Pistachio Distress Oxide and coat with about three layers of clear embossing powder. Be very careful when melting the powder and never touch it until it has cooled down completely. Sprinkle a little Ranger Sea Mixed Media Powder into the last layer, for a speckled effect, but don't cover everything.

Layers of ink - Mother's Day Card Tutorial by Anna-Karin Evaldsson.

Repeat with Clipping Hearts.

Layers of ink - Mother's Day Card Tutorial by Anna-Karin Evaldsson.

Round the corners. Mount the panel on mint cardstock and then on a folded cream card. The speckled effect of the embossing powder looks really nice and floats on top of the background Distress Oxide shade.

Layers of ink - Mother's Day Card Tutorial by Anna-Karin Evaldsson.

The sentiment is very glossy and has a great texture. I die cut the mat from Simon Says Stamp white glitter paper. The stamped sentiment comes from Simon Says Stamp All Seasons Tree.

Layers of ink - Mother's Day Card Tutorial by Anna-Karin Evaldsson.


Layers of ink - Mother's Day Card Tutorial by Anna-Karin Evaldsson.

My favorite part of the background technique is that it leaves the debossed areas largely uncolored, although not completely.


Thank you so much for taking the time to stop by here today!

Happy crafting!

Anna-Karin

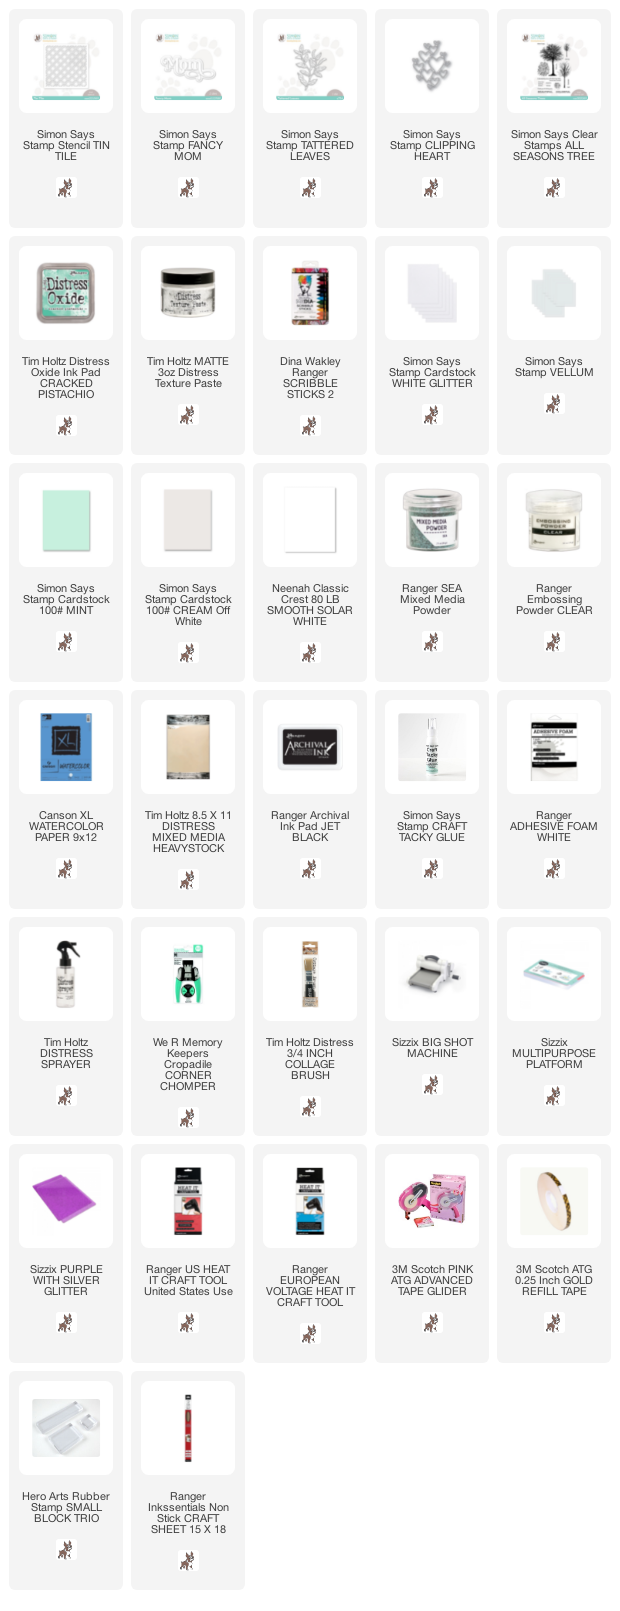
Supplies:

* Please note: the links are affiliate links, for which I receive a small percentage of sales generated by the link, at no extra cost to you.

Tuesday, March 29, 2022

Tape Mixed Media Background

Hi friends! I have a mixed media tag to share today, with a bunch of fun techniques, which can also be used for other types of projects.

 Please note: this post has affiliate links, for which I receive a small percentage of sales generated by the link, at no extra cost to you.


Layers of ink - Mixed Media Floral Tag Tutorial by Anna-Karin Evaldsson.

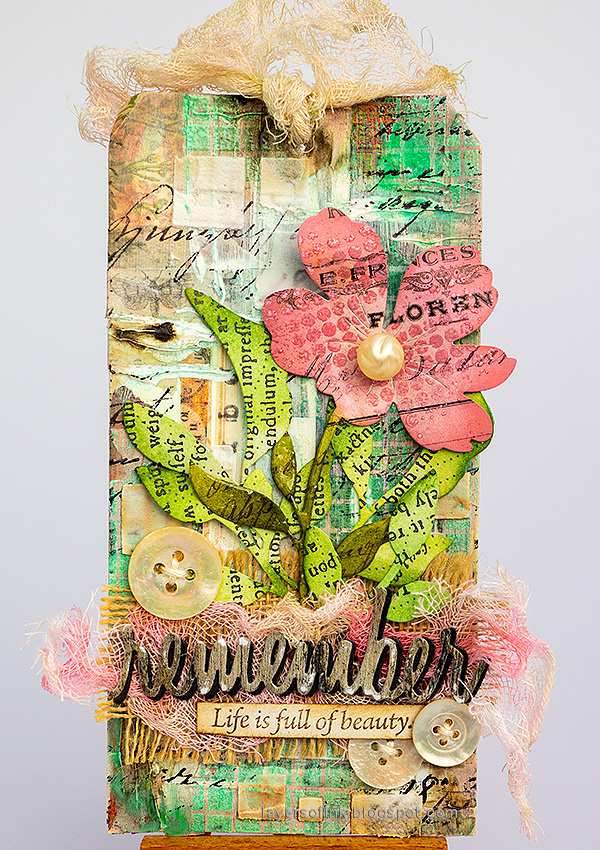
I didn't have a plan when I started with this tag, except for wanting to use Design Tape for the background. After that I just kept on building layers until I was happy with the look. The flower was die cut and inked and I finished the card with a few vintage buttons.

Layers of ink - Mixed Media Floral Tag Tutorial by Anna-Karin Evaldsson. Apply Design Tape to the background.

Coat the tag with matte medium and apply torn pieces of Design Tape. Most of mine are placed vertically with a few horizontal pieces. It is Rose, Butterfly and Vintage design tape.

Layers of ink - Mixed Media Floral Tag Tutorial by Anna-Karin Evaldsson.

Apply gesso with a palette knife, using less on areas that you want to keep more visible.

Layers of ink - Mixed Media Floral Tag Tutorial by Anna-Karin Evaldsson.

When dry, paint with Distress Paint. Mist with water to make the paints blend.

Layers of ink - Mixed Media Floral Tag Tutorial by Anna-Karin Evaldsson. Stamp with Simon Says Stamp Solid Grid Background.

When dry, stamp the Simon Says Stamp Solid Grid Background with embossing ink and emboss with Cracked Pistachio Distress Embossing Glaze.

Layers of ink - Mixed Media Floral Tag Tutorial by Anna-Karin Evaldsson.

Stamp here and there with the Simon Says Stamp Old Letter background.

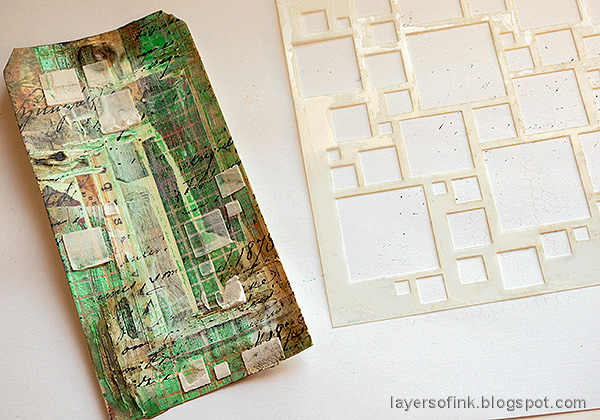
Layers of ink - Mixed Media Floral Tag Tutorial by Anna-Karin Evaldsson. Apply paste through Simon Says Stamp Mixed Squares stencil.

Finally, I added more squares with the Simon Says Stamp Mix and Match Squares stencil and texture paste.

Layers of ink - Mixed Media Floral Tag Tutorial by Anna-Karin Evaldsson.


Layers of ink - Mixed Media Floral Tag Tutorial by Anna-Karin Evaldsson.

Ink the flower with two shades of pink Distress Ink. The stamp with Worn Lipstick Distress Oxide ink and the Simon Says Stamp Halftone Circle background. Emboss with clear powder. I stitched a button in the center of the flower. The stem was inked with green shades and embossed with clear powder.

Layers of ink - Mixed Media Floral Tag Tutorial by Anna-Karin Evaldsson.

Die cut leaves with the Simon Says Stamp Tender Leaves die and ink.

Layers of ink - Mixed Media Floral Tag Tutorial by Anna-Karin Evaldsson.

The edges were inked with Vintage Photo Distress Ink and the mummy cloth was dyed with Distress Ink. I like that you can see the patters in the Design Tape through the other layers here and there.

Layers of ink - Mixed Media Floral Tag Tutorial by Anna-Karin Evaldsson.

The title was die cut with Tim Holtz Frienship Words Script, from Backdrops paper and black cardstock. I also used a piece of burlap, more dyed cheesecloth/mummy cloth, a sentiment from Simon Says Stamp Laugh in Flowers and some vintage buttons.

Layers of ink - Mixed Media Floral Tag Tutorial by Anna-Karin Evaldsson.

The flower stem was embossed with layers of clear powder, and the remaining leaves were only inked, giving a nice contrast.

Layers of ink - Mixed Media Floral Tag Tutorial by Anna-Karin Evaldsson.

Shape the flower a little bit and stitch a button to the center.

For more inspiration on Design Tape backgrounds check out my Shabby Chic Tag Tutorial.


Thank you so much for taking the time to stop by here today!

Happy crafting!

Anna-Karin

Supplies:

* Please note: the links are affiliate links, for which I receive a small percentage of sales generated by the link, at no extra cost to you.

Monday, March 28, 2022

Cardboard tag with button flowers

Hello stampers! I have a mixed media tag to share today, featuring flowers made with vintage buttons.

Please note: this post has affiliate links, for which I receive a small percentage of sales generated by the link, at no extra cost to you.


We have a 'Recycle' theme at the Simon Says Stamp Monday Challenge Blog this week. I hope you will join us! And don't miss the fantastic project by our March guest designer Deborah Emmons aka designingdiva_73

Layers of ink - Cardboard tag with buttons tutorial by Anna-Karin Evaldsson.

I made a tag using a bunch of recycled materials: cardboard from packaging, vintage buttons from a second hand shop, old lace and book paper. It is such fun to mix different things and see what you can come up with and cardboard makes for a very sturdy tag.

Layers of ink - Cardboard tag with buttons tutorial by Anna-Karin Evaldsson.

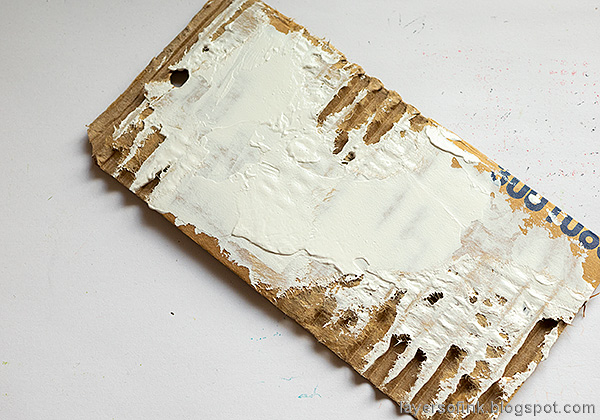
Start by cutting a tag from cardboard. You can use the Crop-a-dile Angle Corner Chomper together with the original Crop-a-Dile. Tear some of the upper layer off.

Layers of ink - Cardboard tag with buttons tutorial by Anna-Karin Evaldsson.

Apply gesso to the tag and let dry.

Layers of ink - Cardboard tag with buttons tutorial by Anna-Karin Evaldsson.

Apply torn pieces of old book paper to the tag and add a layer of matte medium on top.

Layers of ink - Cardboard tag with buttons tutorial by Anna-Karin Evaldsson.

Paint with four colors Distress Paint and mist with water. When dry, apply texture paste through Tim Holtz Linen stencil.

Layers of ink - Cardboard tag with buttons tutorial by Anna-Karin Evaldsson.

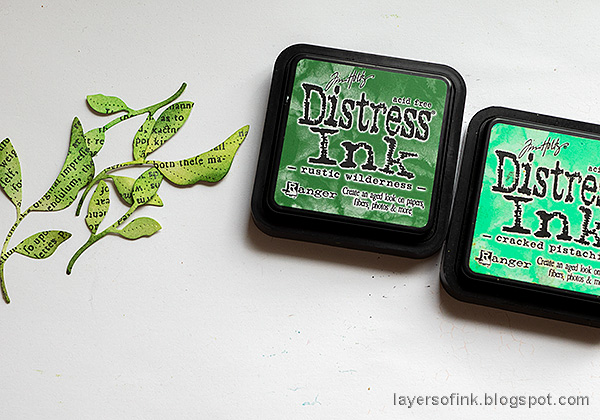
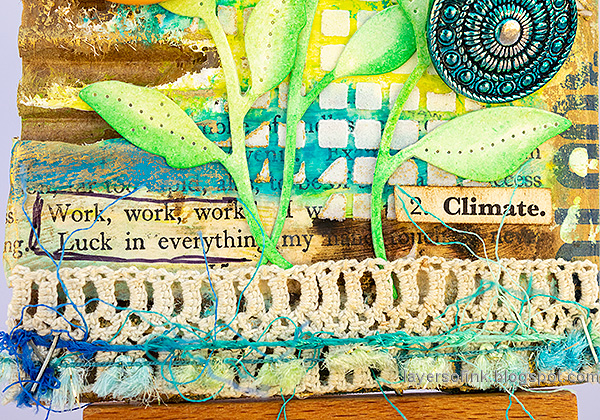
I die cut stems for the button flowers with the Simon Says Stamp Etched Evening Blossom and Tender Leaves die sets. Ink with Cracked Pistachio. Later I also added some Lucky Clover.

Layers of ink - Cardboard tag with buttons tutorial by Anna-Karin Evaldsson.

The buttons were layered together, with the largest flower consisting of three buttons.

Layers of ink - Cardboard tag with buttons tutorial by Anna-Karin Evaldsson.

The metallic button in the center was distressed with alcohol ink.

Layers of ink - Cardboard tag with buttons tutorial by Anna-Karin Evaldsson.

I also added Turquoise alcohol ink to the metallic button.

Layers of ink - Cardboard tag with buttons tutorial by Anna-Karin Evaldsson.

Apply a little Sizzix Gold Luster Wax around the edges and here and there.

Layers of ink - Cardboard tag with buttons tutorial by Anna-Karin Evaldsson.

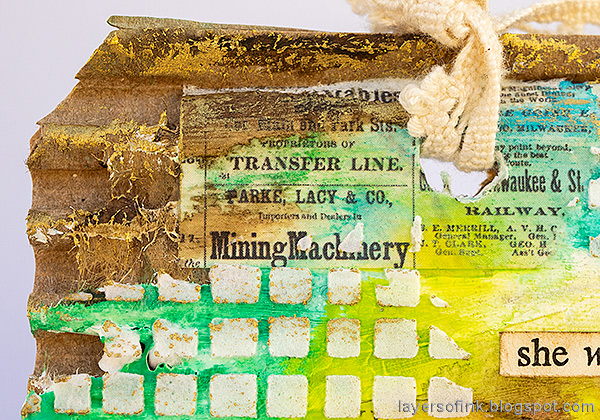
The torn cardboard fibers give a great texture, especially together with the gold wax. This sentiment also comes from an old book.

Layers of ink - Cardboard tag with buttons tutorial by Anna-Karin Evaldsson.

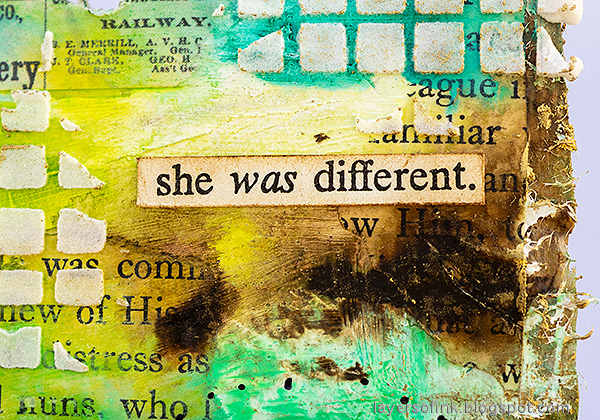
I circled some of the words in the background and also cut out more words from an old book, to use as sentiments.

Layers of ink - Cardboard tag with buttons tutorial by Anna-Karin Evaldsson.

A piece of vintage trim, which I think is handmade, grounds the flowers to the tag and I also added a few strands of fiber.

Layers of ink - Cardboard tag with buttons tutorial by Anna-Karin Evaldsson.

Button flowers are fun to make and make for quick, colorful and dimensional embellishments.

I hope you will join us this week in our Recycle theme. You have a chance to win a $25 gift voucher to do some fun shopping at Simon Says Stamp. You have until Monday 8am Ohio time. 1pm UK time, 2 pm CET to join in.


Do you use Instagram? If so please add #sssmchallenge so we can see your entries there too.


Thank you so much for visiting my blog today! 

Happy crafting!

Anna-Karin

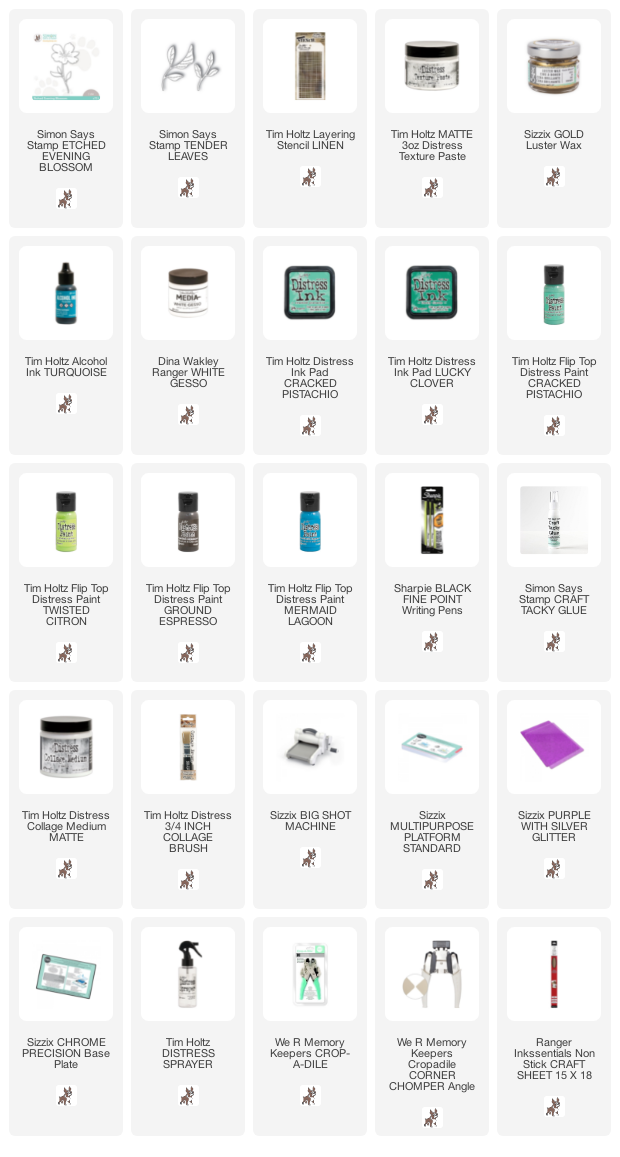
Supplies:

* Please note: the links are affiliate links, for which I receive a small percentage of sales generated by the link, at no extra cost to you.