Pages

Friday, December 31, 2021

Wishes 2022 Tag Tutorial

Hi friends! It is the last day of 2021 and I have a tag to share with wishes for a wonderful 2022 filled with joy and creativity. 

Please note: this post has affiliate links, for which I receive a small percentage of sales generated by the link, at no extra cost to you.
Layers of ink - Wishes 2022 Tag Tutorial by Anna-Karin Evaldsson.

We have had a pretty tough year and we are looking forward to the start of a new, and hopefully better, year. As I was looking through some stamps, I came up on this sentiment stamp by Tim Holtz and thought it was perfect for a New Year's tag.

Layers of ink - Wishes 2022 Tag Tutorial by Anna-Karin Evaldsson.

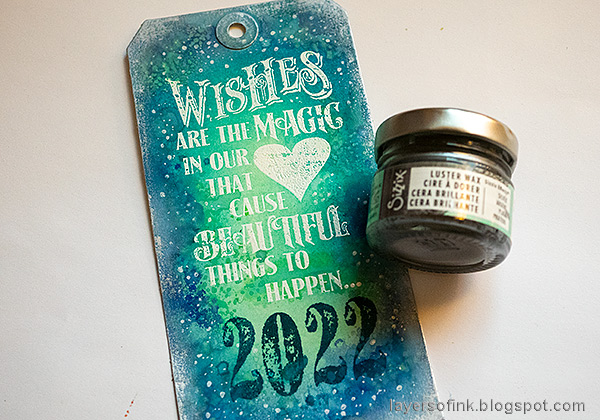
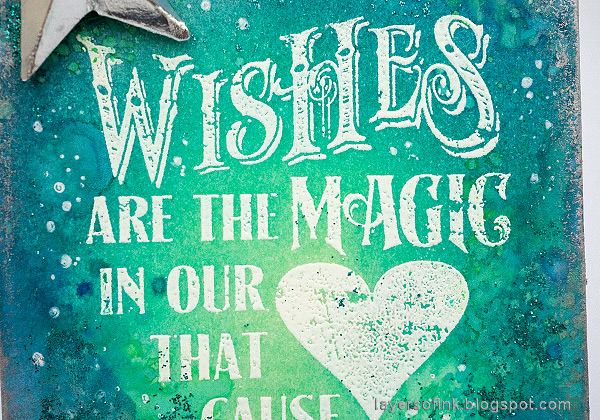
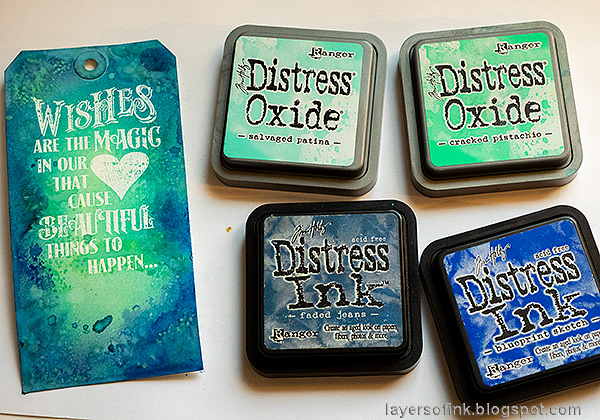
Start by white embossing a sentiment stamp from Good Thoughts on a tag or a card.

Layers of ink - Wishes 2022 Tag Tutorial by Anna-Karin Evaldsson. Ink with Distress Ink.

Ink with Distress Inks, using an ink-blending tool.

Layers of ink - Wishes 2022 Tag Tutorial by Anna-Karin Evaldsson.

Smear Distress Inks and Distress Oxide ink on a non-stick craft sheet, mist lightly with water and dab the tag into the ink. Let dry in between layers. I aimed for the look of a night-time sky, but avoided too much texture where the sentiment is. 

Layers of ink - Wishes 2022 Tag Tutorial by Anna-Karin Evaldsson. Add dots with a gel pen.

Add stars or snowfall with a white gel pen. Make the dots in different sizes.

Layers of ink - Wishes 2022 Tag Tutorial by Anna-Karin Evaldsson.

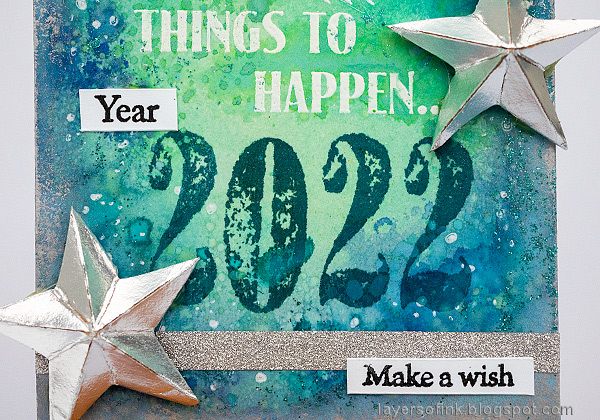
Stamp the year with Tim's Worn Text stamps and Deep Sea ink.

Layers of ink - Wishes 2022 Tag Tutorial by Anna-Karin Evaldsson.

For some shine, apply Sizzix Silver Luster Wax around the edges with your finger. 

Layers of ink - Wishes 2022 Tag Tutorial by Anna-Karin Evaldsson.

Do the same with just a little Simon Says Stamp Glitz Glitter Gel.

Layers of ink - Wishes 2022 Tag Tutorial by Anna-Karin Evaldsson.

I never tire of the look of white embossing together with colorful dye inks.

Layers of ink - Wishes 2022 Tag Tutorial by Anna-Karin Evaldsson.

The stars were die cut with Tim's Christmas Vault Series 2021 from silver kraft core paper. I also stamped three sentiments on white paper. The come from Simon Says Stamp Laugh In Flowers and Document It.

Layers of ink - Wishes 2022 Tag Tutorial by Anna-Karin Evaldsson.

The silver shine didn't photograph well, as it was starting to get dark. It is a metallic silver look in real life. 

Layers of ink - Wishes 2022 Tag Tutorial by Anna-Karin Evaldsson.

I like the dimensional look of these stars.

Layers of ink - Wishes 2022 Tag Tutorial by Anna-Karin Evaldsson.

Just a little bit of glitter adds interest to the tag.

Layers of ink - Wishes 2022 Tag Tutorial by Anna-Karin Evaldsson.


Happy New Year to all of you!! 

Thank you so much for visiting my blog and for all the support through the year. I am so looking forward to a new creative year 2022. 


Thank you so much for taking the time to stop by here today!

Happy crafting!

Anna-Karin

Supplies:

* Please note: the links are affiliate links, for which I receive a small percentage of sales generated by the link, at no extra cost to you.

Wednesday, December 29, 2021

Winter Leaves Art Journal Page

Hello crafters! Today I have an art journal page to share with a fun stamping technique to create the look of frost or snow.

Please note: this post has affiliate links, for which I receive a small percentage of sales generated by the link, at no extra cost to you.

Layers of ink - Winter Leaves Art Journal Page Tutorial by Anna-Karin Evaldsson. With Simon Says Stamp Real Leaves stamp set.


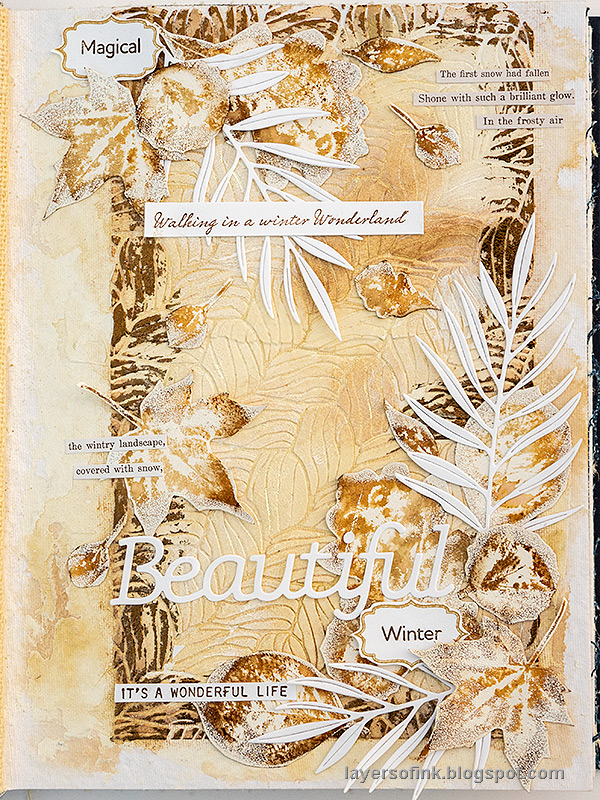
I was inspired to do this art journal page on one of my walks. It was -18C, but no snow, so the leaves on the path were visible, but covered with frost. It was such a beautiful combination of shades of brown and white. Leaves aren't only for autumn projects, but have a presence in our lives all year around. I wanted to create the look of layered leaves on a forest path.

Layers of ink - Winter Leaves Art Journal Page Tutorial by Anna-Karin Evaldsson. With Simon Says Stamp Real Leaves stamp set.

I used the Simon Says Stamp Real Leaves set, which is one of the stamp sets that I designed. The leaves were inked with shades of brown Distress Ink, misted about three-four times with water, before stamping on watercolor paper.

Layers of ink - Winter Leaves Art Journal Page Tutorial by Anna-Karin Evaldsson. With Simon Says Stamp Real Leaves stamp set.

Apply embossing ink along the edges of the leaves, and dab here and there. Aim for a random and uneven look. Sprinkle with white embossing powder and emboss. Always be very careful when using a heat tool and never touch the melted powder until it has cooled down completely.

Layers of ink - Winter Leaves Art Journal Page Tutorial by Anna-Karin Evaldsson. With Simon Says Stamp Real Leaves stamp set.

Ink some of the edges a little darker with Ground Espresso. 

Layers of ink - Winter Leaves Art Journal Page Tutorial by Anna-Karin Evaldsson. With Simon Says Stamp Real Leaves stamp set.

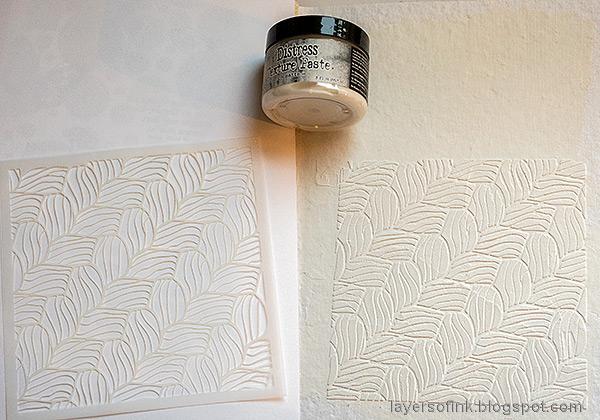
I worked on a cotton-rag page in my Dina Wakley Blue Edition Media Journal. It was first coated with gesso and when dry, I applied texture paste through the Simon Says Stamp Chunky Sweater stencil. Let dry and repeat at the top.

Layers of ink - Winter Leaves Art Journal Page Tutorial by Anna-Karin Evaldsson. With Simon Says Stamp Real Leaves stamp set.

Paint with watered-down Frayed Burlap and Pumice Stone Distress Paint.

Layers of ink - Winter Leaves Art Journal Page Tutorial by Anna-Karin Evaldsson. With Simon Says Stamp Real Leaves stamp set.

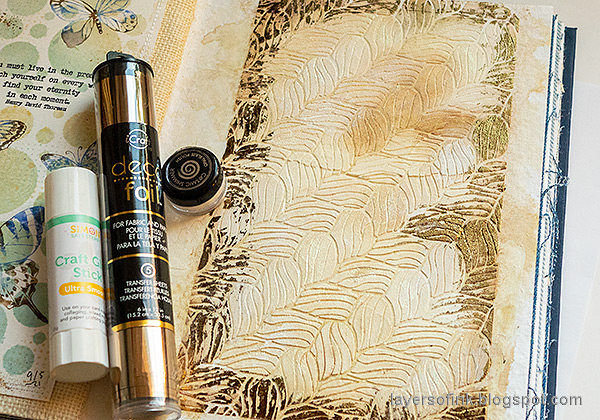
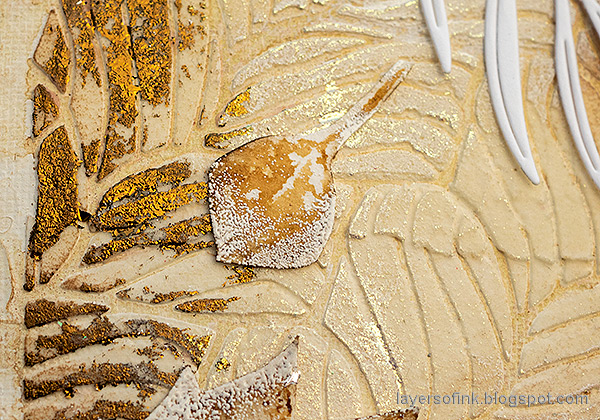
Apply glue around the edges with a glue stick. Let dry until sticky. Place foil with the shiny side up and rub. This gives a rough foiled effect. I also applied some Gilded Avocado Opal Blaze Polish on the non-foil areas.

Layers of ink - Winter Leaves Art Journal Page Tutorial by Anna-Karin Evaldsson. With Simon Says Stamp Real Leaves stamp set.

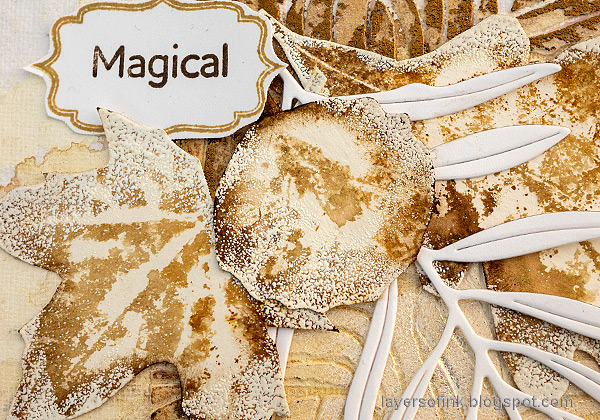
Stamp labels from Simon Says Stamp Mixed Labels with brown ink and stamp sentiments on the labels. This sentiment comes from the Forest Scenery set. Layer the leaves on the background. 

Layers of ink - Winter Leaves Art Journal Page Tutorial by Anna-Karin Evaldsson. With Simon Says Stamp Real Leaves stamp set.

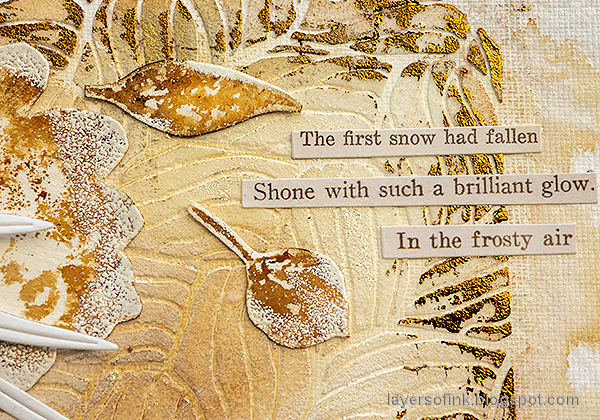
I added some additional sentiments from Tim Holtz Clippings Stickers.

Layers of ink - Winter Leaves Art Journal Page Tutorial by Anna-Karin Evaldsson. With Simon Says Stamp Real Leaves stamp set.

The title was die cut from white paper. There are also some more stamped sentiments.
 
Layers of ink - Winter Leaves Art Journal Page Tutorial by Anna-Karin Evaldsson. With Simon Says Stamp Real Leaves stamp set.

These beautiful branches were die cut with the new Simon Says Stamp Etched Delicate Frond die.

Layers of ink - Winter Leaves Art Journal Page Tutorial by Anna-Karin Evaldsson. With Simon Says Stamp Real Leaves stamp set.

Leaves are such fun to layer. 

Layers of ink - Winter Leaves Art Journal Page Tutorial by Anna-Karin Evaldsson. With Simon Says Stamp Real Leaves stamp set.

The shine from the Gilded Avocado glace is hard to capture on a photo, but here you can see a hint of it.

Layers of ink - Winter Leaves Art Journal Page Tutorial by Anna-Karin Evaldsson. With Simon Says Stamp Real Leaves stamp set.

The foil is very shiny and looks different depending on the angle you look at it from.


Thank you so much for taking the time to stop by here today!

Happy crafting!

Anna-Karin

Supplies:

* Please note: the links are affiliate links, for which I receive a small percentage of sales generated by the link, at no extra cost to you.

Monday, December 27, 2021

Delicate Branches Card Tutorial

Hello friends! I hope you had a lovely Christmas! We have had beautiful winter weather and a wonderful time with family.

Please note: this post has affiliate links, for which I receive a small percentage of sales generated by the link, at no extra cost to you.

Layers of ink - Winter Branches Tutorial by Anna-Karin Evaldsson.

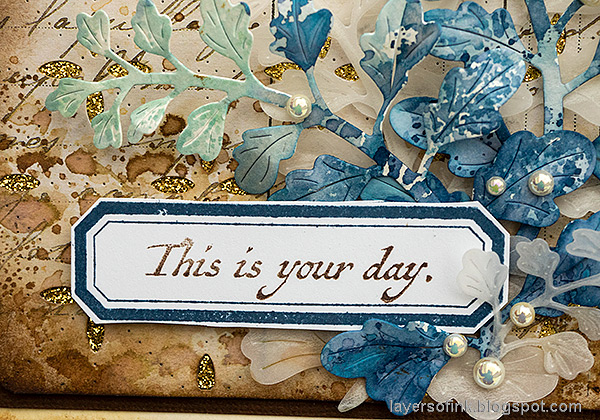
I have a card to share today, with a die cut background and beautiful die cut branches. The branches were die cut with the Simon Says Stamp Fine Textured Leaf die and a mix of watercolor paper and vellum.

Layers of ink - Winter Branches Tutorial by Anna-Karin Evaldsson.

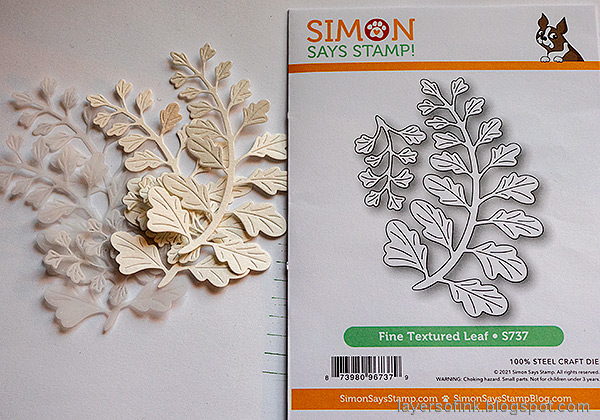
Start by die cutting the two sizes of Fine Textured Leaf from vellum and watercolor paper.

Layers of ink - Winter Branches Tutorial by Anna-Karin Evaldsson.

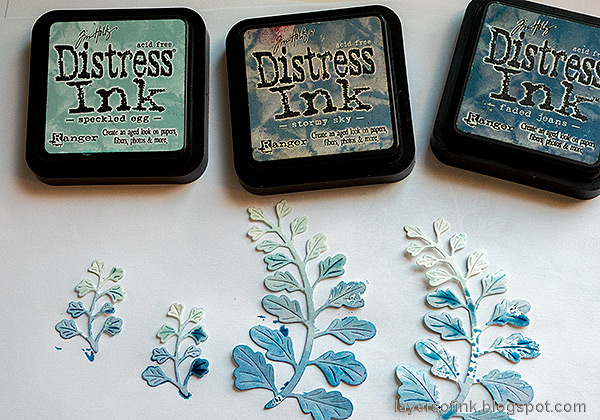
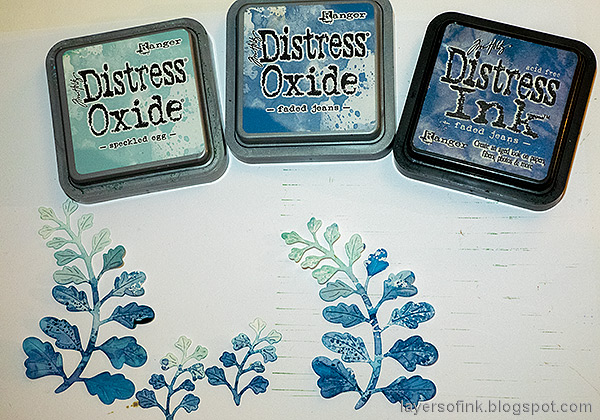
Smear blue shades of Distress Ink on a non-stick craft sheet and mist with water. Press the leaves into the ink, making them lighter at the top. When dry, add more color in the same way until you are happy with the look.

Layers of ink - Winter Branches Tutorial by Anna-Karin Evaldsson.

Apply Distress Oxide Inks on the non-stick craft sheet, mist with water and lightly press the leaves into the ink.

Layers of ink - Winter Branches Tutorial by Anna-Karin Evaldsson.
 
Draw lines on the back of the vellum leaves with a white pencil. 

Layers of ink - Winter Branches Tutorial by Anna-Karin Evaldsson.

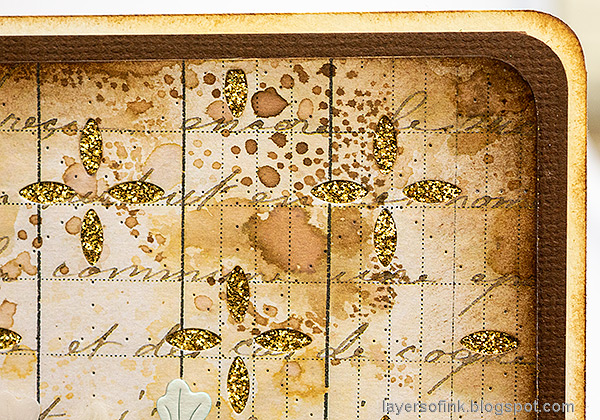
Die cut the Detail Pincushion Plate from Tim Holtz Backdrops paper.

Layers of ink - Winter Branches Tutorial by Anna-Karin Evaldsson.

Smear Distress Ink on a non-stick craft sheet and mist with water. Press the paper into the ink.

Layers of ink - Winter Branches Tutorial by Anna-Karin Evaldsson.

Place Simon Says Stamp gold glitter paper under the die cut so that the gold shines through the die cut flowers.

Layers of ink - Winter Branches Tutorial by Anna-Karin Evaldsson.

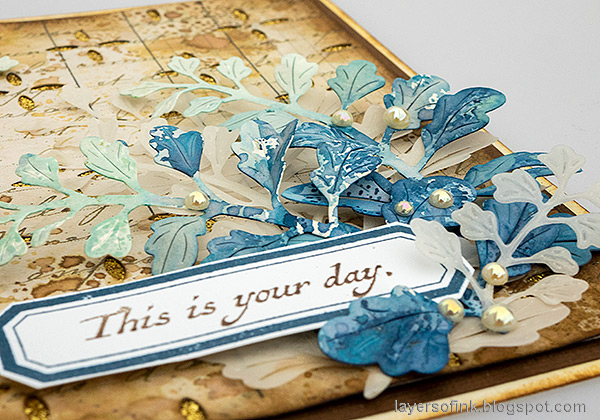
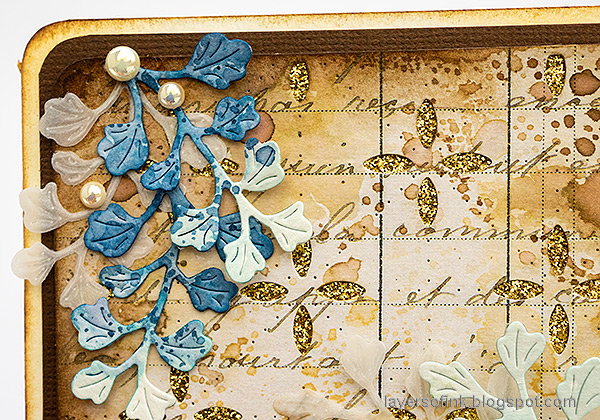
Shape the leaves with Tim Holtz Shaping Kit and glue them onto the background.

Layers of ink - Winter Branches Tutorial by Anna-Karin Evaldsson.

Add some beads to the leaves.

Layers of ink - Winter Branches Tutorial by Anna-Karin Evaldsson.

I placed the larger vellum leaves in the background.

Layers of ink - Winter Branches Tutorial by Anna-Karin Evaldsson.

Stamp a label from Simon Says Stamp Mix and Match labels with blue ink and cut out. There are also coordinating dies. Stamp a sentiment from the same set with brown ink.


Thank you so much for taking the time to stop by here today!

Happy crafting!

Anna-Karin

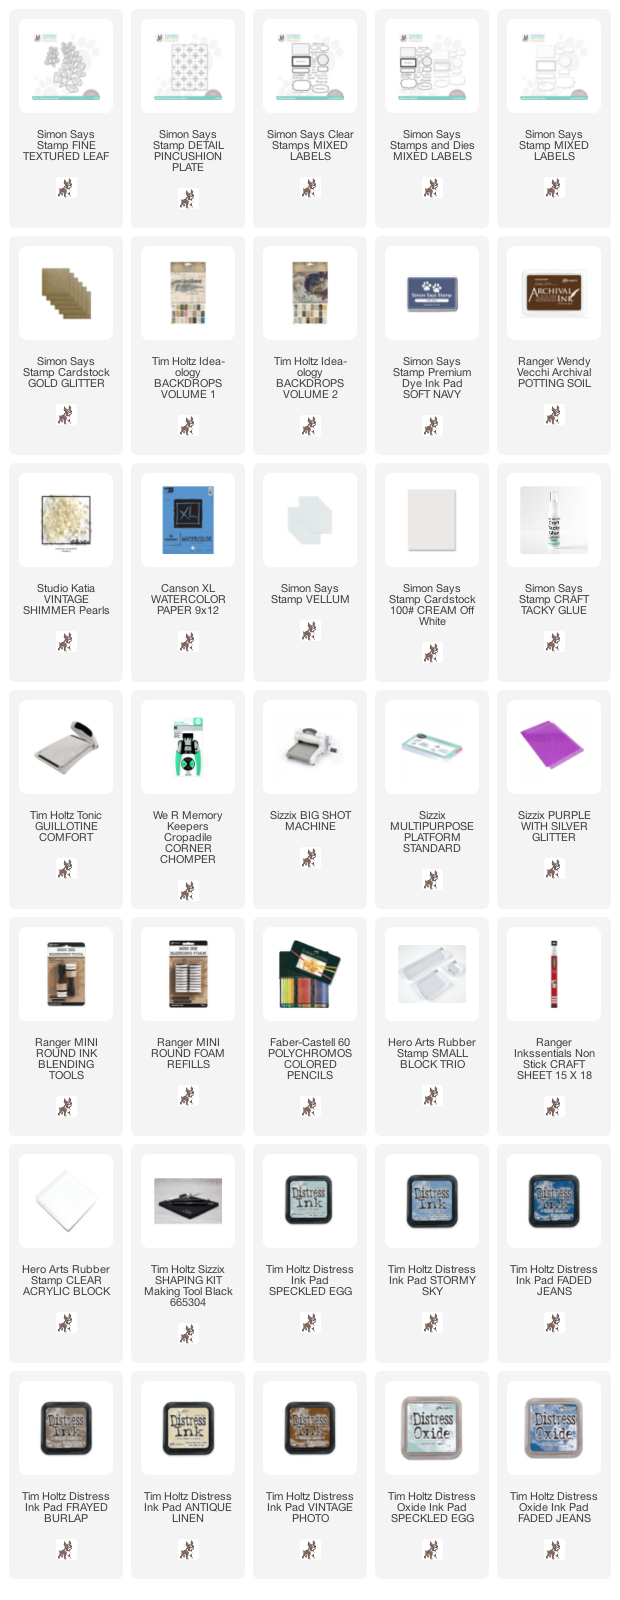
Supplies:

* Please note: the links are affiliate links, for which I receive a small percentage of sales generated by the link, at no extra cost to you.
Wednesday, December 22, 2021

Winter Butterfly

Hello friends! I have an art journal page to share with you today.

Please note: this post has affiliate links, for which I receive a small percentage of sales generated by the link, at no extra cost to you.

Layers of ink - Winter Butterfly Tutorial by Anna-Karin Evaldsson.

About two weeks ago we had very cold weather (-18C). We had had a pretty rough day and in the evening something fluttered by in the living room. My son had thought that he had seen a butterfly a couple of days earlier, but we could hardly believe our eyes when we saw that it was indeed a butterfly which was flying around. It made its home in our Christmas tree and over the course of more than a week, we saw it daily. It was magical. In the middle of winter, with so many degrees below zero outdoors. I had to document it in my art journal.

Layers of ink - Winter Butterfly Tutorial by Anna-Karin Evaldsson.

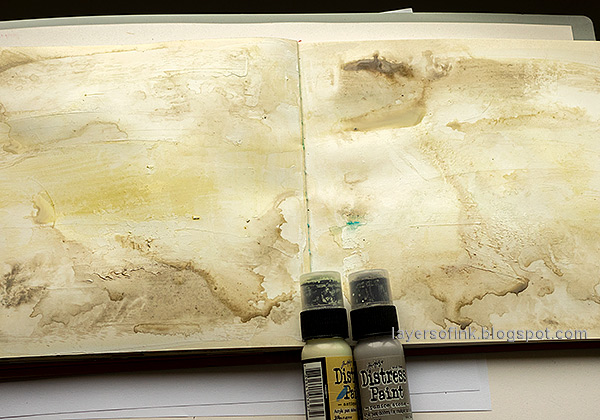
I had a page in my 8x8 Dylusions journal which had been coated with gesso and painted with watered-down Distress Paint.

Layers of ink - Winter Butterfly Tutorial by Anna-Karin Evaldsson.

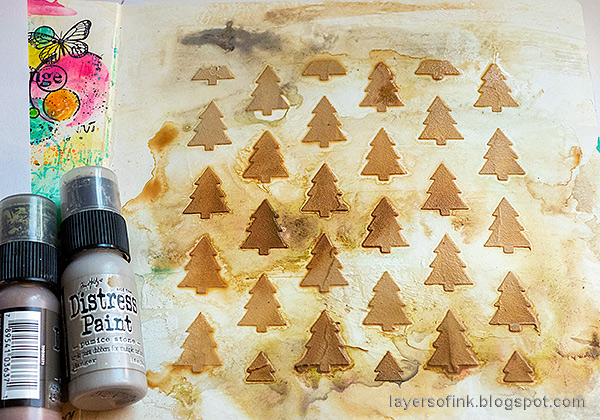
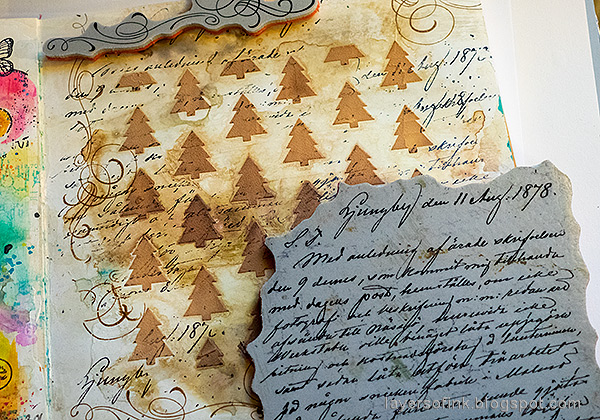
I applied texture paste mixed with a little brown paint through the Simon Says Stamp Just Trees stencil.

Layers of ink - Winter Butterfly Tutorial by Anna-Karin Evaldsson.

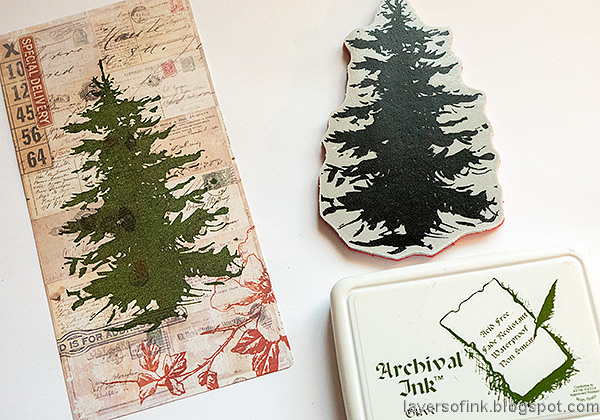
The tree from Tim Holtz Winter Watercolors 2 was stamped on a journal card.

Layers of ink - Winter Butterfly Tutorial by Anna-Karin Evaldsson.

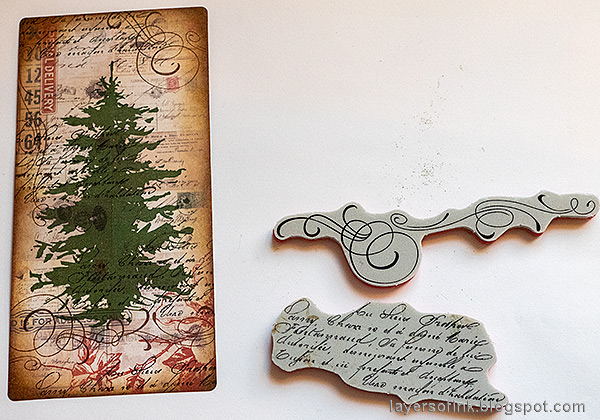
I added some script and swirls from Tim's The Poinsettia.

Layers of ink - Winter Butterfly Tutorial by Anna-Karin Evaldsson.

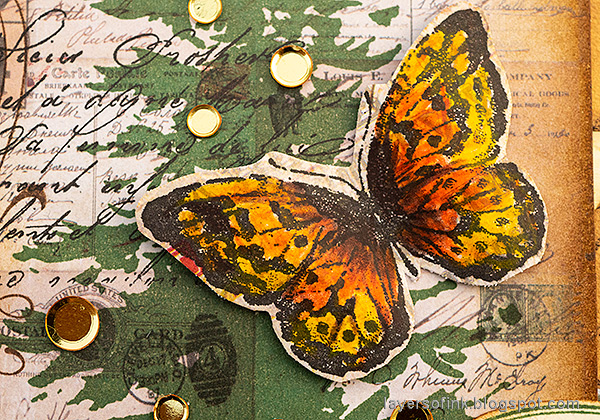
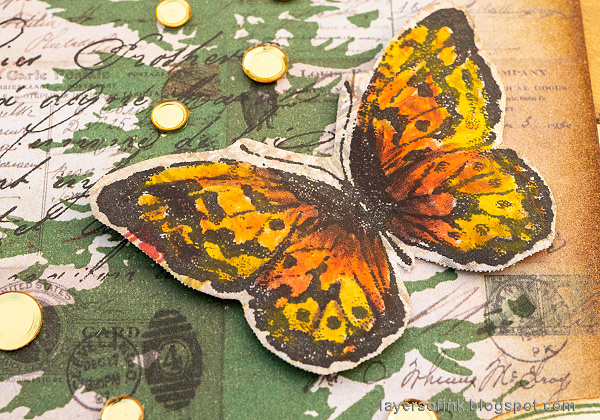
I picked a butterfly from the Flutter set, which looked a lot like ours, stamped it on a journal card and colored it with colored pencils.

Layers of ink - Winter Butterfly Tutorial by Anna-Karin Evaldsson.

Stamp the background with swirls and the Simon Says Stamp Old Letter Background stamp.

Layers of ink - Winter Butterfly Tutorial by Anna-Karin Evaldsson.

I added some Design Tape to the background and stamped sentiments cut into strips.

Layers of ink - Winter Butterfly Tutorial by Anna-Karin Evaldsson.

The butterfly was placed in its favorite place, our tree, and I added gold sequins to the tree.

Layers of ink - Winter Butterfly Tutorial by Anna-Karin Evaldsson.

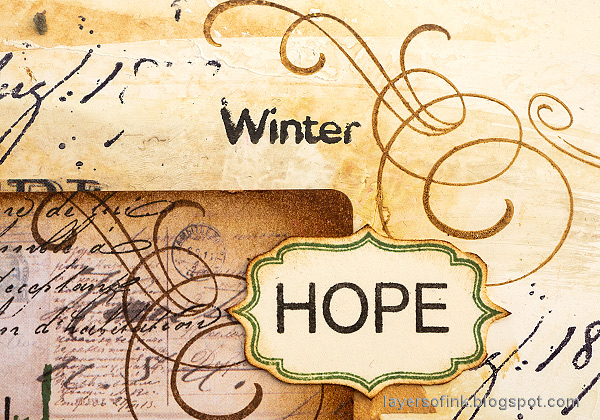
Labels were stamped with green ink using the Simon Says Stamp Mixed Labels stamp set. 

Layers of ink - Winter Butterfly Tutorial by Anna-Karin Evaldsson. Simon Says Stamp Document It.

This sentiment comes from Simon Says Stamp Document It. It is a good reminder for the new year.

Layers of ink - Winter Butterfly Tutorial by Anna-Karin Evaldsson.

I also used a piece of left-over Backdrops paper, tearing it to reveal the music paper at the back. The title was stamped with stamps from Simon Says Stamp Forest Scenery and Thoughtful Flowers.

Layers of ink - Winter Butterfly Tutorial by Anna-Karin Evaldsson.

The magical butterfly itself.


Thank you so much for taking the time to stop by here today!

Happy crafting!

Anna-Karin

Supplies:

* Please note: the links are affiliate links, for which I receive a small percentage of sales generated by the link, at no extra cost to you.