Pages

Monday, August 30, 2021

Glitter Alphabet Notebook Tutorial

Hi friends! I hope you are well and had a good weekend. Today I have a notebook to share with lots of mess-free glitter and shine.

Please note: this post has affiliate links, for which I receive a small percentage of sales generated by the link, at no extra cost to you.
We have a Glimmer and Sparkle theme at the Simon Says Stamp Monday Challenge Blog this week. I hope you will join us! Don't miss the last project by our wonderful August guest designer Anne Redfern. 

Layers of ink - Glittery Alphabet Notebook Tutorial by Anna-Karin Evaldsson.

My youngest has started in the big school and is a little worried that he will struggle to learn to write, so I made him an alphabet notebook so that he can practice writing, or drawing, if he would rather want that. 

Layers of ink - Glittery Alphabet Notebook Tutorial by Anna-Karin Evaldsson. Die cut Simon Says Stamp Archie Jr. Solid.

Start by cutting two covers from Sizzix Little Sizzles Matboard. Cut a piece of watercolor paper to the same size and then die cut the Simon Says Stamp Archie Jr. Solid set. Keep the little pieces.

Layers of ink - Glittery Alphabet Notebook Tutorial by Anna-Karin Evaldsson.

Glue the paper to a cover with matte medium and also glue the inner pieces from 'a', 'e' and so on.

Layers of ink - Glittery Alphabet Notebook Tutorial by Anna-Karin Evaldsson. Coat with gesso.

Coat with a layer of gesso. Let dry.

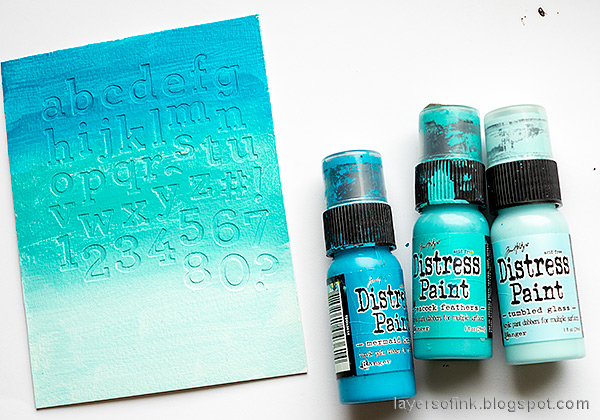
Layers of ink - Glittery Alphabet Notebook Tutorial by Anna-Karin Evaldsson. Paint with Distress Paint.

Paint with three shades of blue/turquoise Distress Inks, in an ombre fashion.

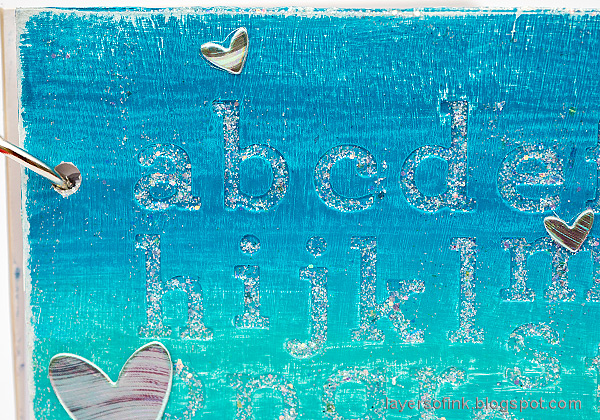
Layers of ink - Glittery Alphabet Notebook Tutorial by Anna-Karin Evaldsson. Apply Ranger Moon Dust Stickles.

Round the outer corners. Apply Ranger's Moon Dust Stickles with a palette knife, pressing the glitter into the letters, while removing most of the glitter around the letters. I left quite a bit of glitter at the bottom of the cover.

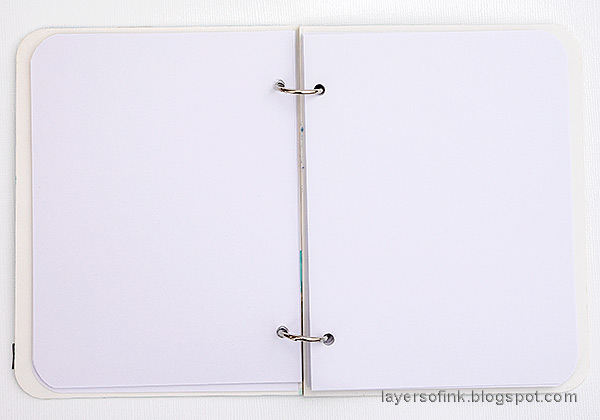
Layers of ink - Glittery Alphabet Notebook Tutorial by Anna-Karin Evaldsson.

Cut papers for the inside, round the outer corners and punch holes with a Crop-a-dile. I wanted to use lined paper, but I couldn't find it. It is probably still in a box after the move. Once I find the lined paper, I will add it to the notebook.

Layers of ink - Glittery Alphabet Notebook Tutorial by Anna-Karin Evaldsson.

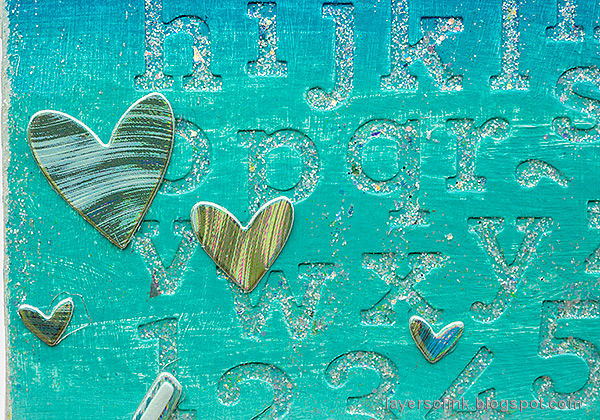
The glittery letters look pretty nice.

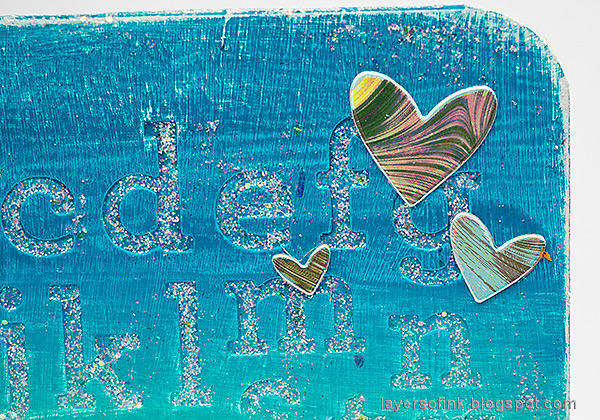
Layers of ink - Glittery Alphabet Notebook Tutorial by Anna-Karin Evaldsson.

I die cut Simon Says Stamp Clipping Hearts from Aqua Holographic paper, to add even more shine.

Layers of ink - Glittery Alphabet Notebook Tutorial by Anna-Karin Evaldsson.

The Simon Says Stamp You Shine title was die cut from holographic paper and Sea Glass Simon Says Stamp cardstock. I also added a piece of alphabet Label Tape.

Layers of ink - Glittery Alphabet Notebook Tutorial by Anna-Karin Evaldsson.

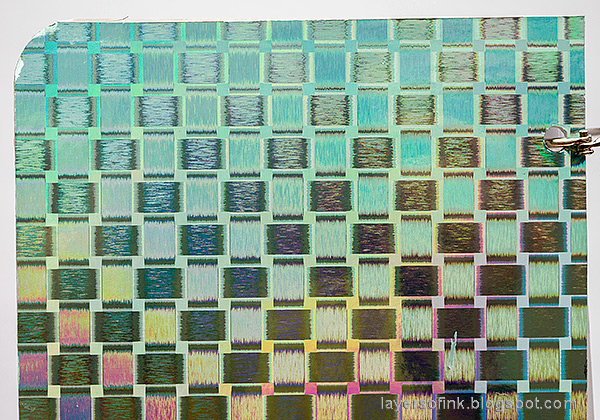
The holographic paper looks different from different angles. The boys love it.

Layers of ink - Glittery Alphabet Notebook Tutorial by Anna-Karin Evaldsson.

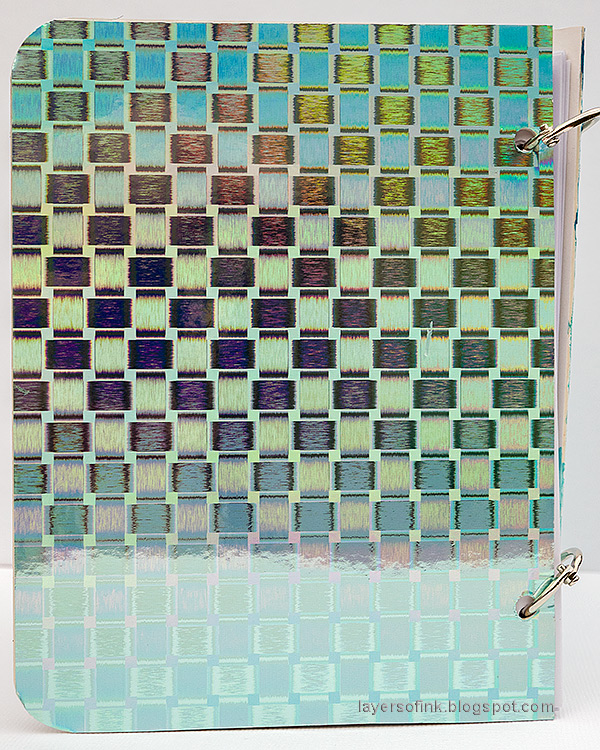
The back cover was covered with a piece of holographic paper too.

Layers of ink - Glittery Alphabet Notebook Tutorial by Anna-Karin Evaldsson.

It is hard to photograph, but here you can get a hint of all the shades visible in the paper.

I hope you will join us this week in our Glimmer and Sparkle challenge. You have a chance to win a $25 gift voucher to do some fun shopping at Simon Says Stamp. You have until Monday 8am Ohio time. 1pm UK time, 2 pm CET to join in.


Do you use Instagram? If so please add #sssmchallenge so we can see your entries there too.


Thank you so much for taking the time to stop by here today! 

Happy crafting!

Anna-Karin

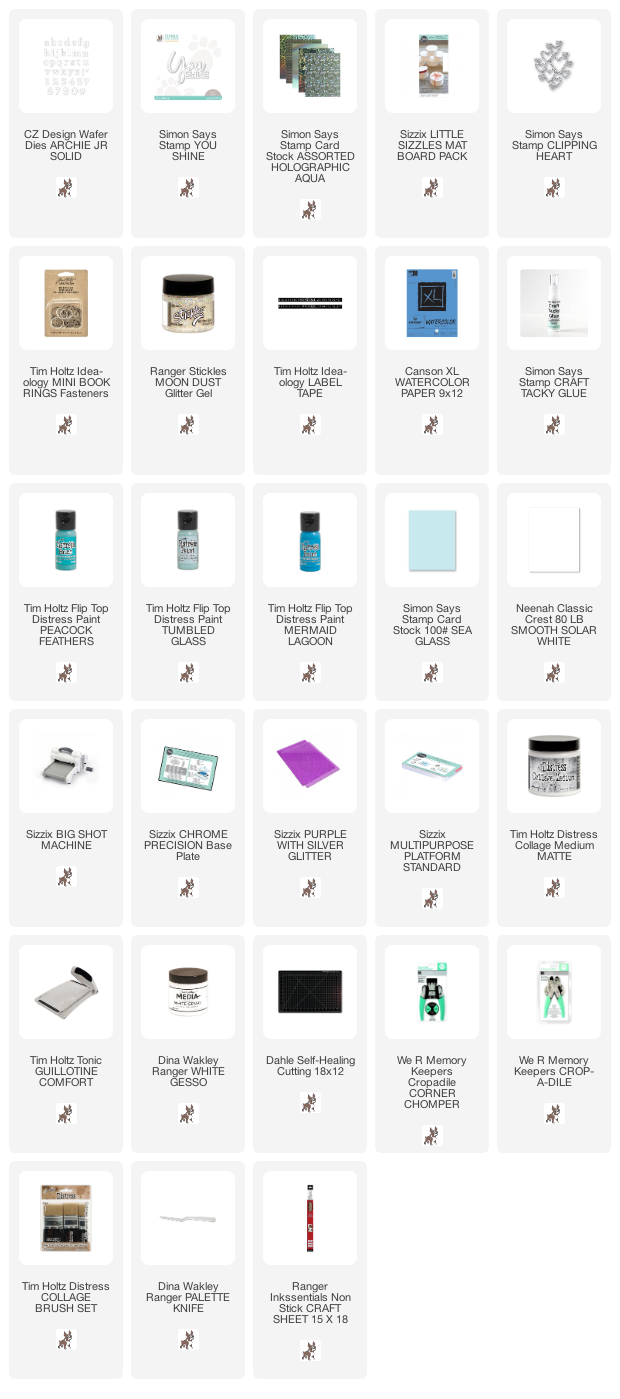
Supplies:

* Please note: the links are affiliate links, for which I receive a small percentage of sales generated by the link, at no extra cost to you.

2 comments:

  1. What a gorgerous notebook!! I am sure he loves it!! Love the colors and sparkle, so pretty :-)

    Hope you have a great week!
    luv
    Lols x x x

    ReplyDelete
  2. What a pretty page! I love the turquoise with all the pretty glitter. This is so sweet and thoughtful to make your little fellow a special notebook to practice his letters and art. I have a feeling it will become a keepsake to be tucked away long after he learns to read and write. <3
    Thank you so much for sharing your lovely work!

    ReplyDelete

Thank you so much for leaving a comment! Happy Crafting!