Hi crafters! Today I have a tag with a watercolor stamped background and dimensional roses to share with you.
Please note: this post has affiliate links, for which I receive a small percentage of sales generated by the link, at no extra cost to you.
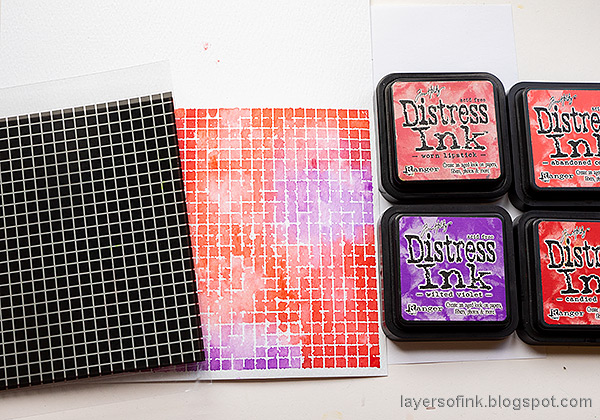
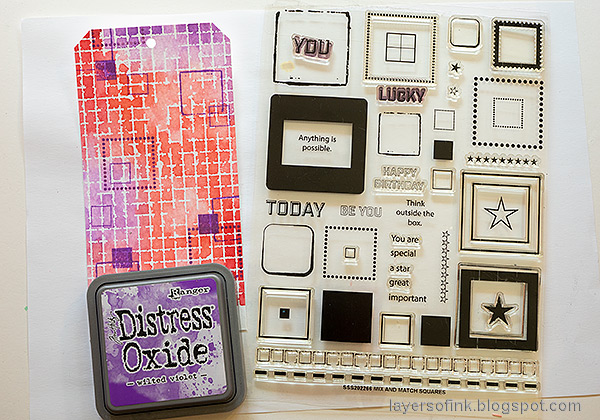
When dry, die cut a tag from your favorite part of the background. Stamp some of the squares from Mix and Match Squares with Wilted Violet Distress Oxide ink.
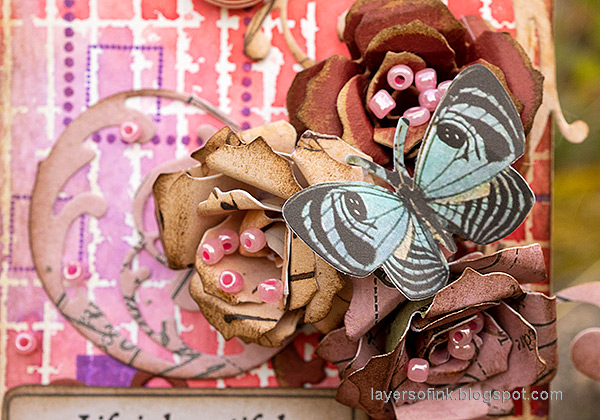
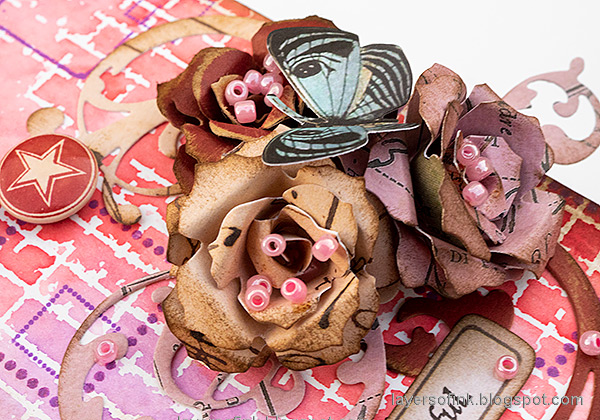
Die cut the roses with Tim Holtz Tattered Pinecone die. I die cut them from Backdrop papers and from red kraft-stock paper.
Trim the inside edge of the roses before rolling them together. You can also skip that step. Sand them slightly. Fold over the petals and ink the edges. Use a pair of tweezers to roll the flowers. Die cut three swirls from the same papers using Tim's Adorned die set.
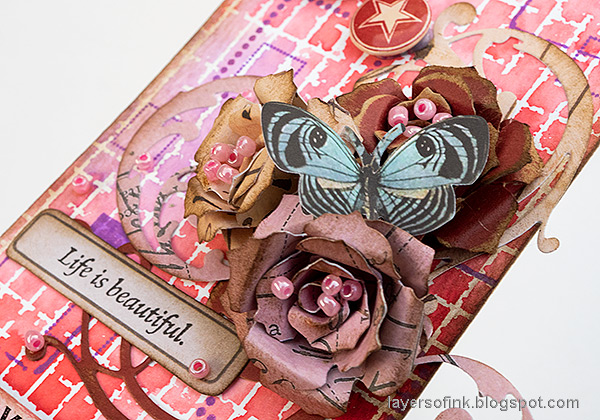
The background gets this gorgeous blended look, with some of the white lines showing and some not.
I embellished the roses with seed beads from set by Sizzix and added a Field Notes ephemera butterfly on top.
Ink a Theories Quote Chips with Worn Lipstick. The sentiment stamped on the label comes from Simon Says Stamp Anna's Flowers.
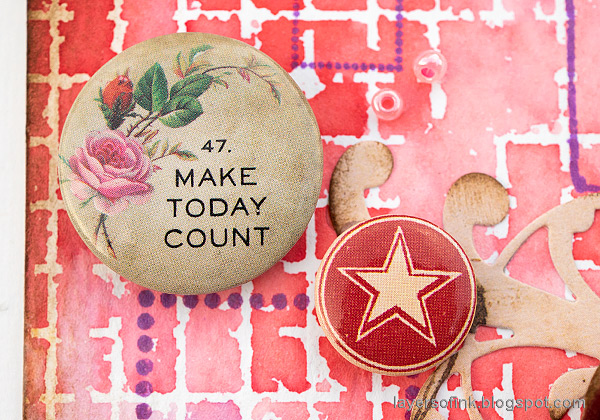
A Quote Flair button and a Mini Flair button were glued to the tag.
The roses are pretty dimensional as you can see here. They would also look great on top of a gift parcel or a little box. Or you could turn them into magnets.
Use different colored papers for a large variety of flowers.
Thank you so much for taking the time to stop by here today!
Happy crafting!
Anna-Karin
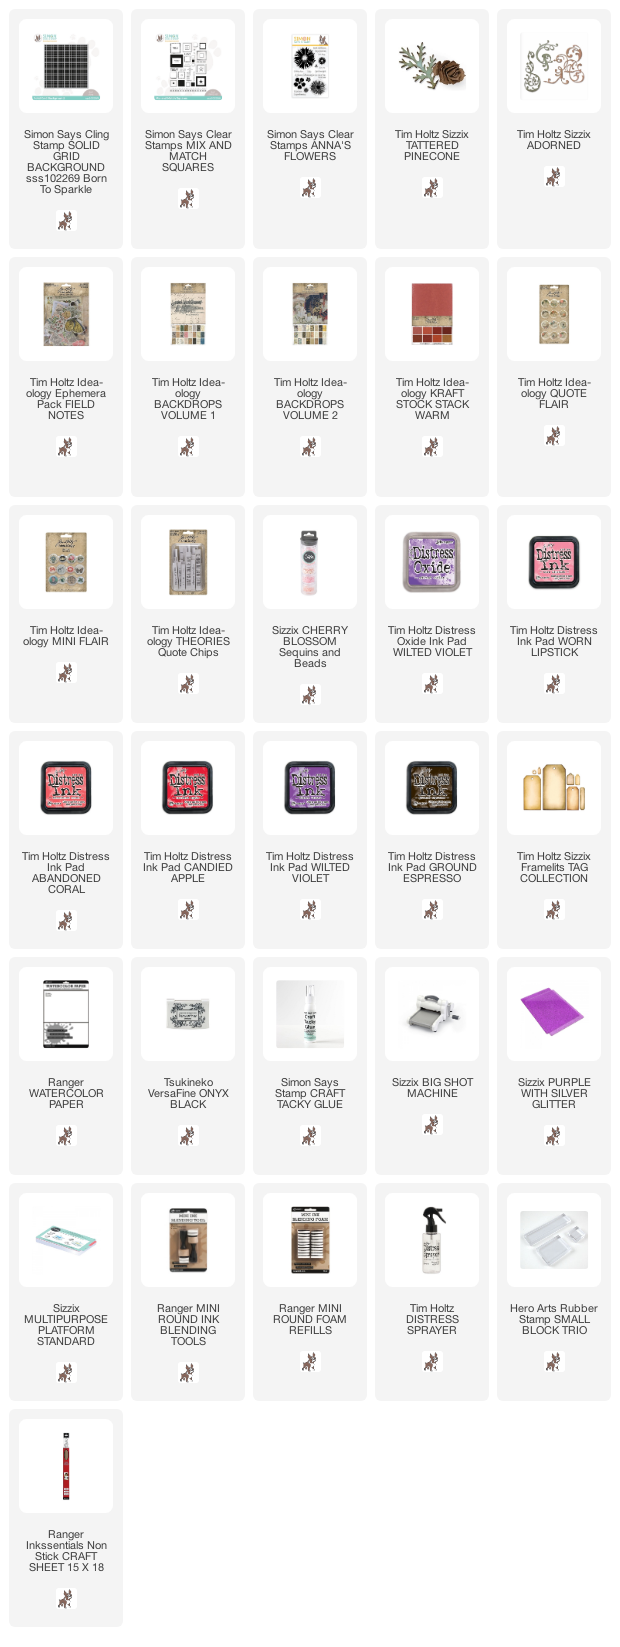
Supplies:
* Please note: the links are affiliate links, for which I receive a small percentage of sales generated by the link, at no extra cost to you.
* Please note: the links are affiliate links, for which I receive a small percentage of sales generated by the link, at no extra cost to you.






No comments:
Post a Comment
Thank you so much for leaving a comment! Happy Crafting!