Hello friends! I hope you are well! Today I have a waterfall card to share with you, which is a fun interactive design with lots of space for images, messages or perhaps photos.
I haven't done a waterfall card in ages and it took a little while to get this to work, since I didn't totally remember how to do it. I had to dig out an old scrapbooking layout where I used a waterfall for photos. I used Eileen Hull's new Sizzix Card, Waterfall & Tags die set. The papers are from Tim Holtz Backdrops Vol. 1 and Backdrops Vol. 2. During April, the Eileen Hull Inspiration Team is sharing projects with Eileen's Chapter 2 dies.
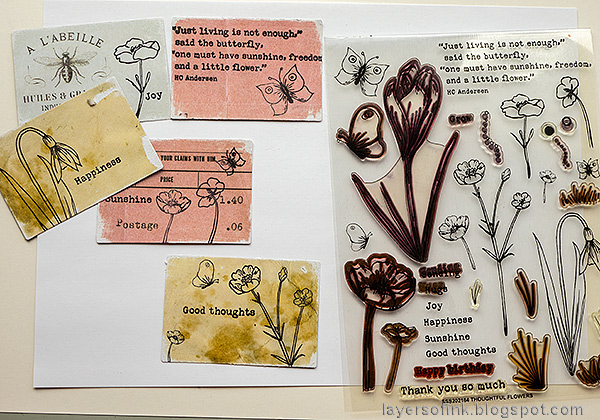
Start by die cutting five waterfall pages and five panels. I used various Backdrops papers for this. Fold along the scored line on the pages. You can also add more pages of course.
I used another Backdrops paper for the background and stamped it with Simon Says Stamp Old Letter Background and brown ink.
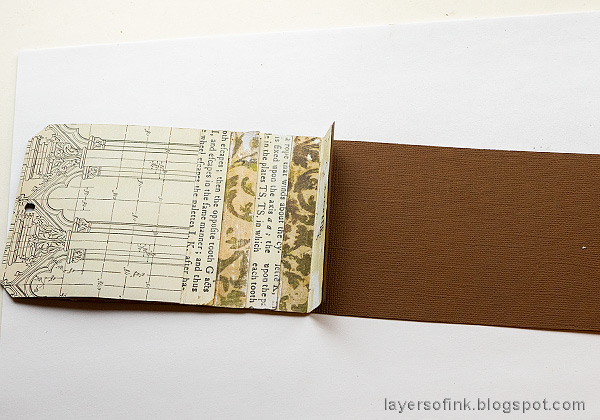
It is time to assemble the waterfall. I had a smaller piece of Backdrops paper that I wanted to use, which I turned into a tag. For the back piece, I used brown cardstock. This is the piece that you will pull to create the waterfall. There might be better ways of doing the waterfall effect.
Fold a strip of cardstock and adhere it to the background. Slip the brown cardstock inside. Later I had to move the folded strip down a little, since it was in the way for the last waterfall panel. Place adhesive on the top of the folded flap and then adhere the second tag to it with double-sided tape. This means that the tag at the front (the patterned paper one) is stuck, while the brown tag moves freely.
Since it is hard to see the card in action with just photos, I did a very short video, so that you can see the waterfall effect. You can also watch it on YouTube here. For another example of a waterfall card, I made cute ghost waterfalls a couple of years ago and also did a video.
I made sure to die cut this panel to include the insect.
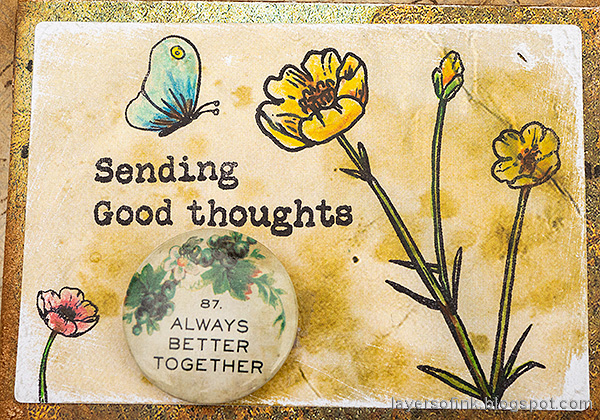
Add a little color to images on the patterned paper too.
I used a white pencil for the snowdrop, although it is very subtle.
I made a mistake when stamping one of the butterflies on this panel and covered it up with a piece of Design Tape.
* Please note: the links are affiliate links, for which I receive a small percentage of sales generated by the link, at no extra cost to you.


This is beautiful and I will be scrapbooking today and may try this technique. It's been such a long time since I did a waterfall on a project. Thank you for the reminder. Happy day from Oz
ReplyDeleteoh, you added the flippy bit with the pull tab! Love it!!!!
ReplyDeleteOh wow- you don't get the pull tab effect in the photos- great video and tutorial Anna-Karin- now you know I will have to try it! <3 Fantastic!
ReplyDeleteA beautiful waterfall card Anna-Karin - love those papers you used and the beautiful stamping and coloring with pencils! So fun that they flip with the pull tab!
ReplyDelete