Hello friends! I have a fun tutorial to share with you using a stencil to create a 3-D effect. There is quite a bit of stamping too. I made an art journal page, but the techniques work just as well for cardmaking.
Please note: this post has affiliate links, for which I receive a small percentage of sales generated by the link, at no extra cost to you.
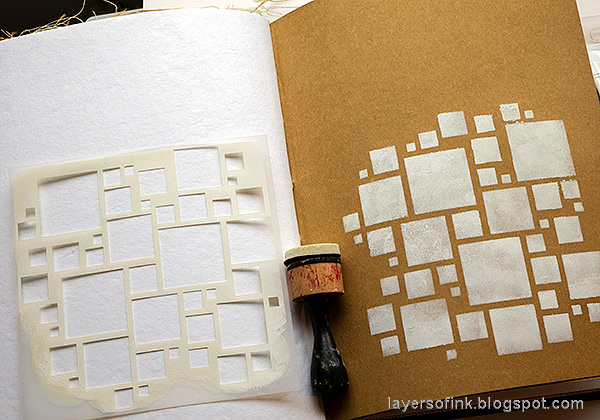
Start by applying Dina Wakley white paint through the stencil with a mini-round ink-blending tool.
Continue until you have covered as much of the background as you want.
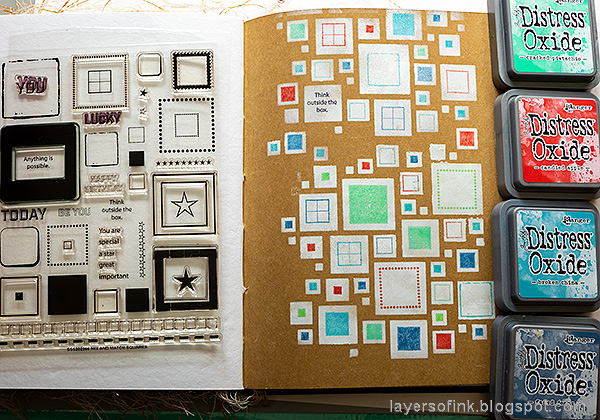
Stamp squares from the coordinating Mix and Match Squares Stamp Set with various Distress Oxide ink. I used both solid and frame square stamps. These are two of the products I designed.
Pour clear embossing powder over the page. It will stick to the Distress Oxide stamping. Heat emboss. Always be very careful when using a heat tool and never touch the melted powder until it has cooled down completely.
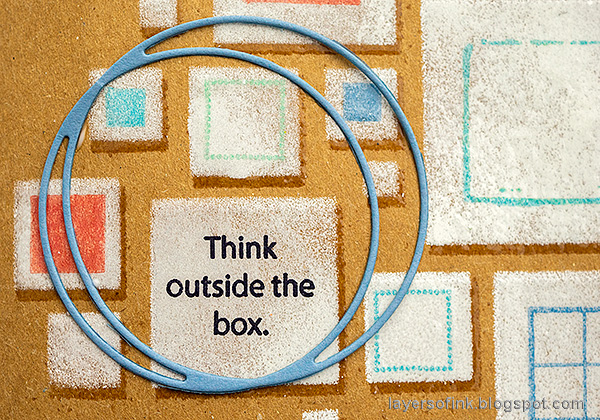
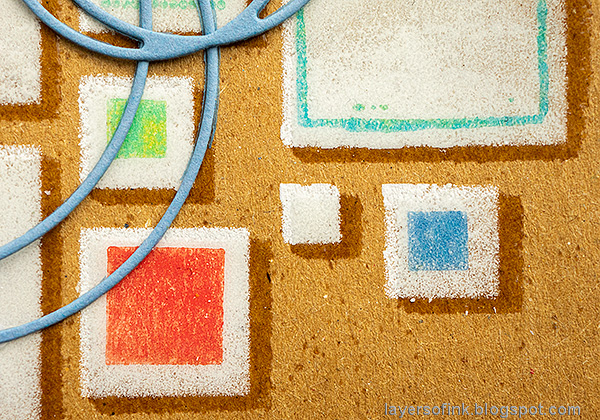
Place the stencil back over the design, but off-set it slightly. Apply clear embossing ink through the stencil and emboss with clear powder. This will give a shadow effect and a 3-D look. Make sure that you off-set the stencil in the same direction all the time.
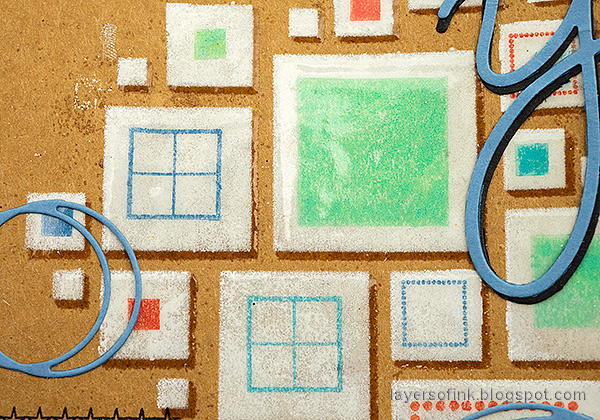
Here you can see the cool glossy look of the squares.
I also die cut a few Circle Loops from Simon Says Stamp Cornflower Blue cardstock. The small sentiments and stamped stars come from the Mix and Match Squares Stamp Set.
The combination of slightly textured white paint, the colorful stamping and shadows is pretty cool.
The title was die cut with the Simon Says Stamp You word die from blue and black cardstock. The sentiment stamp comes from the Beautiful Butterflies set.
More circles and a sentiment from Mix and Match Squares.
I made the shadow effect too subtle on one of the applications, and redid it. That works fine, it just gives a thicker layer of clear powder.
It is tricky to photograph the glossy effect. I really like how the colorful oxide ink squares turned out.
You can do a large variety of different squares by combining the Mix and Match Squares Stencil with the Mix and Match Squares Stamp set.
Thank you so much for taking the time to stop by here today! I will see you again tomorrow.
Happy crafting!
Anna-Karin
Supplies:
* Please note: the links are affiliate links, for which I receive a small percentage of sales generated by the link, at no extra cost to you.
* Please note: the links are affiliate links, for which I receive a small percentage of sales generated by the link, at no extra cost to you.










Wow! This is an amazing technique Anna Karen! Love the look of the finished page. I may try it in smaller scale first. Thanks for sharing! :)
ReplyDelete