Hello friends! I hope you are well and that you had a good weekend. We baked and decorated ginger bread cookies.
We have an Ice Cold theme at the Simon Says Stamp Monday Challenge Blog this week. I hope you can join us and don't miss the project by our guest designer Makena MB aka avant_card on instagram.
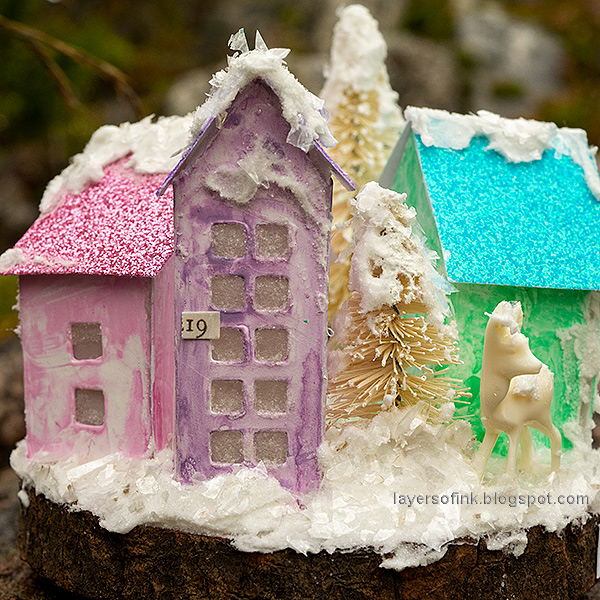
We have had no snow yet and hardly any frost, which made it extra fun to do a snowy project. I love to create snow with different media and today I made a little winter village covered in lots of sparkly snow. I wish I could go and stay in one of these pastel houses for a little get-away. I used a wooden disc as my base, but you can use vellum, recycled packaging, a plastic lid or something similar.
Start by die cutting Tim Holtz Paper Village from Distress White Heavystock paper. Fold along the score lines.
Coat the houses with gesso. Avoid getting gesso on the flaps.
Die cut the roofs from Simon Says Stamp Glitter Cardstock.
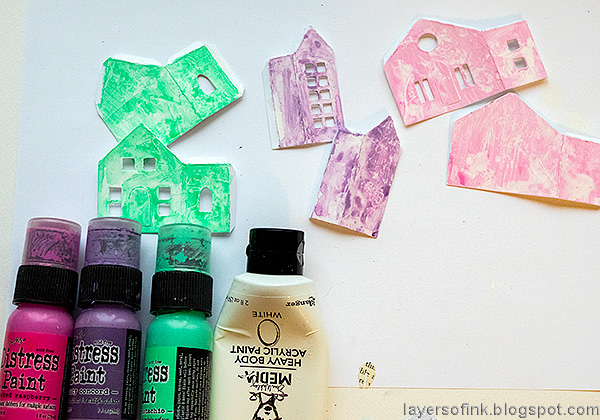
Paint the houses with Cracked Pistachio, Dusty Concord and Picked Raspberry mixed with a little white. Mist them with water to create a textured effect.
Glue vellum to the inside of the windows, and die cut doors from glitter paper.
The houses are easy to assemble. If you use hot glue, be very careful not to burn yourself.
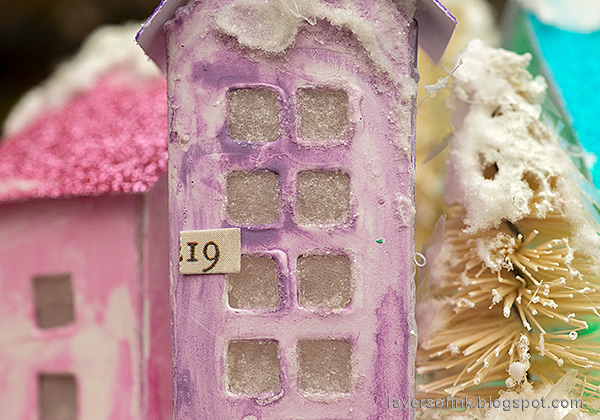
Add a little Glossy Accents to the windows here and there and sprinkle with Rock Candy Glitter. This creates the look of ice. I covered the windows of the purple house completely. I usually always have a big bottle of Glossy Accents at hand, but it was hiding somewhere, so I used a small bottle instead from a recent SSS Card Kit.
Apply a little texture paste to the houses. Sprinkle with some mica flakes and then with Rock Candy Glitter.
Apply a thick layer of texture paste to your base and then press the houses, trees and deer into the paste. The paste acts as an adhesive.
Sprinkle the paste with mica flakes, without covering it completely. Cover the rest of the paste completely with Rock Candy glitter. Pour the left-overs back in the jar.
The sentiment was stamped with SSS Spring Rain ink using the Tiny Text Christmas set.
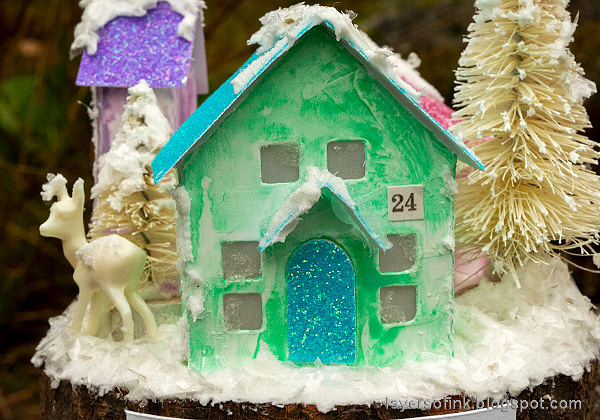
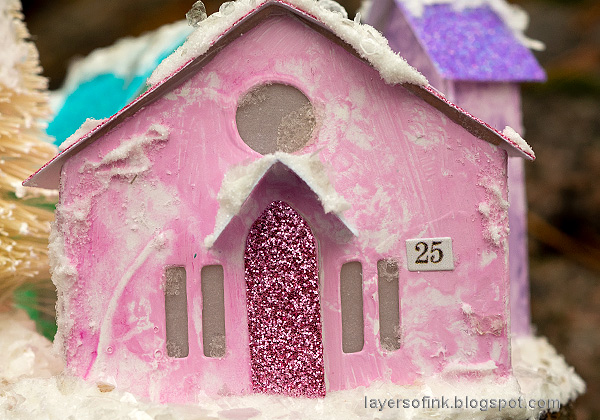
I added street numbers to the houses and all the doors are left ajar, to give an inviting look.
The effect of the glittery roofs, the mica flakes and the Rock Candy glitter makes for a really sparkly and happy project.
I added more paste around the houses after pressing them into the paste, so that it looks like there is a lot of snow.
I also added some snow to the deer and the trees.
My youngest wants to live in the tall purple house with the icy windows.
I have a winter village on display the whole of winter and there are fairy lights in the village too, some of which will go through this little piece as well.
The circle window in the big house is a nice details.
Another look at the very icy and sparkly snow.
I hope you will join us this week in our Ice Cold challenge. You have a chance to win a $25 gift voucher to do some fun shopping at Simon Says Stamp. You have until next Monday 8am Ohio time. 1pm UK time, 2 pm CET to join in.








Love your colourful village scene Anna-Karin :-) the whole winter wonderland is just gorgeous!! :-)
ReplyDeleteOh I am sure your home smelled delicious!! Wish I was there!!! :-)
Hope you have a great week!
luv
Lols x x x
I'm going to try to make one for my house. This die was so hard to get but once I got it I lost my motivation. Thanks for the beautiful eye candy!
ReplyDelete