Pages

Monday, October 19, 2020

Mini Vintage Dartboard

Hello friends! It is Monday and today I have a miniature project to share with you, but as always, the technique work on a big range of projects.

I have spent most of the weekend outdoors, either at the side of a soccer field or walking in the forest. It was time to take out the warm clothing, since it always gets colder than one might expect on a field. We also had time for some second-hand shopping and made a few fun finds.


At the Simon Says Stamp Monday Challenge Blog we have a 'Not a card theme' this week, so there are endless possibilities. Don't miss the stunning project by our October guest designer Alison Bomber and her blog Words and Pictures.

Layers of ink - Mini Vintage Dartboard Tutorial by Anna-Karin Evaldsson.

My son recently made a tiny canvas which is displayed on an easel and it inspired me to work with a small project this week. I hadn't done that for a while and it is always a fun change. Working on a small scale also makes even small items seem big, such as this Tim Holtz Junk Drawer baseboard dartboard. My little board is about 2.7 x 2.7 in big.

Layers of ink - Mini Vintage Dartboard Tutorial by Anna-Karin Evaldsson. Create the mini board with mat board.

Start by cutting three pieces of Sizzix mat board, all the same size and round the edges. Coat the top board with gesso.

Layers of ink - Mini Vintage Dartboard Tutorial by Anna-Karin Evaldsson. Paint with Speckled Egg distress paint.

Glue the three boards together with matte medium so that your project is thick and sturdy. Paint with Speckled Egg Distress Paint and mist generously with water.


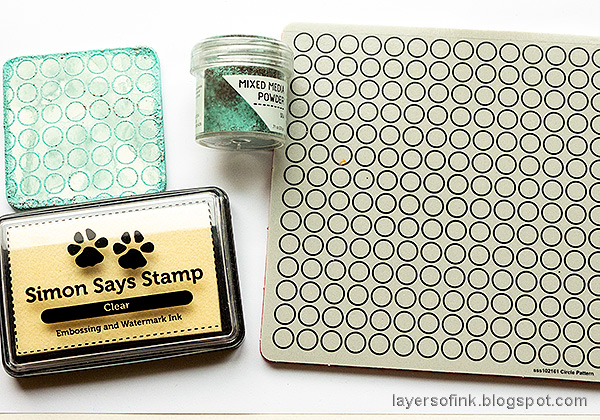
Layers of ink - Mini Vintage Dartboard Tutorial by Anna-Karin Evaldsson. Stamp with Simon Says Stamp Circle Pattern Background stamp.

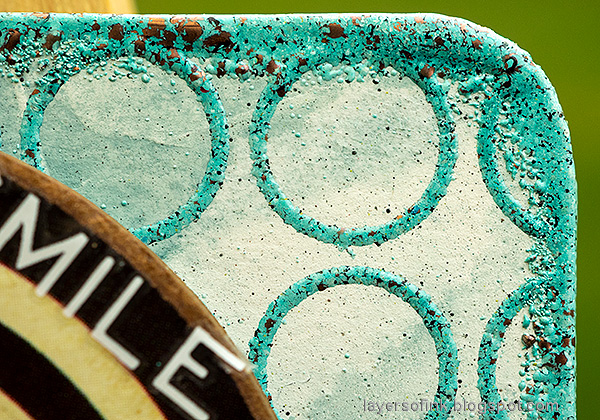
When dry, stamp with the Simon Says Stamp Circle Pattern Background stamp and emboss with Ranger's Sea Mixed Media powder. Add embossing powder around the edges too.

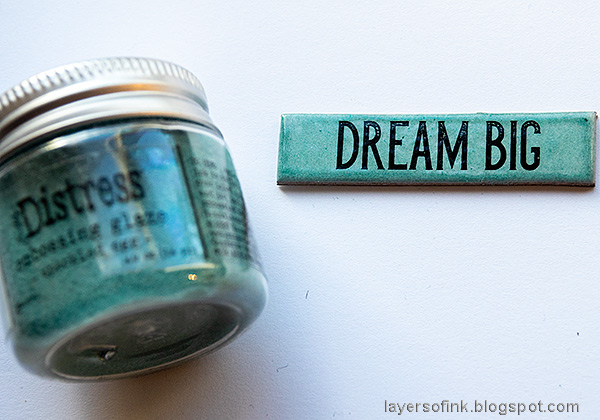
Layers of ink - Mini Vintage Dartboard Tutorial by Anna-Karin Evaldsson. Emboss with Speckled Egg Distress Embossing Glaze.

Emboss a Theories Quote Chip with Speckled Egg Distress Embossing Glaze. I used two coats, which gives you a darker color. The glaze is transparent and is therefore great to use when you want a glossy finish, but don't want to cover up something in the background.

Layers of ink - Mini Vintage Dartboard Tutorial by Anna-Karin Evaldsson.

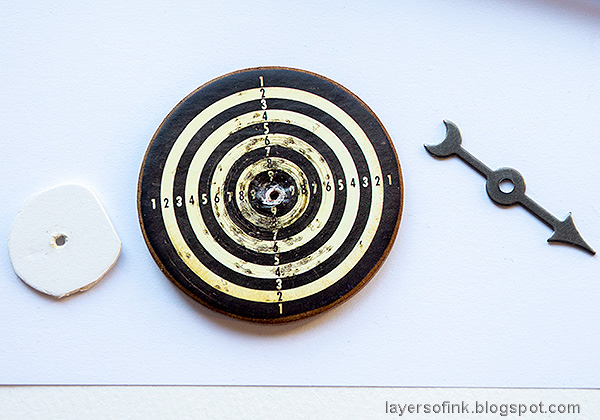
I cut a small circle from mat board and pierced holes through the circle, dartboard and background. 

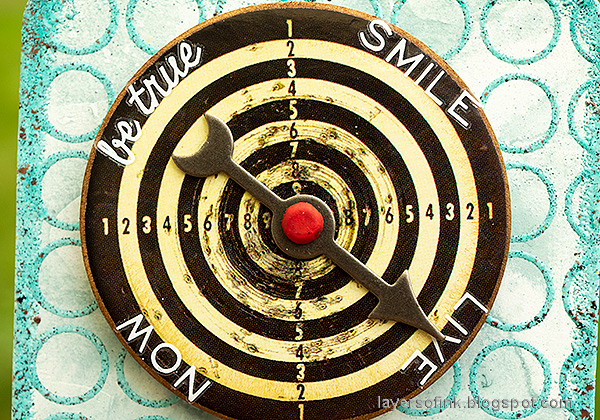
Layers of ink - Mini Vintage Dartboard Tutorial by Anna-Karin Evaldsson. Assemble the dartboard.

Layer the small circle under the dartboard, so that it can move freely. Attach with a long fastener, which was first colored red. The long fastener brad was just long enough. Add Tiny Text rub-on words around the dartboard. Both the dartboard and the game spinner spins.

Layers of ink - Mini Vintage Dartboard Tutorial by Anna-Karin Evaldsson.

The mixed media powder has chunks of larger pieces inside and also some metallic copper shades.

Layers of ink - Mini Vintage Dartboard Tutorial by Anna-Karin Evaldsson.

I like the look of the embossing glaze on top of the quote chips. For another example, check out my Speckled Egg Vintage Tag.

Layers of ink - Mini Vintage Dartboard Tutorial by Anna-Karin Evaldsson.

Here you can see how glossy it is.

Layers of ink - Mini Vintage Dartboard Tutorial by Anna-Karin Evaldsson.

It is easy to alter metallic pieces with Distress Paint.

Layers of ink - Mini Vintage Dartboard Tutorial by Anna-Karin Evaldsson.

The board is very sturdy and has a nice dimension, which you can see here.

I hope you will join us this week in our Not a Card challenge. You have a chance to win a $25 gift voucher to do some fun shopping at Simon Says Stamp. You have until next Monday 8am Ohio time. 1pm UK time, 2 pm CET to join in.


Don't forget to follow Simon Says Stamp on Instagram, they post great stuff daily. 


Do you use Instagram? If so please add #sssmchallenge so we can see your entries there too.


Thank you so much for stopping by here today! 

Happy crafting!

Anna-Karin

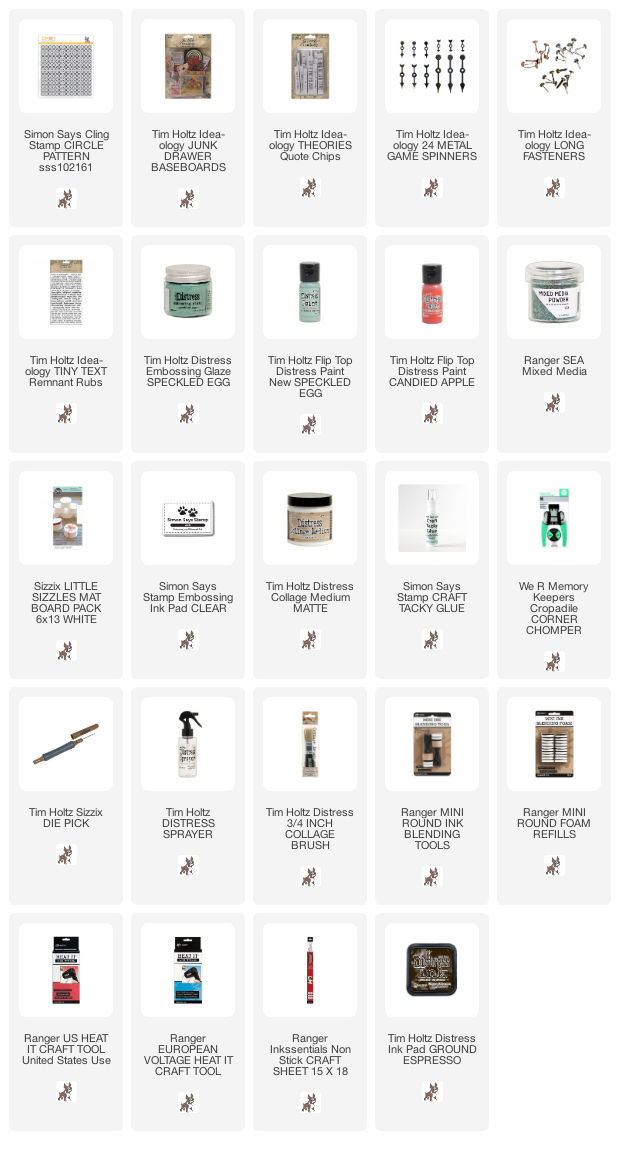
Supplies:

* Please note: the links are affiliate links, for which I receive a small percentage of sales generated by the link, at no extra cost to you.


1 comment:

  1. Very cool! Love the idea. I haven't used gesso but really like the dimension.

    ReplyDelete

Thank you so much for leaving a comment! Happy Crafting!