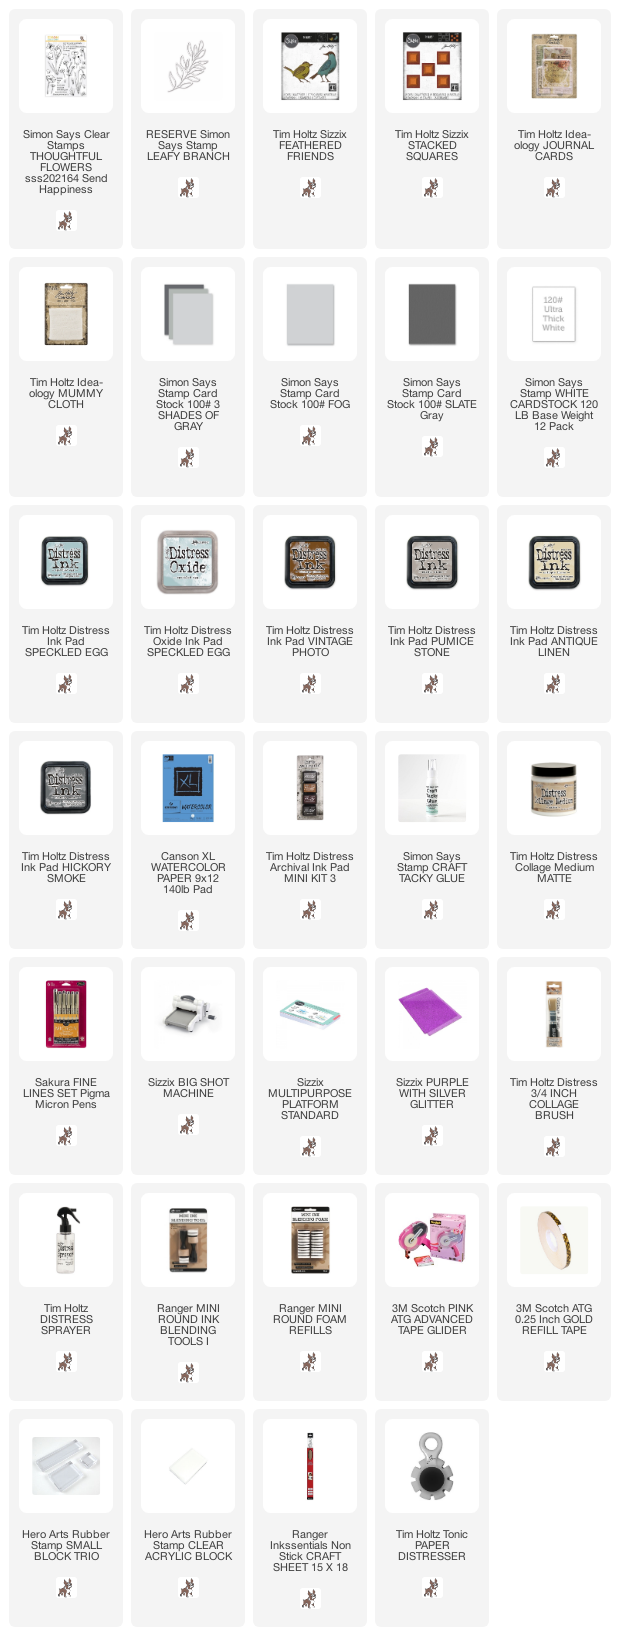
Hello crafters! I hope you are well. Today I have a fun blocked design to share with you, with Speckled Egg Distress Ink and other soft colors, stamping and a cute bird.
We have had a rainy two weeks and the boys are hoping for better weather. In the meantime, they are crafting or building a lot. The forest is full of blueberries and my walks now always include about three stops for picking blueberries.
I needed a birthday card, but this technique would also look great in an art journal. I have always liked a background created from different squares and here the soft colors, stamping and inking keep the squares together to form a unified background. I used a mix of Simon Says Stamp Send Happiness and Tim Holtz products here.
Speckled Egg arrived in my mailbox last week and I have really enjoyed crafting with this pretty blue shade. For this project, I made a variety of backgrounds from watercolor paper. Some have only Speckled Egg Distress Ink, some have a mix of Speckled Egg, Pumice Stone and Antique Linen and some have a bit of Speckled Egg Distress Oxide Ink too. Smear on a non-stick craft sheet, mist with water and press the paper into the ink. Let dry and repeat until you are happy with the look.
Tim Holtz Stacked Squares die set contains square dies in five different sizes, five of each. Pick one of the sizes and die cut squares with it. You will have lots of inky paper left over for future projects.
Ink the edges subtly by dragging just the edge against a Pumice Stone ink pad. I didn't want heavy inking, but just that thin line separating the squares.
Glue them to another piece of watercolor paper with matte medium.

Ink four of the flower stamps from the SSS Thoughtful Flowers set with either Pumice Stone or Hickory Smoke. Mist about three times with water before stamping, for a watercolor effect.

Die cut one of the Feathered Friends from Journal Cards. I have had Tim's Journal Cards on my desk lately and I have been using them a lot, as background, to stamp on, for die cutting and more. They are perfect small pieces of patterned paper and have such interesting vintage designs.
Die cut the beautiful SSS Leafy Branch from white and light grey SSS cardstock.

Ink the edges of the bird, assemble and add a black eye with a pen. I also added a few lines for shadows. Place her on a nest made from mummy cloth. For more Feathered Friends inspiration check out my DIY Notebooks tutorial.
The sentiments comes from the Thoughtful Flowers set and were stamped with brown ink. Distress the edge and mount on SSS slate grey cardstock. Stitch around the block with a sewing machine. You will find more Thoughtful Flowers inspiration in my Thoughtful Flowers Watercolor Garden project from last week.

The watercolor stamping gives a soft and subtle look to the flowers and makes them a part of the background. Stamping them in two shades of Distress Ink adds variation.
Here you can see that the stamping looks a little different on the various blocks, depending on the colors underneath. The stem and the flower looks like they are stamped in two different colors, but they are not.
I hope you will join us this week in our Early Bird challenge. You have a chance to win a $25 gift voucher to do some fun shopping at Simon Says Stamp. You have until next Monday 8am Ohio time. 1pm UK time, 2 pm CET to join in.


Wow - this is gorgeous - I'm going to have to try this if that's ok with you - thank you for the inspiration
ReplyDeleteSo pretty Anna-Karin! I'm in love with your Speckled Egg background and the patchwork you created. Perfect for the little bird!
ReplyDeleteSo inspired--just lovely!
ReplyDeleteSo beautiful - the mosaic tile background is wonderful.
ReplyDeleteAlison x
Love everything about this creation. TFS
ReplyDelete