Hello friends! I hope your weekend was a good one. I was busy organising our new place, and things are now starting to look better, although it will take awhile before I get used to where everything is placed and won't have to look for things. Our frying pan is mysteriously missing and must have been thrown away accidentally. I also can't find a bunch of background stamps and my craft hammer, but I think they will turn up eventually.
This week at the Simon Says Stamp Monday Challenge Blog we have an Artist Trading Card challenge. ATCs are 2.5 x 3.5 inches, and if you have never tried out this fun size, I hope you will.
Don't miss the gorgeous ATC by our August guest designer Alison Bomber.

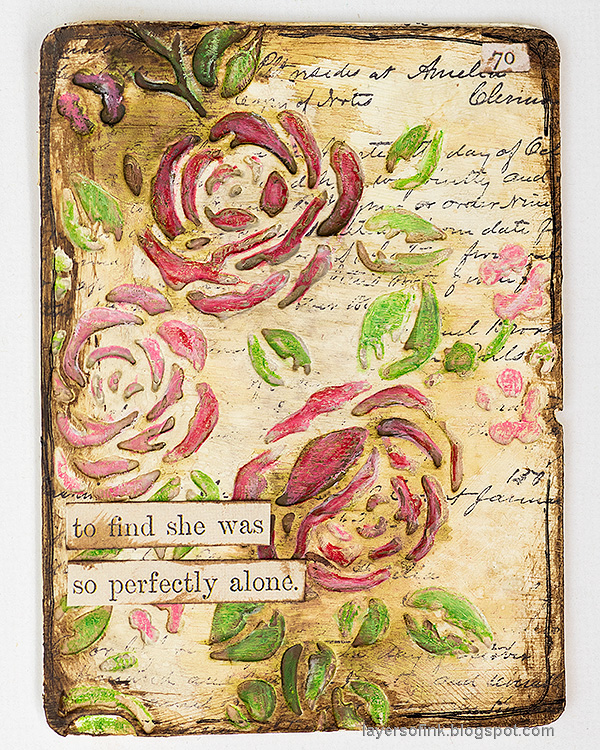
I love working on the small space of an ATC and I should be doing so more often. This week, I made two vintage flower ATCs with soft colors and lots of texture. They are very easy to make, much easier that what it might look like.

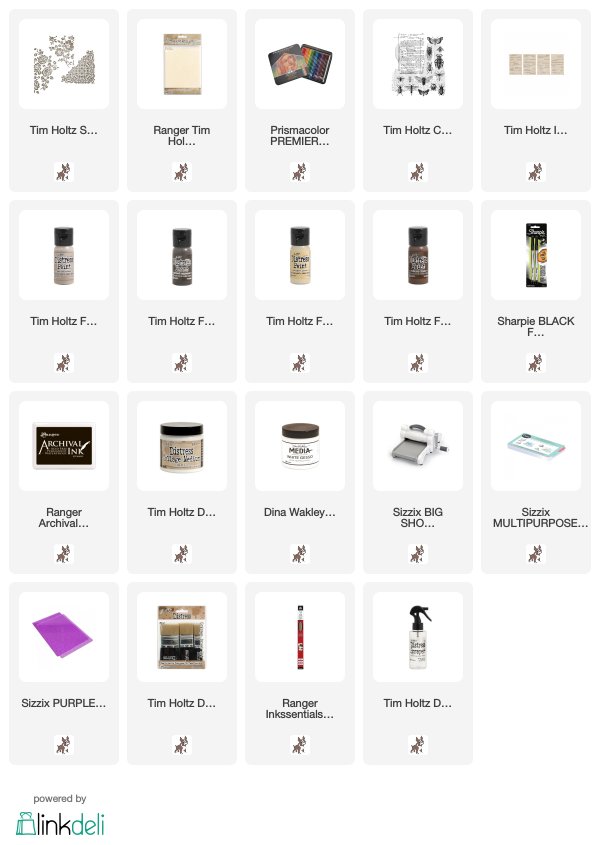
Start by cutting four ATCs (2.5 x 3.5 in) from Heavystock paper. Die cut flower designs from two of the cards, using Tim Holtz's Mixed Media 5 set.

Glue the die cut cards on top of the solid ones with Matte Medium. When dry, give them a coating of gesso.

When the gesso is dry, paint the cards with watered down Distress Paint. Start with Antique Linen, and drop in darker colors. Mist more water on the cards if you want the colors to blend more. The darker paint will collect in the recessed areas.

I had my Prismacolor pencils on my desk, after having worked on another project, and got the idea of coloring the flowers with pencils. It worked really well and gave a soft look. This morning, I finally found the box in which I had placed all my pencil sharpeners.

Stamp the cards randomly with the script stamp from Tim's Entomology set.

Dry brush some dark brown paint around the edges and here and there on the flowers.

I used a black pen to draw a rough border and added some Clippings Stickers as sentiments.

Here's a closer look at the texture. The roses almost looks embossed, but in fact it is the other way around.

Don't forget to write your name and the date you made the card on the back, even if you are not giving it away, it is a good practice and it is fun to look at cards and see when they were made.

You can also cut sentiments from an old book.

It almost looks like I used gold on the cards, but I did not. However, if you want to add some metallic paint, that would look great too. I wanted to have added foil, but I couldn't find my foil.
I hope you will join us this week in our Artist Trading Card challenge. As always, you have a chance to win a $50 gift voucher to do some fun shopping at Simon Says Stamp. You have until next Monday 8am Ohio time. 1pm UK time, 2 pm CET to join in.


When we moved, we lost the potatoes. Thank goodness we were wanting to make them shortly after we moved in, otherwise we would have a smelly box out in the garage where the mover inadvertently put it! Anyway... love your ATC. I like making them myself.
ReplyDeleteOh, these are absolutely delightful - what a wonderful way to use those cut-out flowers. I love the vintage look, the muted colours of the petals are perfect with the vintage sepia and perfect word stickers too.
ReplyDeleteSo glad you found your pencil sharpener, and I hope the background stamps turn up soon. Sounds as though you probably have to let go of the frying pan though! I'm definitely worried about similar things happening when I make my move early next year... happy to hear you are settling in a bit.
Alison x