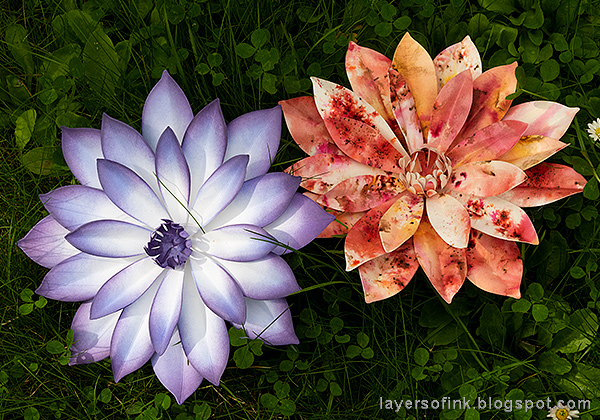
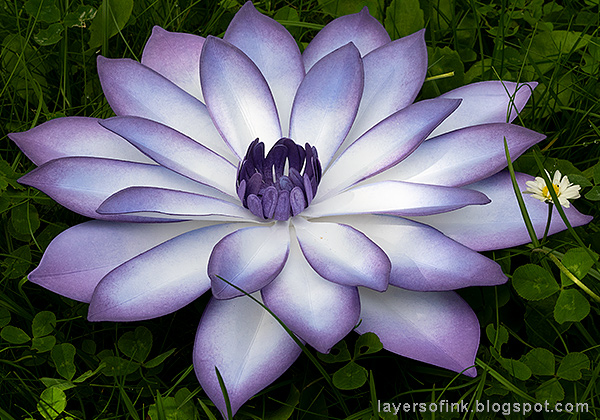
I made two paper Dahlia flowers, using David Tutera's Sizzix Dahlia set and a cool new tool. My flowers are pretty different from each other, since I wanted to give an example of just how wide a variety of flowers that you can make with this one set of dies. The base for both flowers were white paper (smooth for the one to the left and watercolor for the one to the right), with the purple one being inked with Distress Inks and the pink one colored with Infusions powders. Both flowers are quick and easy to make, and you might be surprised to hear that the quickest one is the one to the right.

The Dahlia set comes with four dies, three petals of different size and one die for the center piece. Start by folding large enough pieces of white paper. Place the dies as shown when die cutting. Use this sandwich: Multipurpose Platform Tab 2, Cutting Pad, paper, die facing down, second Cutting Pad.

Since the die was placed along the folded line, you get a double petal when you die cut, making it much faster to make the flowers, than if you had to die cut eight separate petals. You need four of each.

Dahlias come in a fantastic range of colors and I had a hard time picking my colors. I saw a Dahlia which was white towards the center and and a bluish purple towards the edges and tried to mimic that. Ink with an ink-blending tool, starting with the lightest shade of ink (Shaded Lilac). Then gradually build up darker colors. Repeat for all petals.
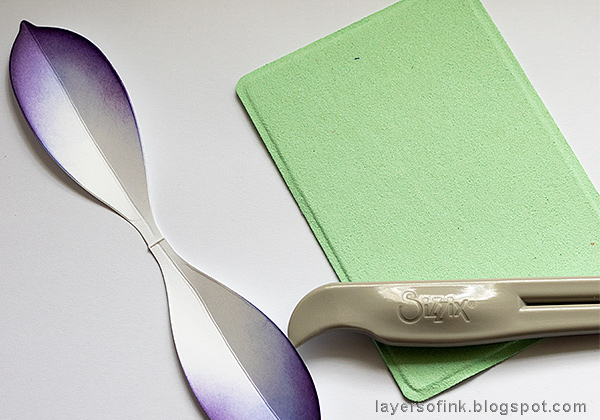
To make a full and dimensional looking flower, you need to give some shape to the petals. David Tutera also designed a cool Crease & Curl tool to make it easier to shape the petals. Use the side shown above to score a line down the center of each petal. The green mat on the photo doesn't come with the Crease & Curl tool, but is included in the Paper Sculpting Tool kit. I placed the paper on top of it when scoring. Fold the petals in the middle along the score line.

Next, place the paper in the slot on the other side of the tool and pull the tool off from the paper, at an angle so that it shapes the petal. The prongs are rounded, which makes for a nice smooth shape. Repeat on the other side of the petal. It is very easy and quick.
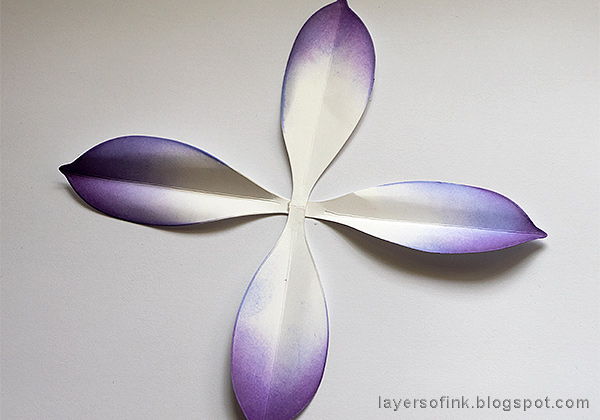
Start by gluing the largest petals together, as shown here.

Add the next two pairs of petals, and continue with the smaller petals and the flower center in the same manner.

Adhere the petal layers together, making sure to alternate the angle, so that the petals are not lined up on top of each other. If you want to, you can use a piece of foam tape between the layers, for an even more dimensional flower.

It is hard to see the size of the flowers in the photos, and to give you a better idea, you can see how big it is when I am holding it in my hand here. If you want an even larger flower, there is also a Large Dahlia Thinlits set, which makes a 12 x 12 in flower.
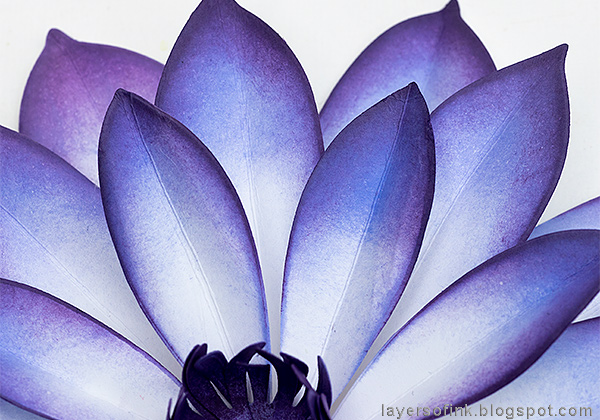
You can ink this flower in any shade that you can imagine. It will also look great if you let the edges be white instead of the center, which is a common look for Dahlias. You could also use two colors of ink, such as red/pink for the center and yellow at the tips. There are so many possible alternatives.
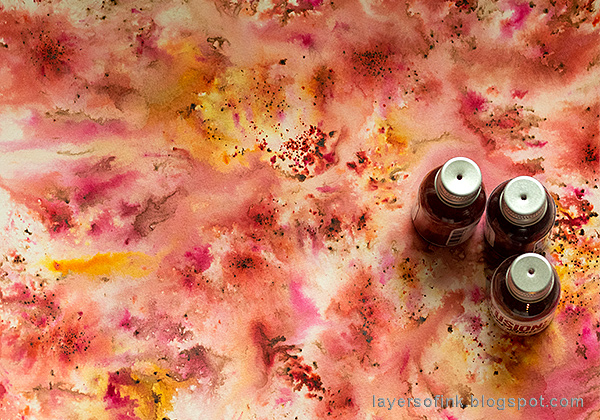
For the second flower, I used two sheets of watercolor paper and colored them with Paper Artsy's Infusions Coloured Stains, which is a really quick way of getting a lot of color and texture. Mist the paper with water, sprinkle a small amount of powder on the paper, mist with more water to help it blend. As you can see, I pricked holes in the lids of the bottles, making it easy to sprinkle out the powder. I used these Infusions: Are You Cerise, Sunset Beach, and Frankly Scarlet.
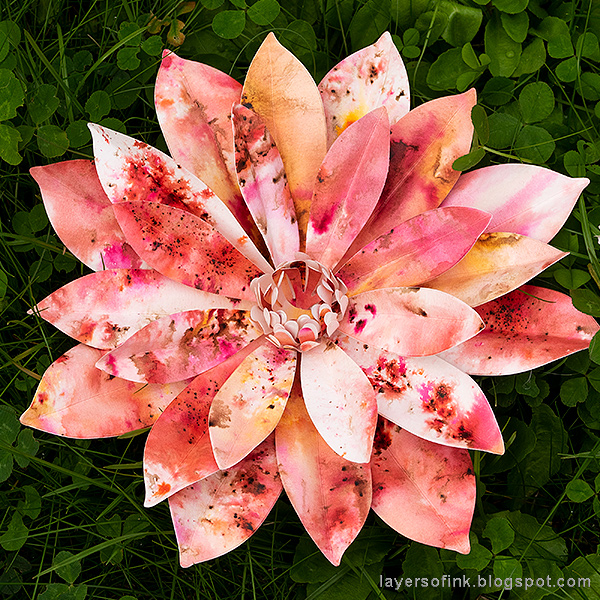
After the paper is dry, you can continue and make the flower using the same steps as above. This creates a very textured and colorful flower.

The only thing I did differently on the two flowers, was that I die cut eight flower centers for the pink flowers, instead of four. It gives the flower a fuller center.

Here you can see the dimension of the flower better. If you want an even fuller flower, die cut eight of each petal set, and layer them together.
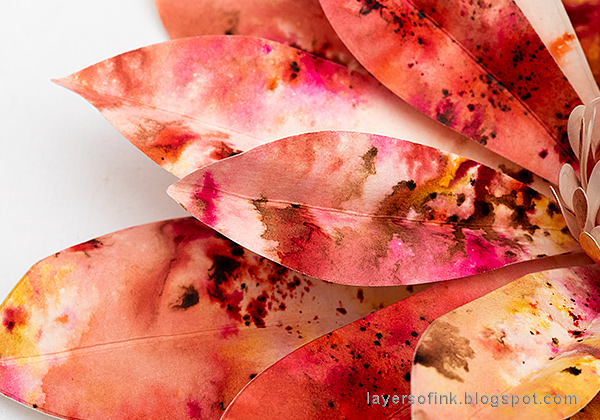
The Infusions give a fun textured look. You could also use, for example, watercolor paint.
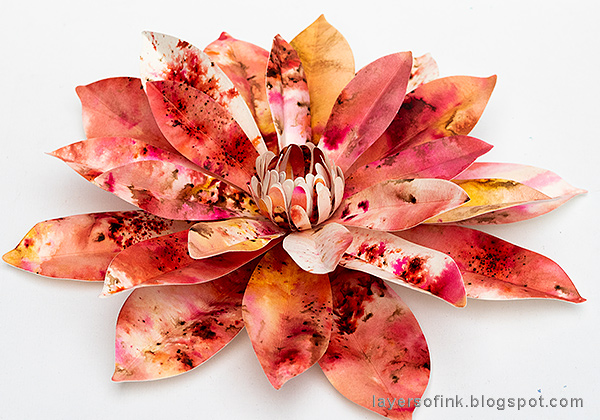
These flowers would work great as a gift, and you can easily customize the colors to fit a specific person or occasion. You can also add leaves to them, if you want to. The flower will look fantastic as part of a table and/or party décor. Imagine guests being greeted with one of these flowers on their plate as they come to sit down - of add a whole bunch of flowers together as a center piece.
My Mom has a couple of big paper flowers that I made for her, displayed on a sideboard in the living room. One idea would be to make one or a couple for each season, to use as seasonal décor. Another option is to use a flower to decorate a gift for a special person, and where the flower can be removed to be used as home décor. You can use the recipient's favorite colors, to make it even more personal.
Thank you so much for looking at this tutorial! I hope it inspired you to create some paper flowers.
Have a lovely weekend! I will be back on Sunday with a fun STAMPtember post.
Happy crafting!
Anna-Karin
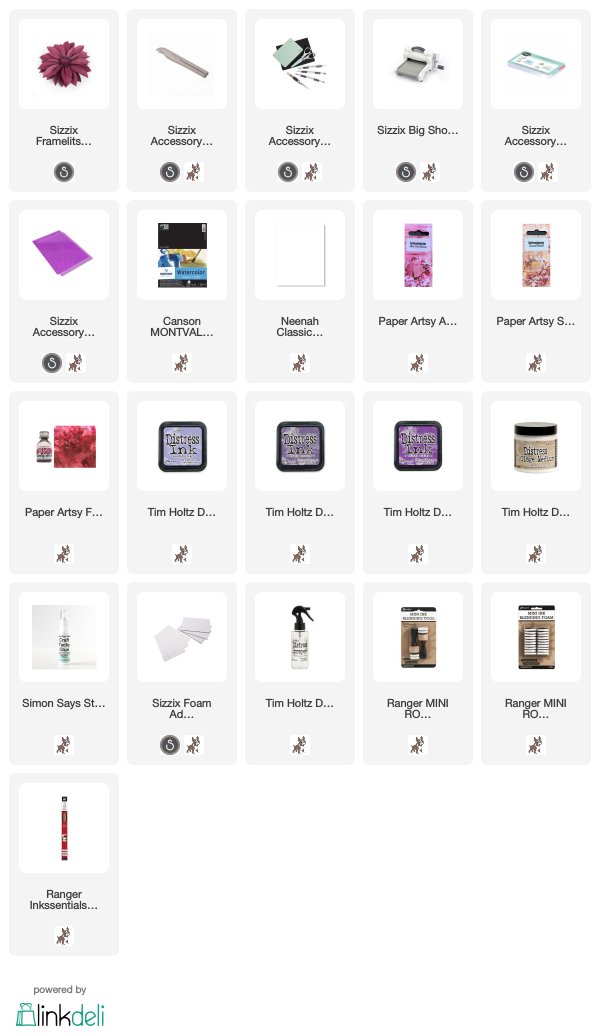
Supplies:
* Please note: the links are affiliate links, for which I receive a small percentage of sales generated by the link, at no extra cost to you.

Those are GORGEOUS paper Dahlia. The colors are beautiful.
ReplyDelete