Hi and welcome to my blog! I hope your weekend was a nice one! We celebrated Midsummer Eve on Friday with traditional maypole dancing. It was lots of fun and the rain stayed away.
This week at the Simon Says Stamp Monday Challenge Blog we have a Food and Drink theme. Don't miss the lovely project by our June guest designer Christine Bedford with her blog Pearshapedcrafting.
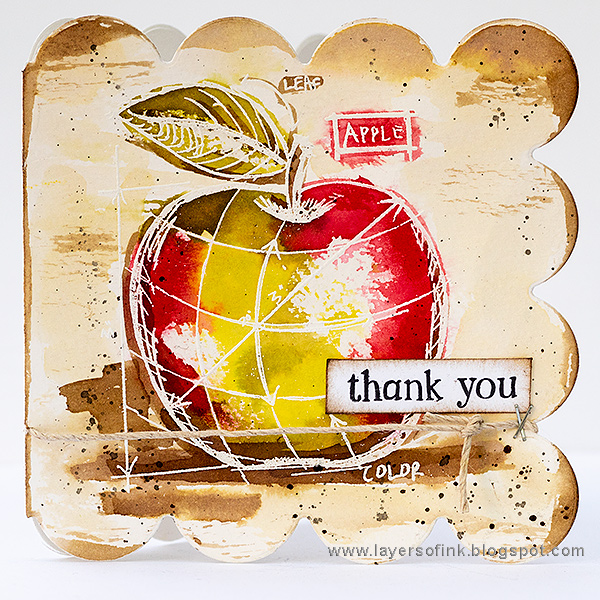
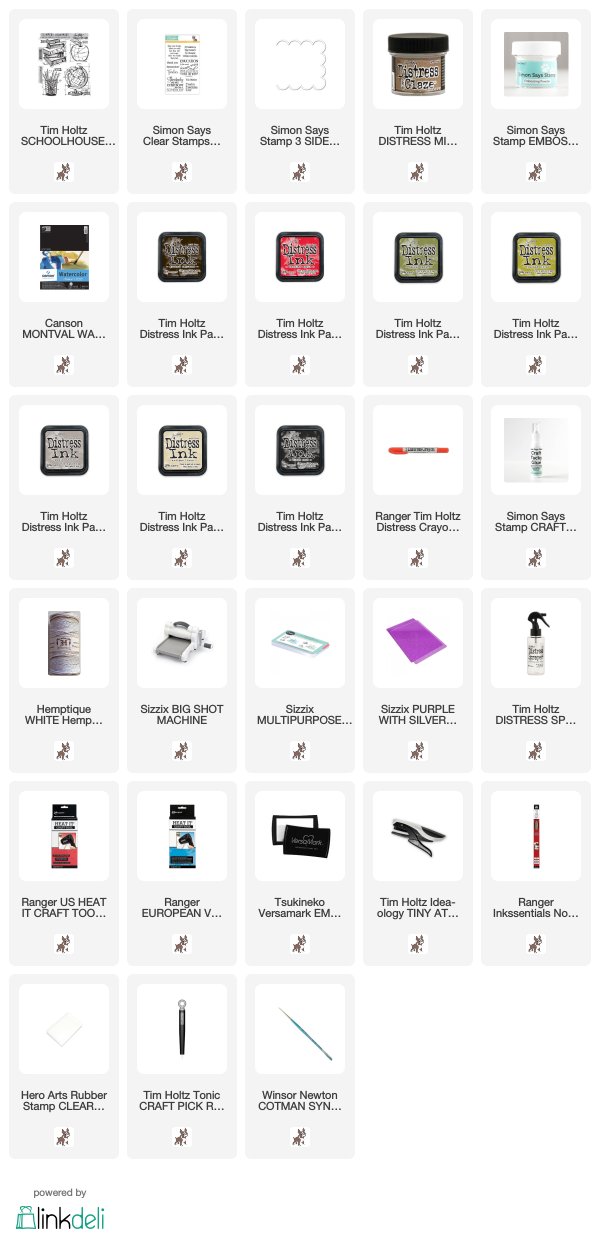
I needed teacher thank you cards this week and made a bunch of blueprint apple cards, using a stamp from Tim Holtz's Schoolhouse Blueprint set. These are quick and easy to make and basically any of the blueprint stamps would work equally well. The cardbase was die cut with the Simon Says Stamp 3 Sided Scallop, which gives instant interest to the card.

Start by die cutting the cardbase and then white emboss the apple. Watercolor paper works the best for this technique.

Use a tiny bit of Distress Micro Glaze on the apple and the leaf, in a couple of areas that you want to keep white.

Smear Distress Inks on a craft sheet, mist with water and pick up with a paint brush. The micro glaze resists the ink. Start with the apple and then do that background and the shadow areas.

I wanted the red areas of the apple to be more red, and used a Candied Apple Distress Crayon to deepen the shade of red from the watercoloring.
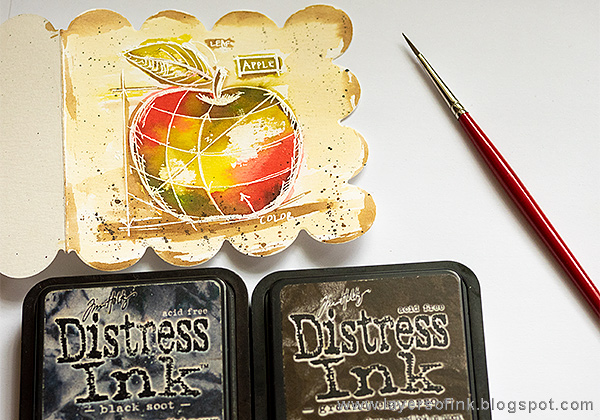
Smear Black Soot and Ground Espresso on a craft sheet, mist with water and pick up with a paint brush. Tap the brush to create fine splatters.
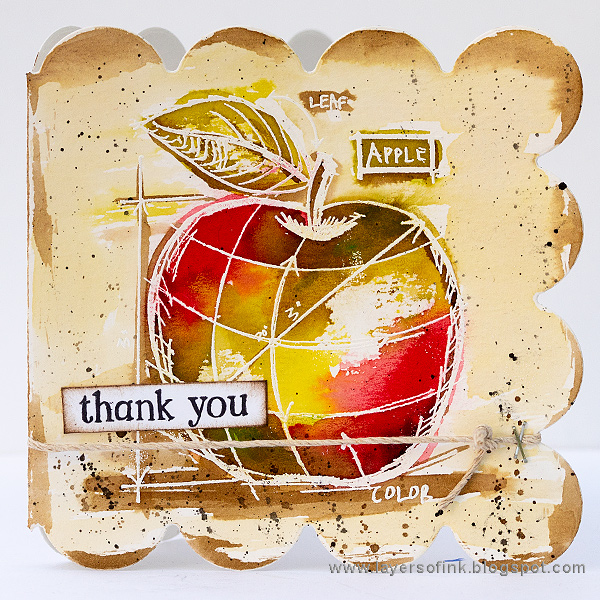
You can also add shadows to the leaf and parts of the apple itself, which makes it look more dimensional. These cards are quick to make and a whole set of them would work great as a gift.

Here you can see the resist effect better, as well as the darker red created with the crayon.

The sentiment comes from the SSS Thank you Teacher set.
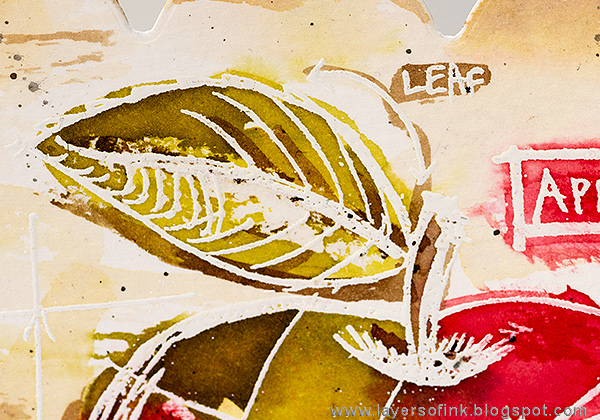
Don't worry about coloring inside the lines on this project. In fact, I colored outside the lines on purpose, so that the white embossing would be more visible.

Pierce a hole in the spine of the card and tie a piece of twine across it.

I made even more of these, but I had to give a couple away before I had time to take the photos.


Gorgeous cards Anna-Karin! I am sure the teachers will love these!! I would frame it!!! so artsy and fabulous! :-)
ReplyDeleteluv
Lols x x x
Just like Lorraine, above, I would frame these too, your watercolouring is superb and the cards are beautiful! xx
ReplyDeleteThese are fantastic Anna-Karin. I never thought to use the Micro Glaze as a resist in this way before, thanks for sharing this tip. (I am probably the only person who didn't know this. LOL)
ReplyDeleteBeautiful cards and I am sure the teachers will love them.
What great little cards. the red in the apples is delicious and I love the effect your darker inks and splatters gives. x Amanda
ReplyDeleteWow, these are amazing. I LOVE your watercolor! And what a simple and effective technique with micro glaze, I alwas use it to cover the whole image and this one is genius! Thank you for this tip! Hugs, Marzena
ReplyDeleteLove your apple cards, Anna-Karin! Your watercolor technique is fabulous with the variation in color, and how you kept some areas white for highlights. Awesome! hugs, Maura
ReplyDeleteThats a great idea, I never thought of using the micro glaze as a resist or like masking fluid. I love the effect it gives. This seems perfect for a teacher, it already looks well loved!
ReplyDeleteThis looks amazing - great colouring tips too! Hugs, Chrisx
ReplyDeleteGorgeous cards Anna-Karin and I always love your watercoloring technique, it's just beautiful and creates such fabulous effects! :)
ReplyDeleteamazing card Anna-Karin, you are the queen of watercolouring to create the most realistic apple, hugs kath xxx
ReplyDeleteLovely cards!! Love how you colored the apples!!!
ReplyDeleteFabulous cards, Anna-Karin! Love the tip of using MicroGlaze to keep some parts white! Hugs, Sandra
ReplyDelete