Hi everyone! I have a Sizzix tutorial for you today, with fun dies and techniques. You can of course use the techniques for any type of project.

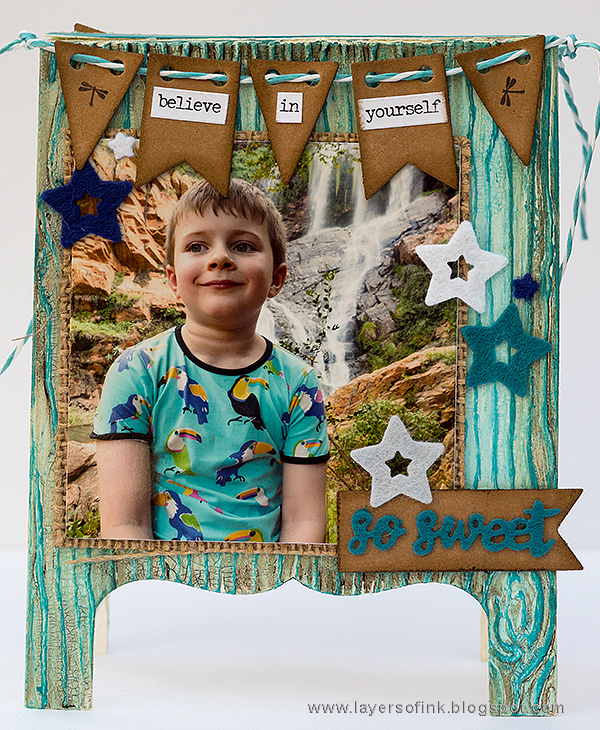
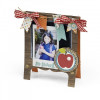
I made a woodgrain chalkboard easel using new dies by Lori Whitlock. I always enjoy opening a pack of Lori's dies, because the sets contain so many great dies that can be used for a whole range of different projects. Every time, I am surprised to find some of the dies, because you rarely spot all of them on the packaging. The main set used here is the Chalkboard Easel Card set, but I also used the Frame w/Easel set, as well as Lori's Woodgrain #4 embossing folder. I have a hard time not getting everything I see that is woodgrain, it has been a long-time favourite of mine.

After die cutting two chalkboard panels from Heavystock Mixed Media paper, I embossed them in the Woodgrain #4 folder, avoiding the top flap. They fit perfectly in the folder.
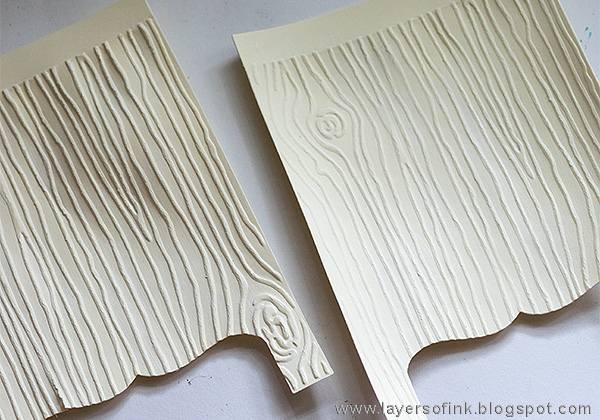
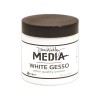
Coat with a layer of gesso.

Smear Crazing Medium on the panels, but don't cover them completely.
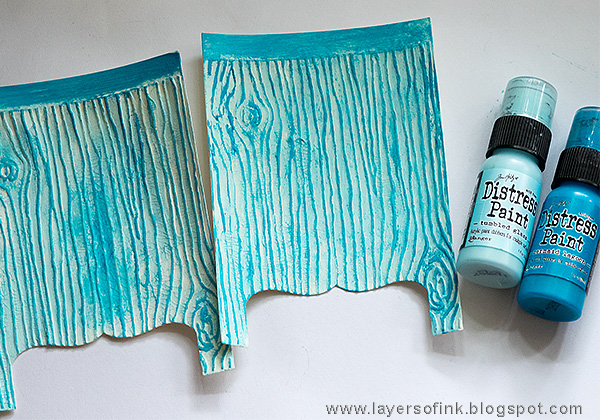
When the Crazing Medium is dry, paint with Tumbled Glass, and brush some Mermaid Lagoon on top to accentuate the texture. Let dry.

Apply a brown Distress Crayon along the edges and rub into the Crazing crackles with your finger. Remove excess crayon with a slightly moist cloth.

Die cut flags from brown Paper Leather.

Die cut a word from wool felt, as well as its coordinating mat from Paper Leather. 'Together' and the hearts comes from the Frame w/Easel set. Die cut hearts and a star from wool felt.

To made the chalkboard easel stronger, I die cut it a second time from cardstock and glued the embossed panels on top. Place under a heavy book to make sure it is stuck well. Then proceed with assembling the two panels, by using a strong adhesive on the top flap.
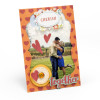
I die cut my photos with the square die included in the Chalkboard Easel Card set, and matted them on burlap. Glue to the base. The photos were taken in one of our favourite spots in South Africa.

The flags were threaded onto twine and glued to the top of the panels, tying them together on the sides. The sentiments on top are Small Talk stickers.

I really like the size and shape of these heart dies. Heart dies are so versatile.

When gluing felt, I use Matte Medium. I also find that it is the most invisible glue that I have at home.

The textured woodgrain with the fine crackles look pretty cool. You can hardly believe it is actually paper.
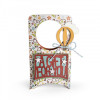
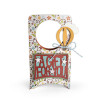
I also decorated the back of the easel, so that it can be turned around to display a different photo, but taken at the same occasion. I used a different sentiment and another felt word on this side.

If the sentiment isn't long enough, you can stamp small images on the remaining flags.

You can also use the tiny stars in the center.

This banner is also included in the Chalkboard Easel Card set, which contains 16 dies in total.
I hope you enjoyed this tutorial and thank you so much for stopping by!
Happy crafting!!
Anna-Karin
Supplies (affiliate links):




What a fun project. Thanks for sharing.
ReplyDeleteThese easels look perfect for displaying photos, love all of the details, Cathy x
ReplyDeleteThis is a fabulous idea Anna-Karin. You have done an amazing job on your easel. I have two young grandsons and we spent a few days at the beach with them last week and I have some fantastic pics of them, they never stopped smiling. This would be a great way to use a couple of these pics. TFS!
ReplyDeleteGreat tutorial on the fabulous wood grain! Pinned for future reference! Love this sweet photo and clever way to display it! Hugs!
ReplyDelete