Hi everyone! I just have a quick Easter or spring card to share with you today.
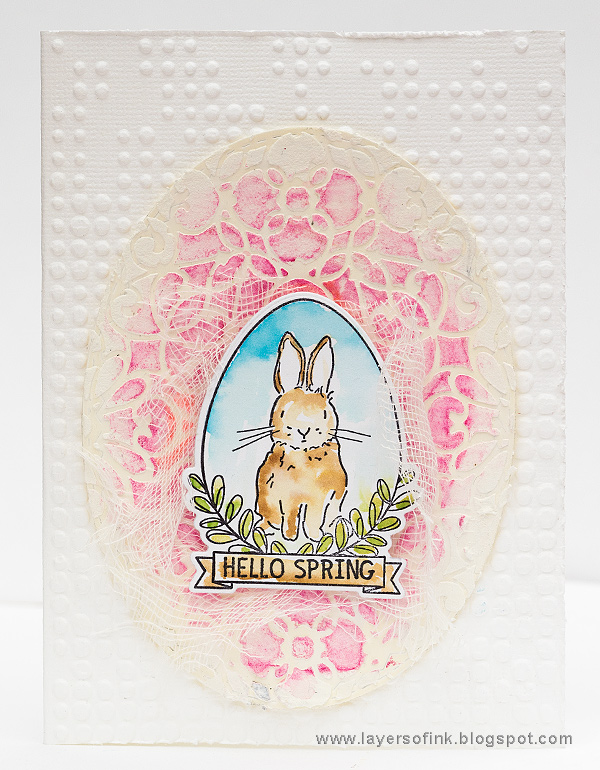
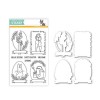
I had a leftover egg from my Easter Egg Accordion Card and thought I'd use it to make a quick card. I also wanted to test something with Dina Wakley's Scribble Sticks (which I am having so much fun with). The sweet bunny image was also leftover from the same project, so it was already watercolored and ready to go. It comes from the Simon Says Stamp Spring Seed set, from the New Beginnings release. Anton also used this stamp on his Easter cards, which he has been walking around and handing out to neighbours today (the kids get some sweets in return, it is a little like Halloween). We also had visits and got four very cute cards. We used to do this as children too, as did my parents.

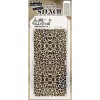
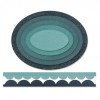
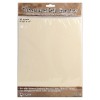
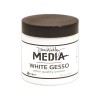
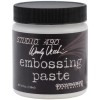
I started out with these two pieces. The bunny panel was die cut with the coordinating die. The egg had been die cut with Tim Holtz Stitched Ovals, coated with gesso and then embossing paste was applied through a stencil.
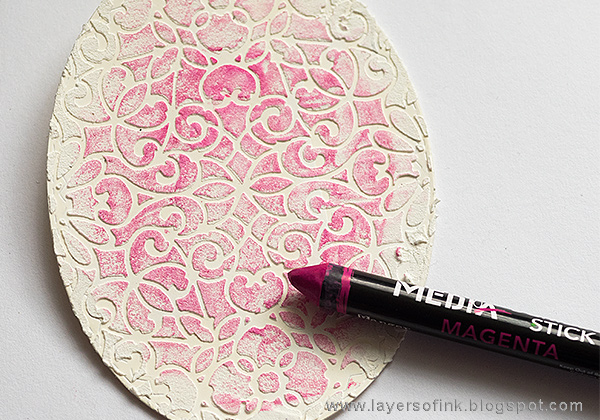
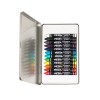
Use a Scribble Stick on its side and scribble over the texture. As you can see, there is only color on the raised parts. This is a very easy way of getting this effect on an embossed or stenciled surface. Apply a darker shade towards the center. You could leave it as it is.

I wanted to see what would happen if I added water, since the Scribble Sticks are water-soluble. Use a paint brush to apply the water. I liked the effect, some of the textured look remains, but the pigment is smoothed out and gets more of a watercolor look. For more Scribble Stick inspiration check out my Scribble Stick Tree Journal Page, and Scribble Stick resist journal page and flowers.

The folded background cardstock was embossed in the Sizzix Tim Holtz Dot-Matrix folder. It happens to be my all-time favourite embossing folder.

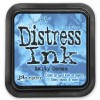
To color the bunny, I smeared Distress Inks on my craft sheet, misted with water and colored with a paint brush. You can see more examples in my Easter Accordion Card project.
Thank you so much for stopping by today!
I hope you will have a lovely Easter holiday (if you celebrate it). We had a couple of chilly days and I am hoping the warmer weather will return.
Happy crafting!
Anna-Karin
Supplies:





Fabulous Easter card! I love the stencilling and the colouring on your oval background! Great design!
ReplyDeleteThis is an adorable Easter card, Anna-Karin! thank you for sharing your steps with us! Happy Easter!
ReplyDeleteWat een mooie paaskaart. prachtig dat bewerkte achtergrond.
ReplyDeleteYour cards are so sweet. I especially love the texture on the first one, It reminds me of the chenille bed spreads my mother would put on the beds in the spring time.
ReplyDeleteThank you for sharing your beautiful work and A Very Happy Easter to you and all your family! :)
Such a sweet Easter card. I had forgotten about that embossing folder, it looks very useful as a background. I like how you used the scribble sticks, also.
ReplyDelete