Hello friends! It is Friday and I am looking forward to the weekend. We haven't quite gotten used to the new early morning school routines yet. I have a
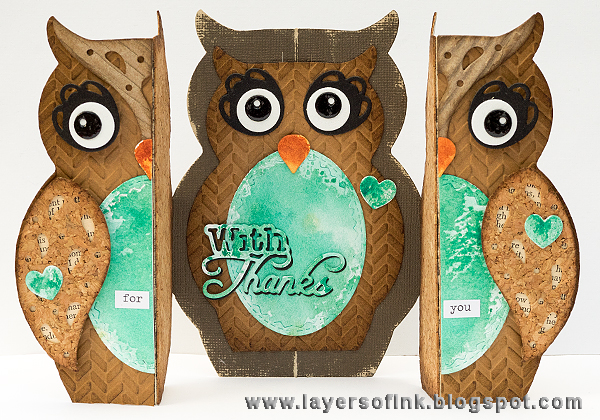
Sizzix tutorial to share with you today for a simple owl card, with a great shape.
When I was younger, I used to collect owls, and I still have a hard time walking past a great looking owl. So of course, I just had to make an owl card with Jen Long's
Owl Label Fold-a-Long Thinlits set. I like unusual shapes and folds for cards and the Fold-a-Long cards are such fun, and can be displayed in different ways from an ordinary folded card.
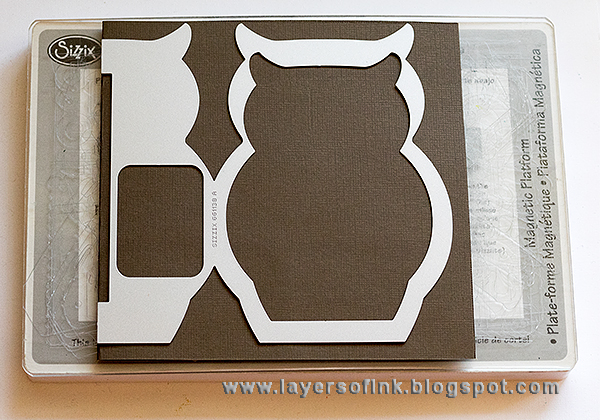
To die cut, you first need to cut and fold a piece of cardstock. I simply cut a 12 x 12 piece of kraft-core cardstock in half and folded. Place the die as shown, with the folded edge to the left. Run through your Big Shot of Vagabond using this sandwich: Sizzix Magnetic Platform, Cutting Pad, paper, die facing down, second Cutting Pad.
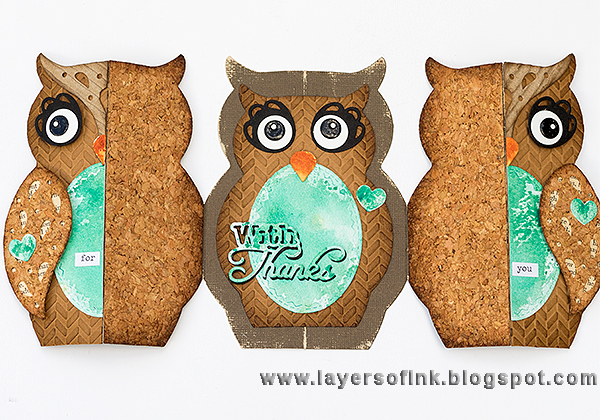
This will be the resulting base for your cards. Fold the two side pieces along the scorelines.
Die cut an owl from brown
Paper Leather and cut in half. Do the same with a cork owl. Die cut the remaining pieces from
cork, corrugated card and white and black Paper Leather.
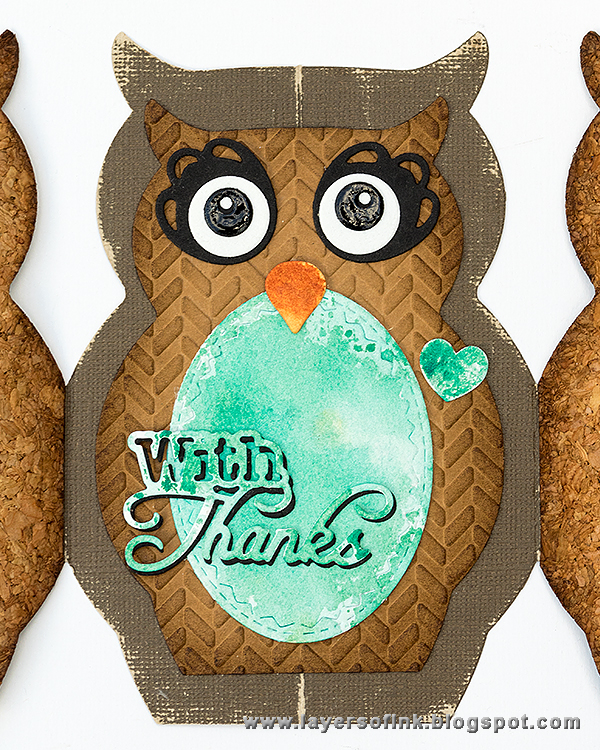
For the owl on the inside of the card, die cut the smaller owl in the set from brown Paper Leather, as well as a sentiment from
With Thanks Phrase & Frame, and an
oval, and eye pieces, also from Paper Leather.
Emboss the brown owls in the
Herringbone folder. This gives a great looking feathery texture to them.
Ink the pieces with Ground Espresso.
Smear Peacock Feathers and Rusty Hinge on a craft sheet, mist with water and press the white Paper Leather pieces into the ink. When dry, repeat for a darker colour.
Glue the pieces together. The outer eyes and wings were adhered with foam dots.
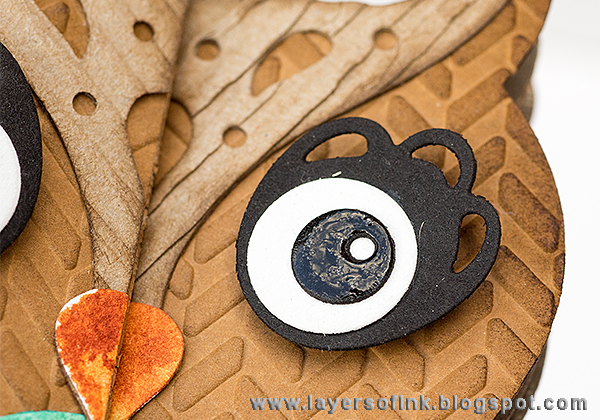
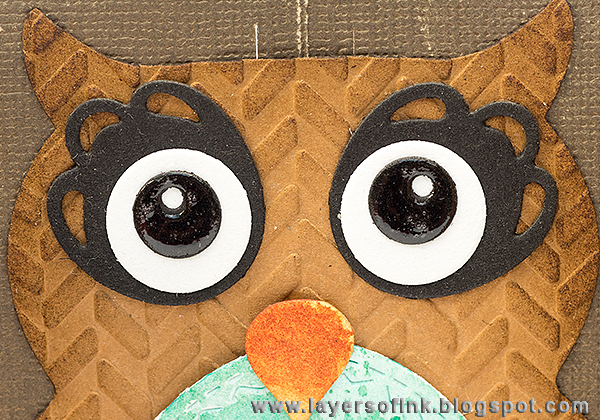
I added Glossy Accents to the eyes.
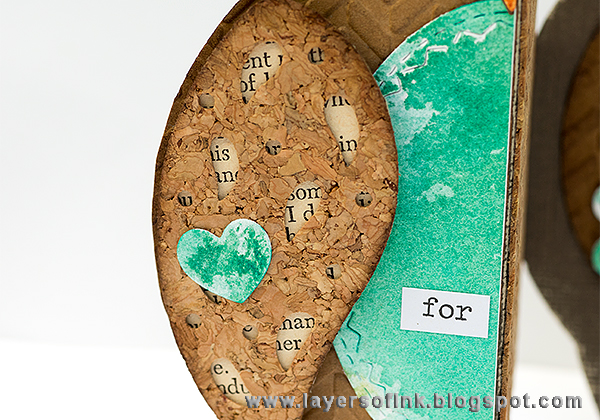
Place some old text paper behind the wings, for an extra detail.
Paper Leather takes ink beautifully. This is the owl in the middle, which is a surprise for the recipient when she or he opens the card. Layer the sentiment on a black die cut, off-setting it slightly, for a tone-on-tone effect.
Another look at the eyes. I love how ornate they are and the die cut dot in the iris adds such a great detail. The Herringbone dry embossing works real well on the owls.
When you close the
Owl Label Fold-a-Long card it looks like this, perfectly lined up. The sentiment was added with Chit Chat stickers. The owl will look good in other colours too, such as with orange for an autumn look, or maybe pink.
Thank you so much for looking and enjoy your weekend!
Happy crafting!
Anna-Karin
Supplies:





Fun card. I like the use of embossing to suggest feathers, and the texture contrast of the cork wings.
ReplyDeleteOh my goodness .... I am in love with this card. The die is to die for! But you have such amazing details here Anna-Karin (as always :) ) Love the cork and the text under the wings and and the herringbone "feather" details. REally fantastic!!! My mom collects owls and I may just have to break down and get this die. OH it is so cute! -- Mary Elizabeth
ReplyDeleteWhat can I say? It is adorable! The details you add make the project!
ReplyDelete