Hi and welcome! Happy Easter! Today I am happy to be a guest designer over at Berry71Bleu. Here you can see their gorgeous March mood board.

Isn't it gorgeous? I love the colours, perfect for spring and the sentiment is wonderful. It's been a while since I worked with a mood board and it was lots of fun.

It's been quite a while since I made a layout with one of my childhood photos, since most of my layouts these days are about the boys. When looking though my photos, searching for a good story, I came up on this school photo from when I was about ten years old. At the time, I really disliked this photo, so much that I could hardly even look at it. Now, I can't remember why and for that reason, I thought this photo worked well together with the sentiment from the mood board. I added some additional journaling at the back of the layout. I took some step photos.

I did a simple, but always fun, background technique. Smear Distress Ink on a Sizzix Cutting Pad (one without lots of marks), mist heavily with water and press on the page. You can see the same technique, but using more than one colour on my Just Keep Smiling, Remember This, and Sheltering Flowers art journal pages.

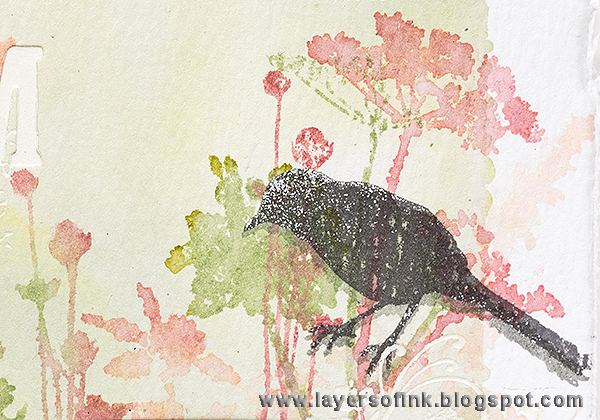
When the background was dry, I stamped it with Tim Holtz new lovely Wildflowers stamps. Ink them with Distress Inks, mist about four times with water and stamp. The grey stamping was done with Watering Can ink and I also added some tissue tape.

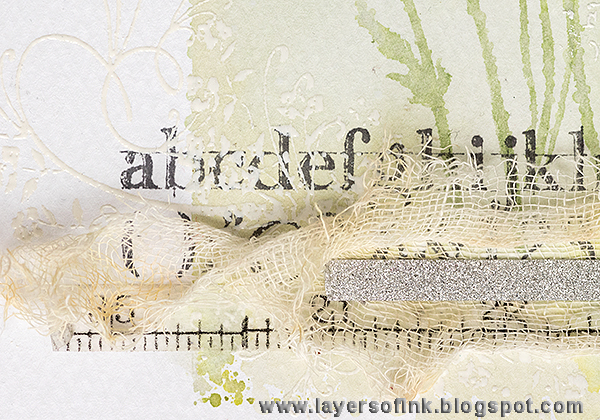
For more texture, I white embossed my favourite alphabet background stamp (I used it on my canvas a few days ago too) and a flourish stamp. Did you notice that the tissue tape is gone from this photo, I removed it before doing the embossing, and then added it back again.

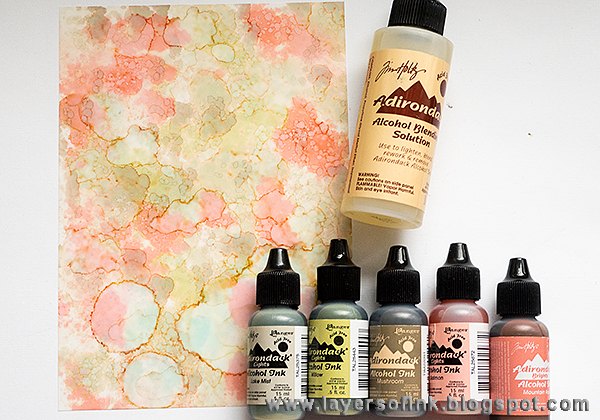
I love using butterflies on my projects, and you can do them in just about any colour. For this layout, I enjoyed using Yupo paper for the first time. I used the translucent one, there is also a white variety. This paper is non-porous and, thus, works great with alcohol inks. I really like the feel of the paper. With a felt applicator tool, apply alcohol inks to the Yupo and repeat until you are happy. I also dripped a few drops of Alcohol Blending Solution on the paper.


Some of the butterflies were glued and others were stapled to the background.


There are some additional close-ups over at the Berry71Bleu blog, if you want to have a look. There is still time to join this month's challenge, and don't miss all the inspiration that has been posted during March using this mood board.
Thank you so much for visiting today! Enjoy the rest of the Easter weekend!
Happy crafting!
Anna-Karin
Supplies:

Thank you for the tutorial. The outcome is so tender and beautiful!
ReplyDeleteYour page is an absolute delight Anna-Karin and the amazing details and creativity, are just fabulous! So love this page! Thanks ever so much for Guest Designing for us at Berry71Bleu, I really appreciate it! xx
ReplyDeleteIts lovely ! The soft colors ,delicate butterflies n watercolors everything gives a gentle feel To it :)
ReplyDeleteIts lovely ! The soft colors ,delicate butterflies n watercolors everything gives a gentle feel To it :)
ReplyDeleteWhat a beautiful LO! Love all the soft colours and thanks for showing how you made this; great inspiration! Have a fun and colourfull Easterweekend!
ReplyDeleteBeautiful page, such pretty colours, Cathy x
ReplyDeleteGorgeous page! Different colors for you but you used them beautifully.
ReplyDeleteGorgeous page! Different colors for you but you used them beautifully.
ReplyDeleteVery beautiful! Love the soft color combination as well as added texture.
ReplyDeletebeautiful design and color choices - inspiring!
ReplyDeleteThis is such a beautiful page!
ReplyDeleteThis is just beautiful and I love everything about it. Stunning as always. Hope you are all well and enjoying your new home <3
ReplyDeletethis is gorgeous...love it!
ReplyDelete