Hi all! Today I have a tutorial to share for the Tim Holtz Media team, with a mix of fun techniques. It is September and time for some autumn projects.

The vibrant colours of autumn are wonderful and I made a burlap panel to celebrate them. Through the window you can look out at a beautiful lake in warm autumn light and colours. The burlap panels fit very well on autumn projects because of the rustic texture. The main focus of this tutorial is on stencils, and I'll be sharing some fun stencil techniques, particularly a shadow stencil technique.
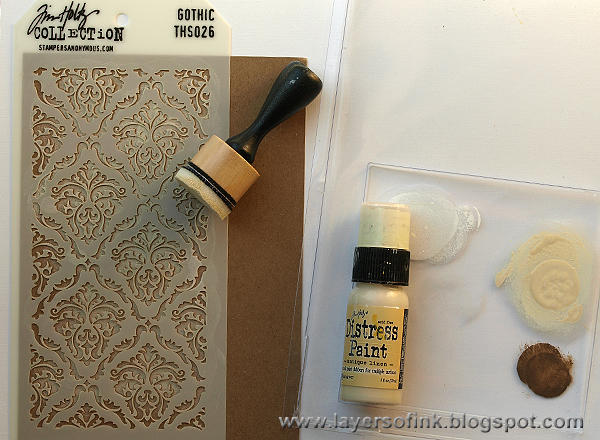
I did a fun technique which creates both dimension and texture, but without any bulk. In the past, I did a similar technique with stamps, but for this project I wanted to see if I could think of way of doing the same thing but with stencils. Working on craft cardstock, pounce Antique Linen paint through the Gothic stencil. Don't use too much paint to prevent it from seeping under the stencil. I love the pattern of the Gothic stencil.
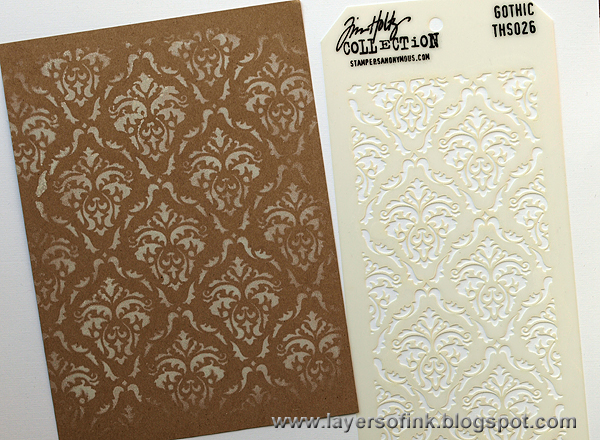
Continue until you have covered the whole paper, it is easy to line up the stencil to get a continuous pattern. Leave to dry completely.
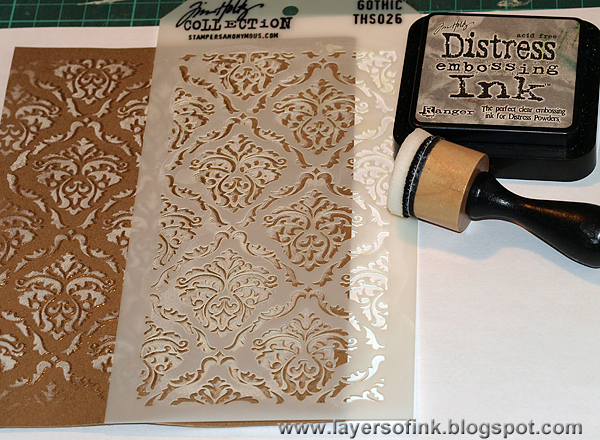
Put the stencil back on the paper, but move it a little bit to the side of the original pattern. It is easy to do if you first line it up perfectly and then just shift the stencil. Make sure to shift it to the same side over the whole paper. Pounce embossing ink through the stencil with a round ink-blending tool.

Sprinkle with clear embossing powder and melt with a heat gun. Work on one section at a time. This is the final result. The technique gives a really cool shadow effect that makes the stencil pattern almost look three dimensional.
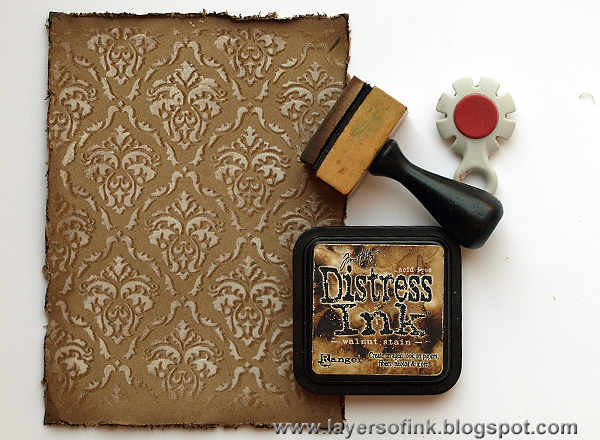
Distress the edges and ink with Walnut Stain.
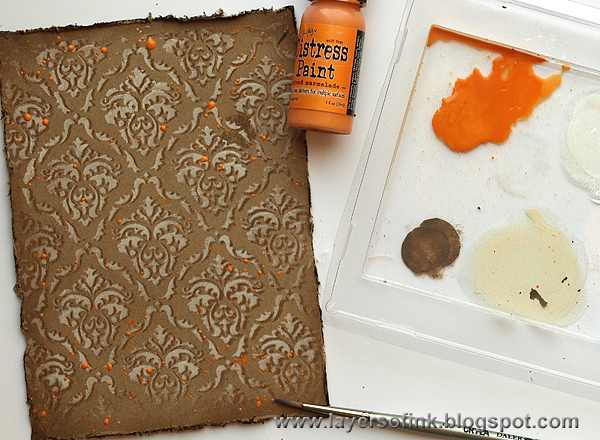
Add a tiny bit of water to Spiced Marmalade paint and splatter on the background.
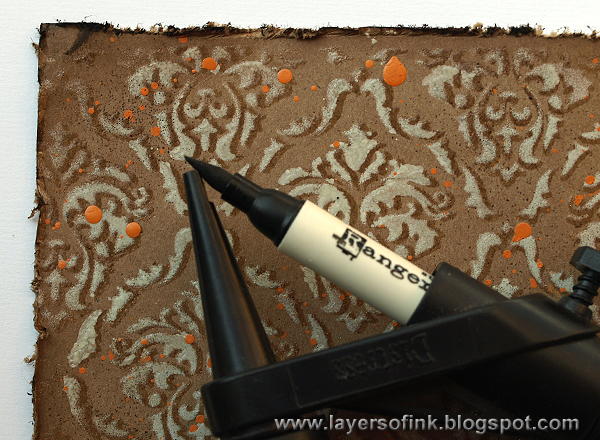
Finally, for a little more texture, I used the Spritzer tool and a Walnut Stain Distress Marker here and there on the background.
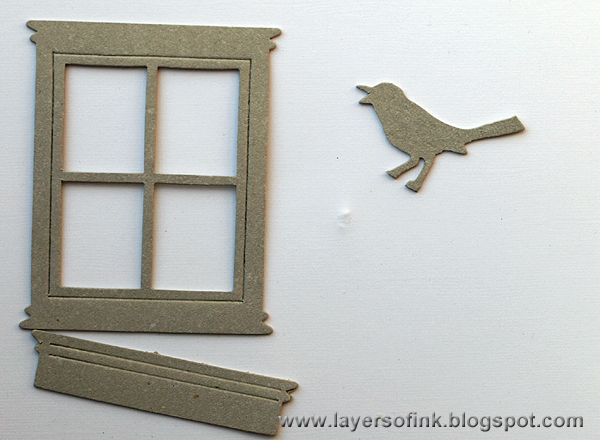
Die cut the window and the bird from the Bird Branch die from grungeboard. I love this window die, and once used it to make large houses to decorate the stage for my son's school concert.
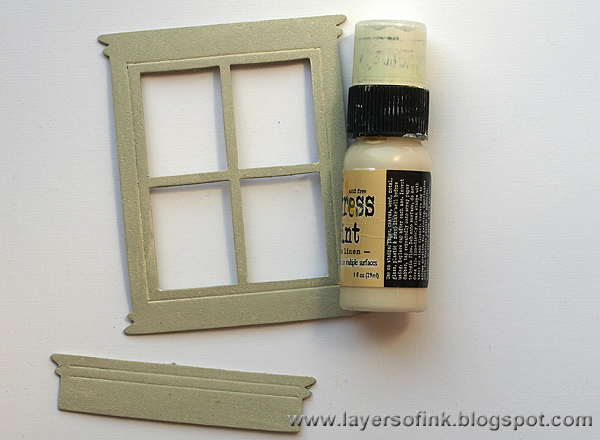
Paint with Antique Linen.
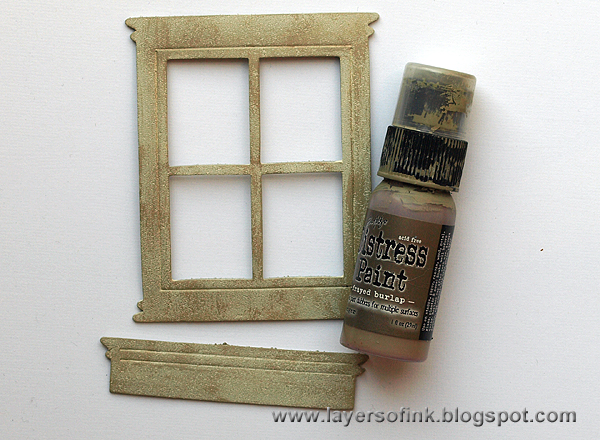
Paint with some Frayed Burlap.
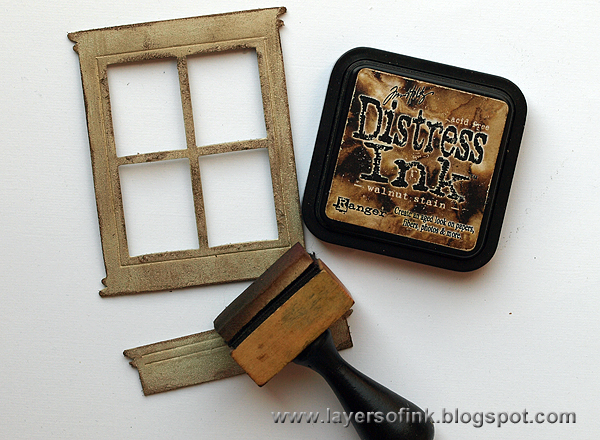
Sand the edges with a sanding grip and ink with Walnut Stain. If you want to you can stop here, because the window already looks nice.
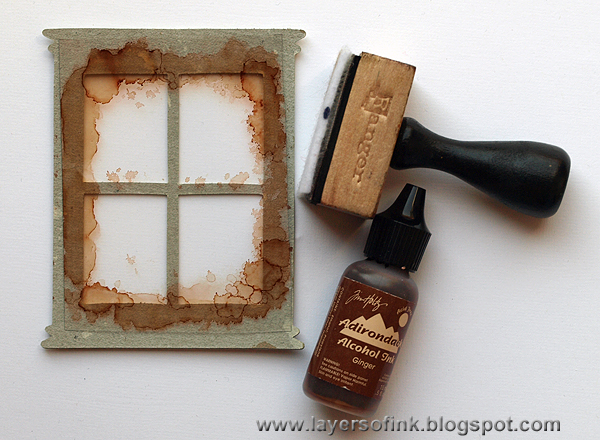
I wanted window glass too and cut a piece of acetate. Place it temporarily on the back of the window die cut and add some Ginger Alcohol ink around the edges. Placing it on the die cut makes it easier to see where to ink.
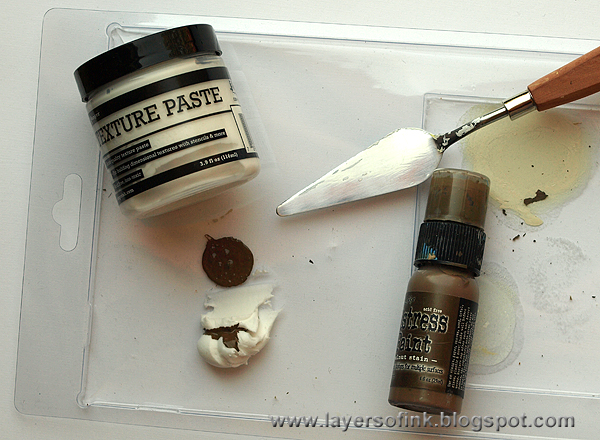
Mix a little bit of Walnut Stain paint into Ranger's new Texture Paste.
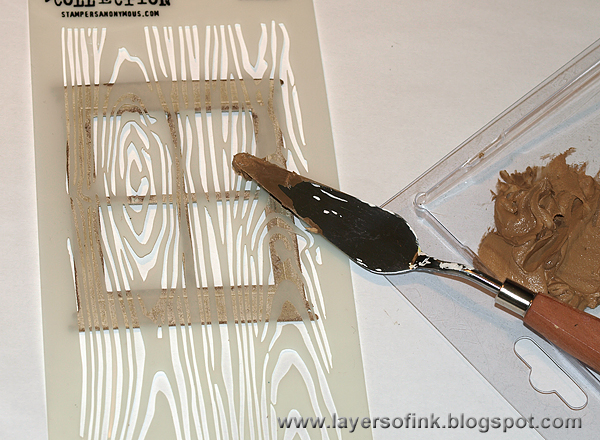
Place the Woodgrain stencil over the window and apply paste with a palette knife. Carefully lift the stencil up and immediately clean it.
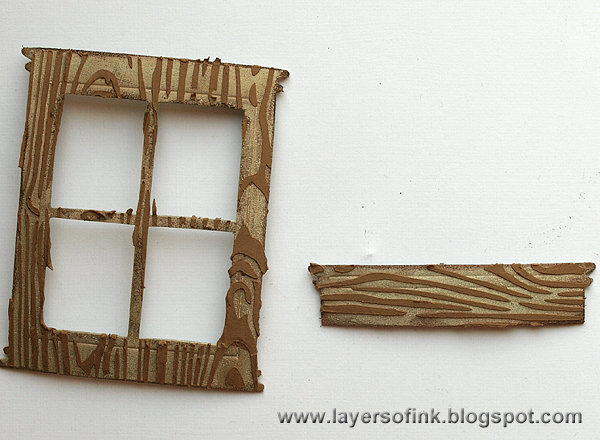
When the paste is dry, it looks like this. But at this stage I changed my mind and decided that the window needed some blue.
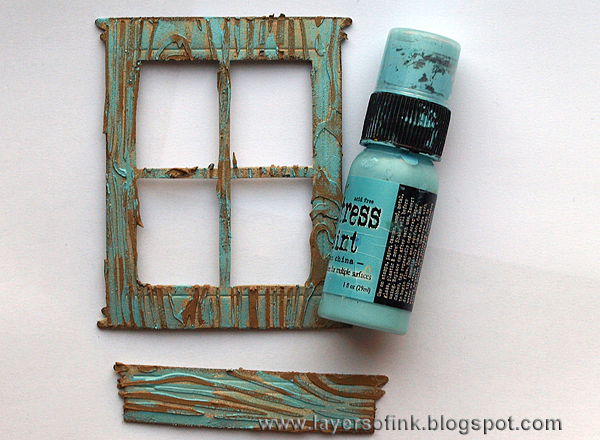
Paint Broken China here and there on the window with a paint brush. If you want to, you can do this step before the paste.
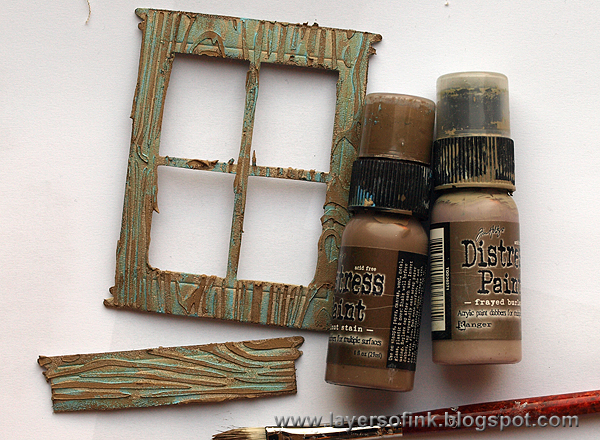
Dry brush brown paint on the window to tone down the blue and blend the colours.
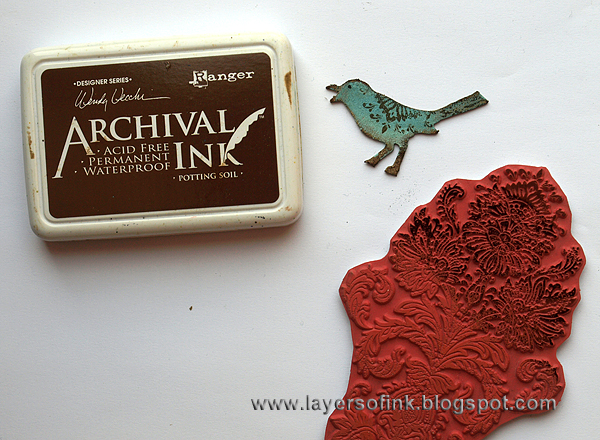
The bird was painted with Broken China, sanded and inked with Walnut Stain. I stamped one of the Distress Damasks on the body of the bird as a wing, using Potting Soil ink.
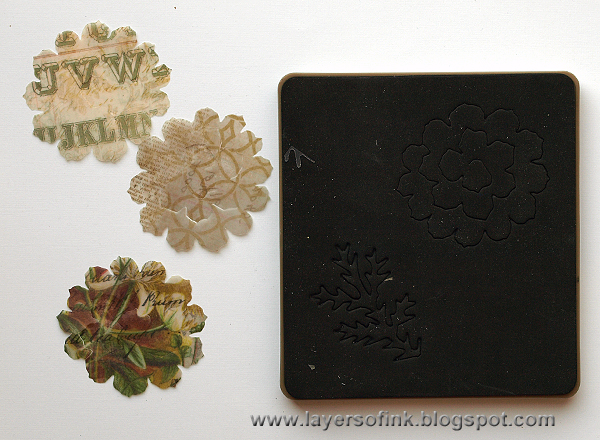
Die cut three Tattered Pinecones from vellum.
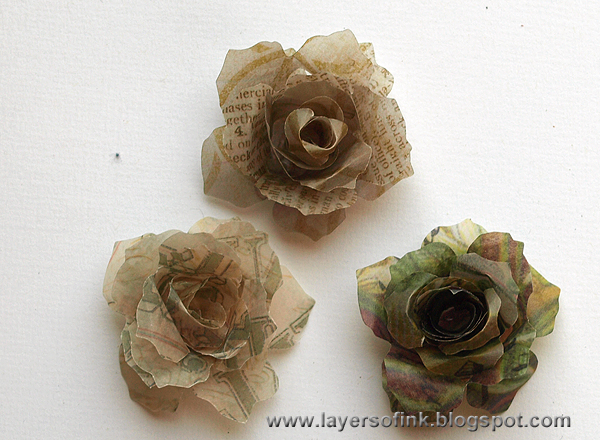
Roll them up into vintage roses. They look real nice with the vellum.
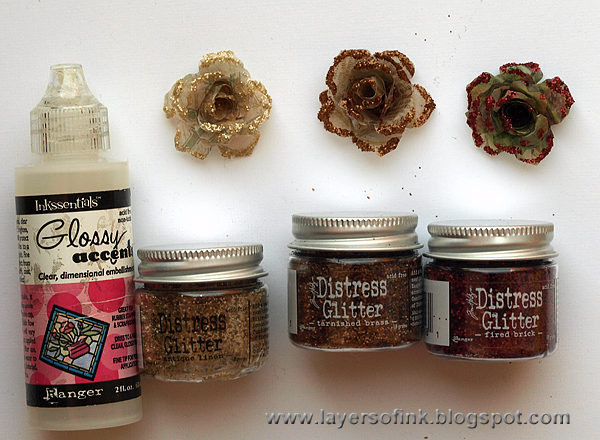
Add a little Glossy Accents to the flowers and sprinkle Distress Glitter on top. I used Antique Linen, Tarnished Brass and Fired Brick.
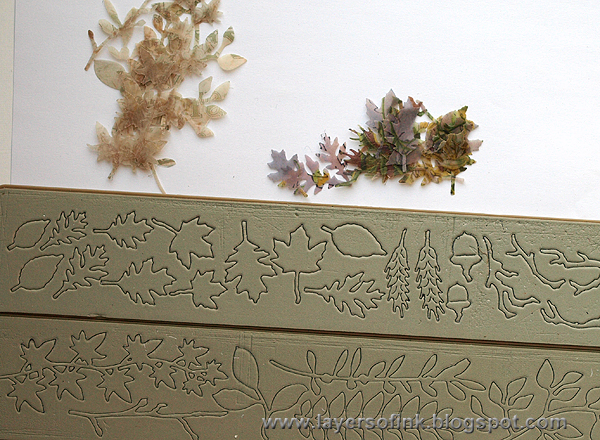
Die cut leaves and branches from vellum with the Spring Greenery and Autumn Gatherings dies.
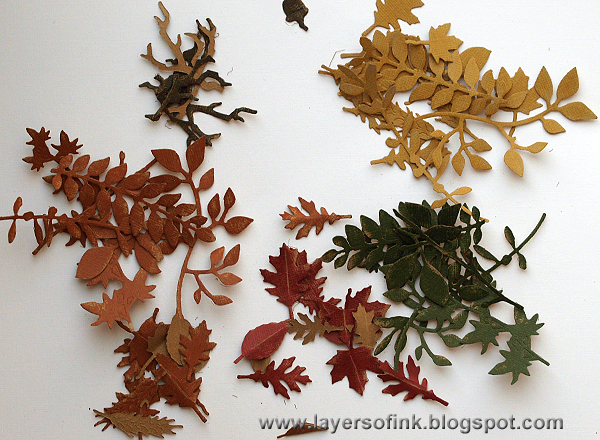
Use the same two dies to die cut more leaves and branches from kraft-core cardstock. Sand to reveal some of the kraft-core. Fold the leaves in the middle and sand to create a vein.
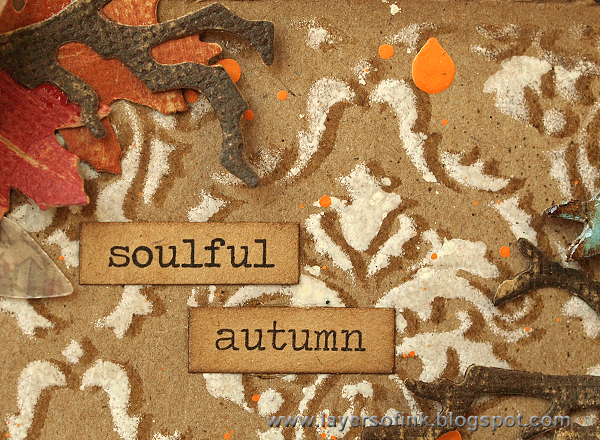
Time to assemble everything. Glue the background to a slightly larger piece of orange kraft-core cardstock, sanded around the edges. Add some chit chat stickers for a sentiment. Here you can better see the shadow effect of the stencil technique.
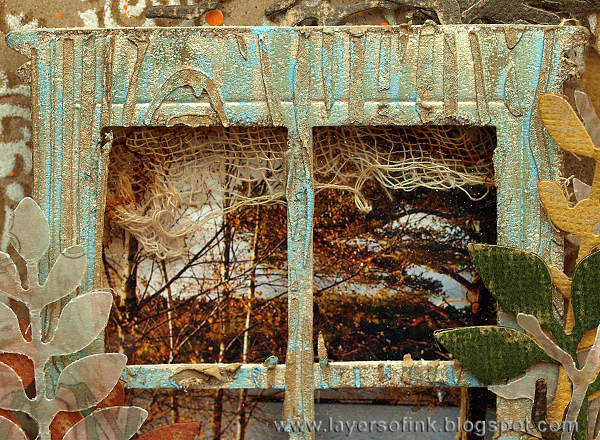
To add more shine, I misted the window with Biscotti Perfect Pearls. I always want to add a curtain, but I didn't want to cover too much of the photo up, so I dyed a piece of cheese cloth with Gathered Twigs ink and used that.
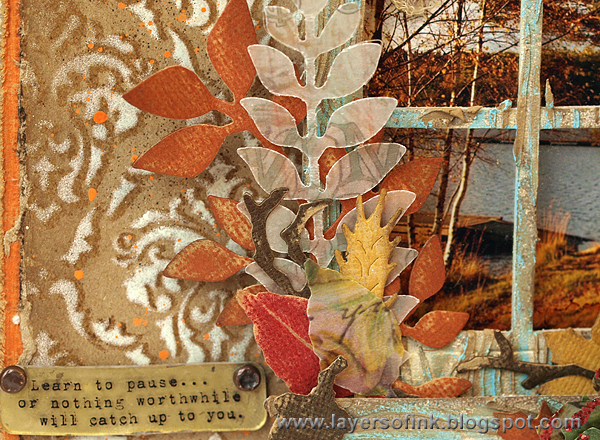
Adhere the window and window box with foam tape, or place pieces of foam or cork behind them to add dimension. Layer branches and leaves into the window box.
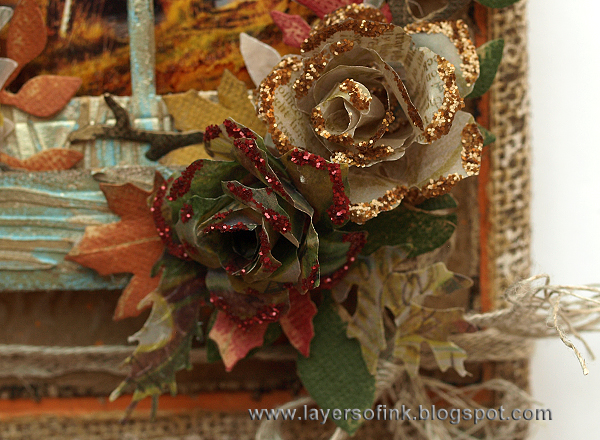
Finish with two of the tattered pinecone roses.
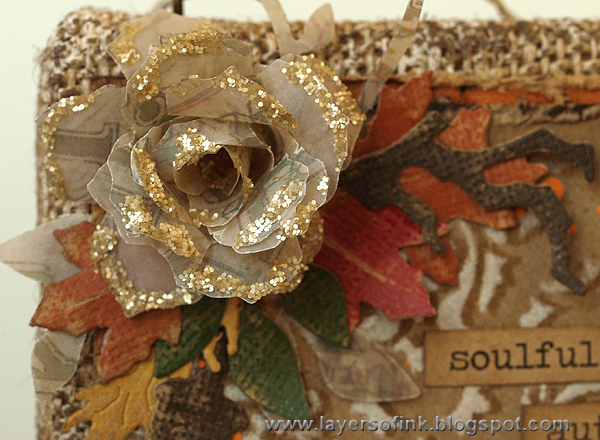
I added another rose and more leaves and branches to the upper lefthand corner of the panel.
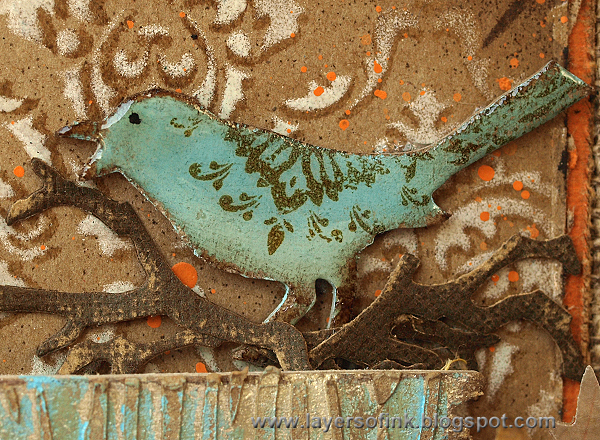
Coat the bird with Glossy Accents for shine and when dry, place it and some branches above the window.
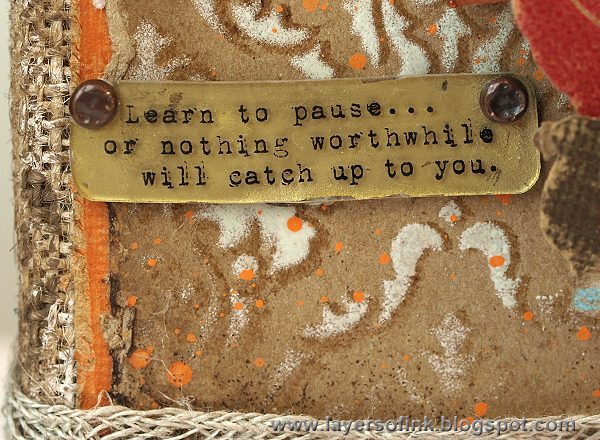
I wanted to use this stamped sentiment from the Just Thoughts set, but it was too large for the canvas. Instead, I stamped it on shrink plastic and cut it out. Punch two holes and shrink the plastic according to the instructions on the packaging. Colour at the back with gold alcohol ink.
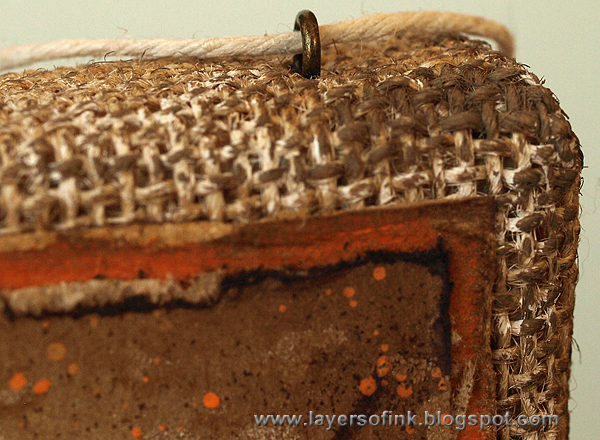
The edges of the canvas were painted with Antique Linen and Walnut Stain. I like to use Screw Eyes on burlap panels to be able to easily hang them up. Screw one on each side and tie a piece of twine in between.
Thank you so much for looking! I hope you enjoyed the tutorial!
Happy crafting!!
Anna-Karin
Supplies:
Surfaces: Tim Holts idea-ology: Burlap Panel 6 x 8, Wallflower Vellum Paper Stash, Grungeboard; Core'dinations Tim Holtz: Kraft-Core cardstock; Ranger: Kraft Cardstock, Shrink Plastic
Dies: Sizzix: Tattered Pinecone, Window & Window Box, Bird Branch, Spring Greenery, Autumn Gatherings
Stamps: Stamper's Anonymous Tim Holtz: Just Thoughts, Distress DamaskInk: Ranger Archival Ink: Potting Soil, Jet Black; Distress Ink: Walnut Stain
Paint: Distress Paint: Broken China, Antique Linen, Frayed Burlap, Walnut Stain, Spiced Marmalade
Marker: Distress Marker: Walnut Stain
Alcohol ink: Ranger Adironack: Ginger, Gold Mixative
Glitter: Distress Glitter: Antique Linen, Tarnished Brass, Fired Brick
Embossing powder: Ranger: Clear
Mist: Ranger: Biscotti Perfect Pearls
Medium: Ranger Texture Paste
Stencils: Stamper's Anonymous Tim Holtz: Gothic, Woodgrain
Embellishments: Tim Holtz idea-ology: Seasonal Chit Chat Stickers, Chit Chat Stickers, Screw Eyes, Long Fasteners, Linen Ribbon
Tools: Sizzix: Big Shot; Ranger: Mini Round Ink Blending Tool, Distress Marker Spritzer Tool, Sanding Grip

Just wonderful- thanks for sharing all the creative steps of this little work of art x
ReplyDeleteThank you so much for this tutorial, Anna Karin. I learned many new techniques, wow!
ReplyDeleteAnd your project is fantastic, as always. :)
Thank you so much! your detailed instructions with great photos is greatly appreciated. This is a beautiful project!! Thank you again!
ReplyDeleteSo beautiful Anna-Karin. I love he colors and all the layers. NancyD
ReplyDeleteI just love the paint, then embossed technique with the Gothic stencil, it looks fantastic. Your tutorial, is excellent, as ever and I love the finished canvas.
ReplyDeleteBeautiful! Love love love! :)
ReplyDeleteWonderful canvas, like the techniques.
ReplyDeleteAnna-Karin, this is my very favorite piece of work that you have done... very special... Love it all. Thanks so much for sharing your heart with us... Love, Light and Peace...Bonnie
ReplyDeleteFabulous tutorial Anna Karin, so many great ideas!
ReplyDeleteLucy x
MMMM! Can't remember the last time I had to look and re-look at a project because it was so beautiful and interesting! Love the techniques and oh happy me...I even have 'some' of these supplies to try this too! Thanks for sharing and the great inspiration too!
ReplyDeleteAbsolutely gorgeous! Beautiful colors and texture!
ReplyDeleteSandy xx
Stunning... love the color combo, amazing details too !
ReplyDeleteI love your canvas. The textures are so rich and amazing. I appreciate you showing all the steps with great photos, helps so much to learn! Have a great day!~kim
ReplyDeleteOh - my - this is absolutely GORgeous! The step by step instruction really makes me want to jump in and try to replicate EVERY detail!
ReplyDeleteVery nice Anna, I am so into fall and you did a beautiful job. TFS!
ReplyDeletewonderful project; wonderful tutorial.....thanks for sharing!
ReplyDeleteWOW! Anna-Karin I love this tutorial and that window and frame is just the coolest idea...I love visiting your blog you seriously have brilliant ideas and your tutorials are so easy to follow. I need to play more.
ReplyDeleteWow I'm loving it! Thanks for sharing. Greetings Annemieke from the Netherlands
ReplyDeleteThis is outstanding! I see why you are on Tim's Team. Thank you for sharing this. It's going in my guestroom.
ReplyDelete