Hello crafters! I hope you are well! We had beautiful weather this weekend and went swimming every day. Today I have a scrapbooking layout to share with a star background. The background works great for cardmaking and art journaling too.
This week we have a Shoot for the Stars theme at the Simon Says Stamp Monday Challenge Blog. Don't miss the beautiful project by our June guest designer Sandra Rupp.
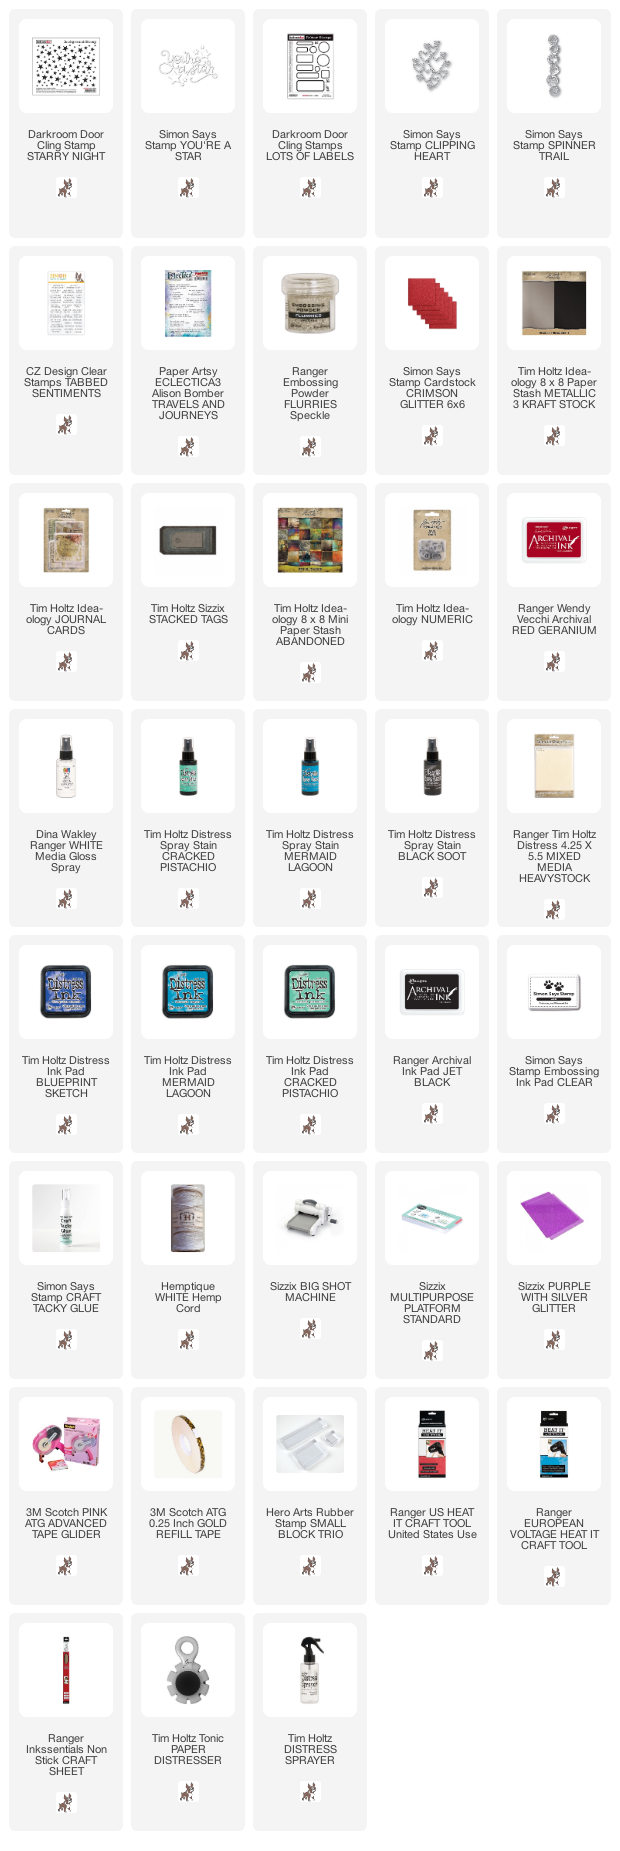
I was in the mood for a scrapbooking layout and found this photo from a little more than a year ago. Leo loves costumes, especially super hero customs. This is also one of the rare masks that actually sits well and doesn't fall down, cover his eyes or something similar. The background was done with the Starry Night Background stamp by Darkroom Door, embossing powder and lots of ink.
First the Starry Night stamp was embossed with Ranger's Flurries Speckle Embossing Powder, several times. Always be very careful when using a heat gun so that you don't burn yourself. I worked on watercolor paper. Next, I smeared Distress Inks on a craft sheet and pressed the paper into the ink, but the effect was a too light for what I was aiming for, so I reached for Distress Spray Stains instead and misted the background. Some of the original Distress Ink still shows through, especially towards the edges.

When dry (or in this case, semidry, since I was in a hurry), splatter some White Gloss acrylic spray on the background.
The SSS Clipping Heart die was die cut from light gold metallic kraft stock paper. I glued some of the hearts into the frame.
I die cut the SSS You're A Star die from black metallic kraft stock paper. The stamped sentiments comes from the SSS Tabbed Sentiments and Paper Artsy Travels & Journeys. The Spinner Trail under the photo was die cut from SSS Crimson Glitter Paper.
The paper under the photo comes from Tim's Abandoned Paper Stash. It looked a bit like a net, so I thought it fit well. The journaling is on a die cut tag behind the patterned paper. I also used one of Tim's Numeric set.
The Flurries powder has speckles and some glitter in it, which might be hard to spot on the photos, but it adds a lot to the starry sky. I also like the soft cream color of this powder.
I hope you will join us this week in our Shoot for the Stars challenge. You have a chance to win a $25 gift voucher to do some fun shopping at Simon Says Stamp. You have until next Monday 8am Ohio time. 1pm UK time, 2 pm CET to join in.


Gorgeous layout Anna-Karin :-) the photo of Leo is just adorable, he looks like the real spiderman!! the background and stars are fabulous, this really made me smile :-)
ReplyDeleteHope you have a great week! Enjoy the lovely weather!
luv
Lols x x x