
Hello crafters! Today I have a tutorial for two notebooks to share with you. The techniques work just as well for cardmaking or art journaling. I made these as teacher's gifts.

As you already know, I love birds, and the Great tit and Eurasian blue tit are two of my favorite birds. They often make their way onto my projects. I used Tim Holtz Feathered Friends die set for the birds. You can color them in any way you'd like. When I want a specific bird, I usually look in a bird book for inspiration. The backgrounds were done with Collage Paper, a homemade stencil and Grit-Paste.

Start by cutting four covers from Little Sizzles Mat Board, 6 x 4 in. You can also use chipboard, but then add a layer of gesso, otherwise the grey color will dull the collage paper. Adhere Tim's Typography Collage Paper to the front covers with matte medium. Also add a layer of matte medium on top of the collage paper.

Glue natural sticky-back canvas to the back covers with matte medium. The canvas is self-adhesive, but for notebook, I usually glue them down.
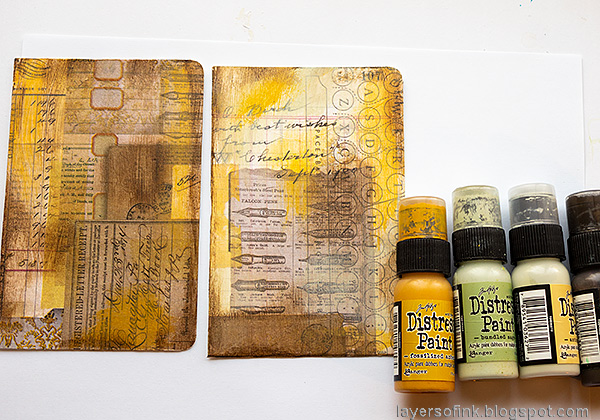
Add Distress Paint to the covers, but don't cover up the designs completely.

Die cut the Simon Says Stamp Archie Jr Solid die from cardstock, to make a stencil.

Smear Translucent Grit-Paste through the stencil with a palette knife. Let dry.
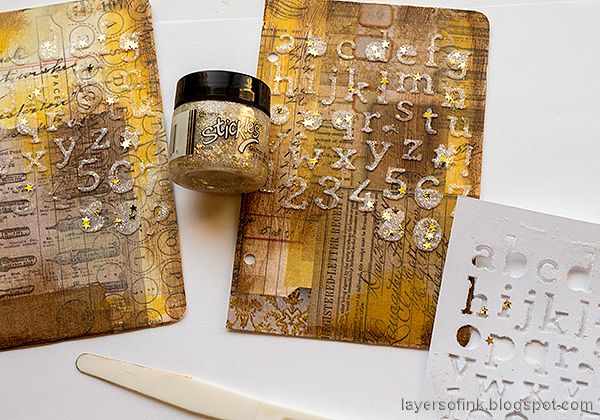
Place the stencil back over the design, and apply Nebula Stickels Glitter Gel through it.
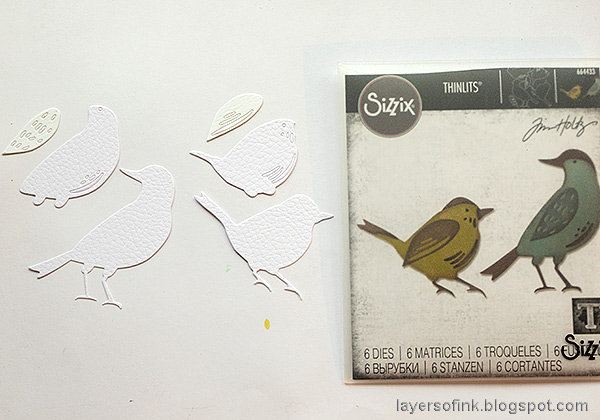
The Feathered Friends were die cut from Tim's Cracked Leather watercolor paper, with the wings being die cut from ordinary watercolor paper.
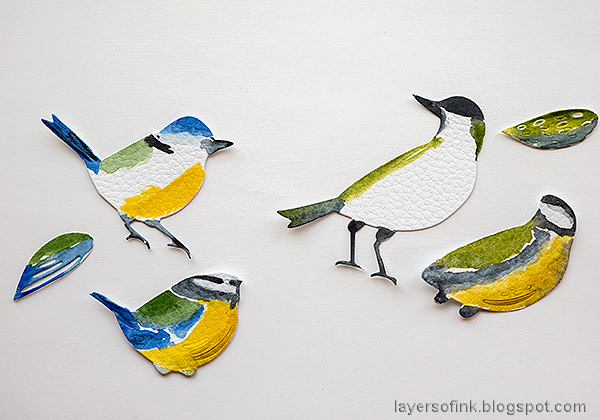
Mix watercolor paint and paint the pieces.
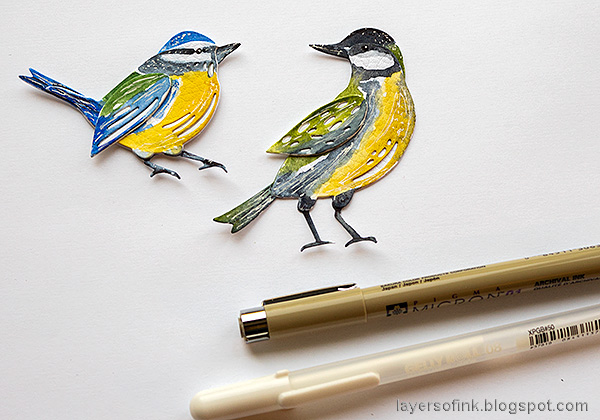
Assemble the birds and then add details and highlights with a black pen and a white gel pen.
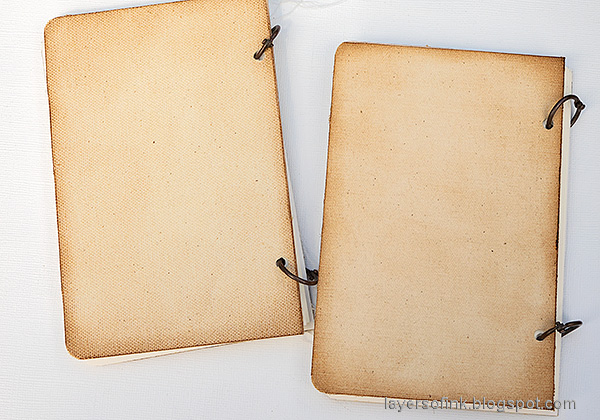
Ink the canvas and punch holes with a Crop-a-dile. Cut inside pages from your favorite sketching paper. Round the edges of the two corners on the outside and do the same on all the inside pages. The book was bound with Tim's Mini Book Rings.

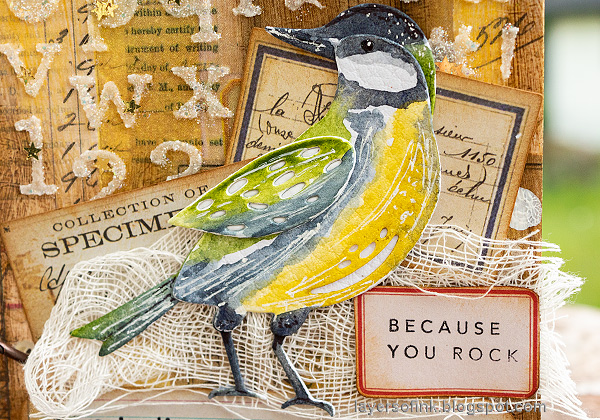
I used Field Notes ephemera and Mummy Cloth to make a little nest for the birds. The edges of the ephemera were inked with Vintage Photo. The sentiment was stamped on one of Tim's Journal Cards with Paper Artsy's Sunshine & Rain set by Alison Bomber.

The cracked paper adds a great texture to the birds, which fit well for the look of feathers. Seeing a Euroasian blue tit always makes me happy.

The sentiment stamped on the oval label comes from the SSS Tabbed Sentiment set.

Since the Grit-Paste is translucent, some of the background shows through, making the letter appear to be in different shades. The gold stars are a part of the Nebula Glitter.

The second book also has some Field Notes ephemera. I usually avoid bulky or dimensional objects on notebooks, since the book will not lie flat if there is something bulky on the cover.
Here you can see the details on the bird a little better. I am very fond of using a white gel pen for highlights and some scribbles.

The sentiment comes from Paper Artsy Sunshine and Rain. I rounded the edges to make it look more like a school label.
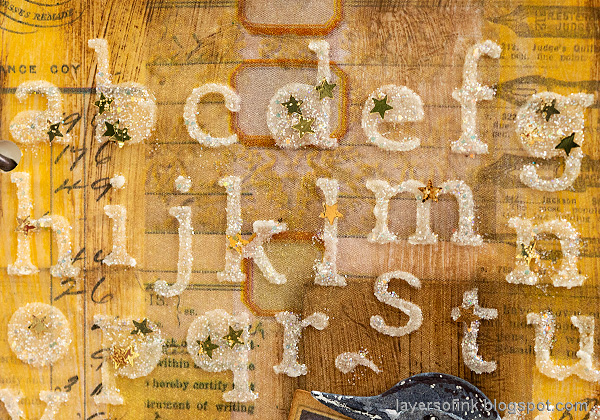
Adding Stickles through a stencil is such a fun technique and gives an instant glittery look, without any mess. For more inspiration check out my Magical Gnome Forest and Ink, Stamps and Glitter projects.

Thank you so much for taking the time to visit my blog today!
Happy crafting!
Anna-Karin
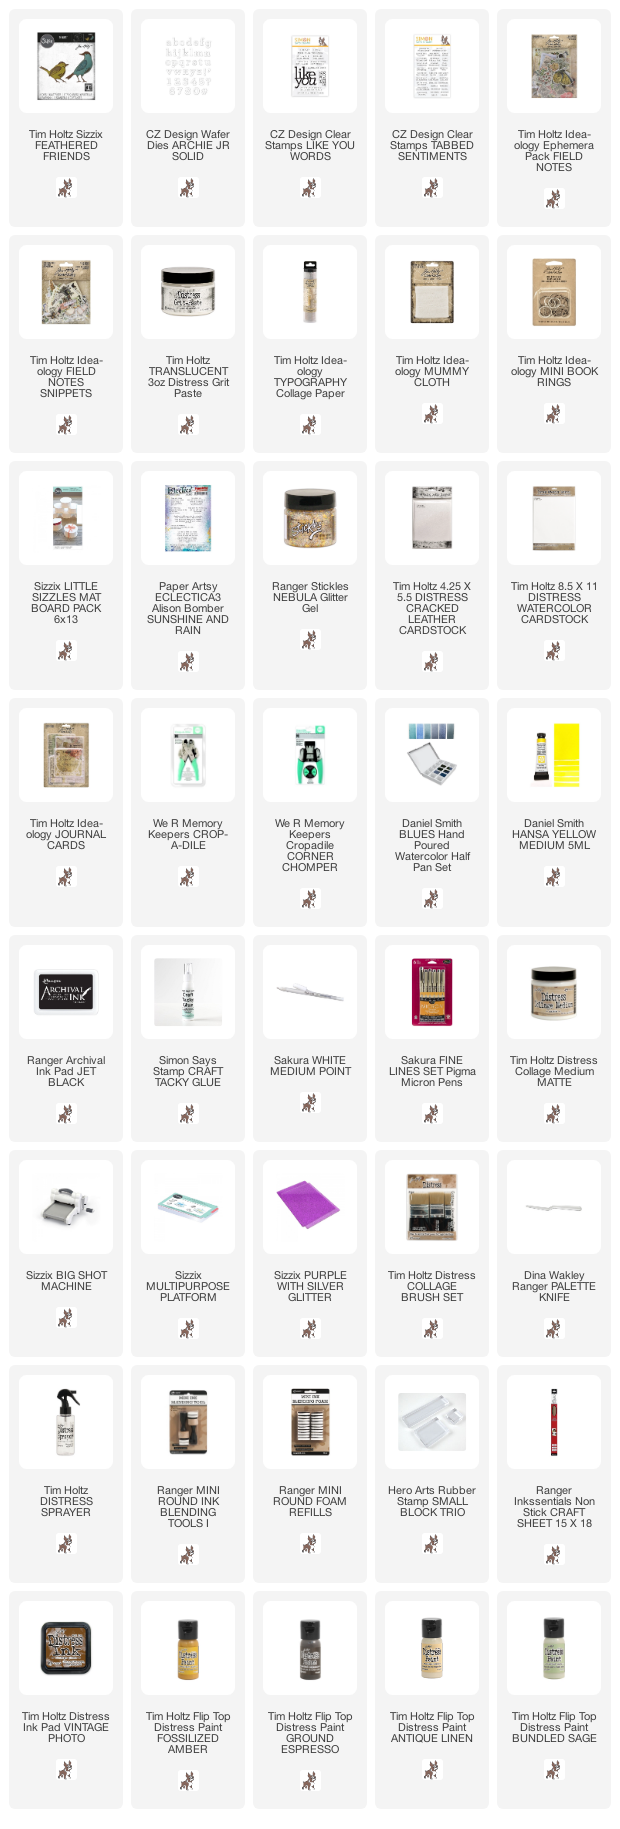
Supplies:
* Please note: the links are affiliate links, for which I receive a small percentage of sales generated by the link, at no extra cost to you.
* Please note: the links are affiliate links, for which I receive a small percentage of sales generated by the link, at no extra cost to you.
these are darling! I love the background and the painted birds!
ReplyDeleteWOW these are amazing, I love the textures and sweet birds!
ReplyDeleteTammy x
Absolutely love these - such scrumptious textures (ooh the lettering, ooh the cheesecloth nests!) and colours. The birds are beautifully tinted and the words are perfect. What great gifts for hard-working teachers.
ReplyDeleteAlison x