Pages

Monday, June 24, 2019

Yellow Textured Star Tag Tutorial

Hello friends! It is Monday and we have a new fun Simon Says Stamp Monday Challenge for your. This week our theme is Stars and Stripes


Don't miss to check out the last project by our June guest designer Jess, with her blog Two Mad Dahlias

Layers of ink - Yellow Textured Star Tag Tutorial by Anna-Karin Evaldsson.

I made a yellow tag using both stars and stripes, but not how one might traditionally think of the two together. My favorite part of the tag are the crackles in the background, multi-colored with the help of Distress Crayons. 

Layers of ink - Yellow Textured Star Tag Tutorial by Anna-Karin Evaldsson.

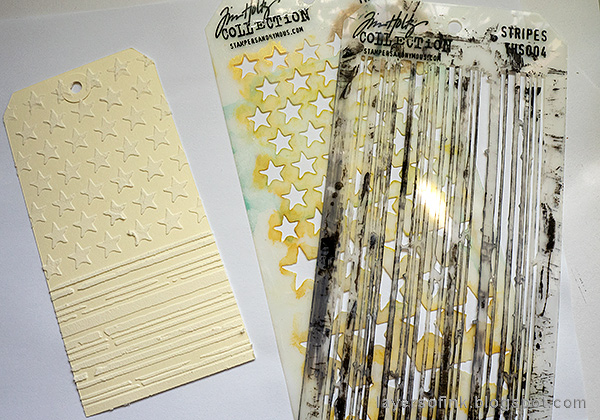
Start by applying Texture Paste through Tim Holtz's Stars stencil, and when dry, continue with the stripes.

Layers of ink - Yellow Textured Star Tag Tutorial by Anna-Karin Evaldsson.

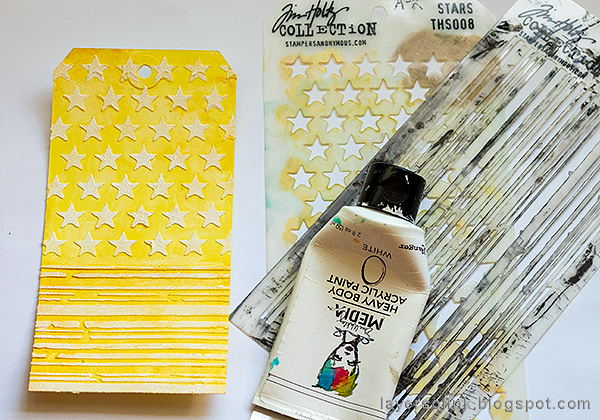
Paint the top with Squeezed Lemonade and the bottom with Mustard Seed, mixing them a little here and there.

Layers of ink - Yellow Textured Star Tag Tutorial by Anna-Karin Evaldsson.

When dry, place the stencils back on the tag and sponge white paint through the stencils.

Layers of ink - Yellow Textured Star Tag Tutorial by Anna-Karin Evaldsson.

I forgot to photograph the crackle step. Apply Rock Candy Distress Crackle Paint with a palette knife. Crackles appear as it dries. When dry, rub white, Cracked Pistachio and Spiced Marmalade Distress Crayon into the cracks. I particularly like the look of the white crayon.

Layers of ink - Yellow Textured Star Tag Tutorial by Anna-Karin Evaldsson.

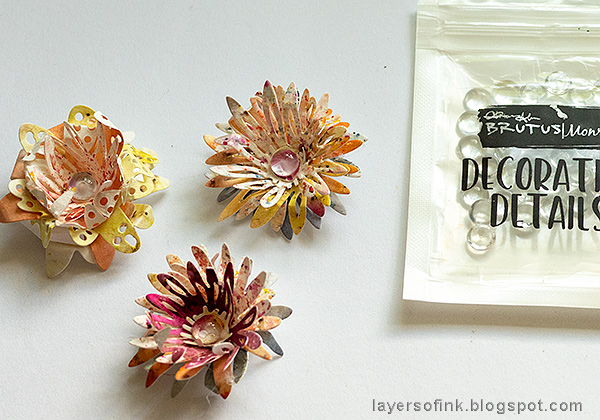
I had a bunch of left-over Infusions colored papers, and made a couple more. Just mist watercolor paper with water, sprinkle over a tiny amount of Paper Artsy Infusions, and mist with water again to blend them even more. The green paper was done with Distress Ink. Die cut flowers and leaves with Tim's Funky Floral Large set.

Layers of ink - Yellow Textured Star Tag Tutorial by Anna-Karin Evaldsson.

Shape the flowers with Sizzix Paper Sculpting tool, or with Tonic's Craft Tool Set.

Layers of ink - Yellow Textured Star Tag Tutorial by Anna-Karin Evaldsson.

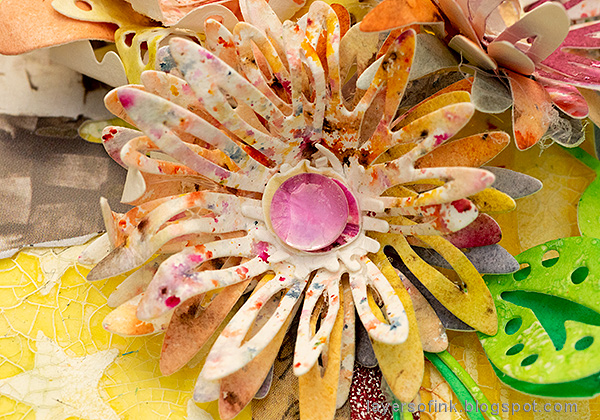
Layer them together and glue Flat Back Bubbles in the center.

Layers of ink - Yellow Textured Star Tag Tutorial by Anna-Karin Evaldsson.

Here's a close up of the background. I also used a Word Band with white paint rubbed into the words.

Layers of ink - Yellow Textured Star Tag Tutorial by Anna-Karin Evaldsson.

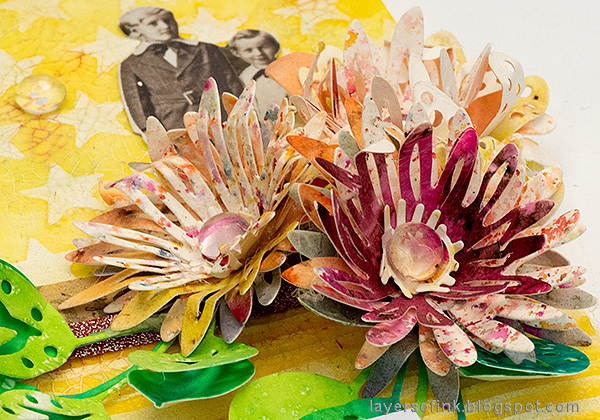
The flowers are dimensional and fun to look at with all the different colors. There are a couple of Design Tape pieces underneath them.

Layers of ink - Yellow Textured Star Tag Tutorial by Anna-Karin Evaldsson.

It is so quick and easy to color papers with Infusions.

Layers of ink - Yellow Textured Star Tag Tutorial by Anna-Karin Evaldsson.

You can also add a magnet to the back of a flower and give it as a gift.

Layers of ink - Yellow Textured Star Tag Tutorial by Anna-Karin Evaldsson.

Here's a look at the striped area.

I hope you will join us this week in our Stars and Stripes challenge. As always, you have a chance to win a $50 gift voucher to do some fun shopping at Simon Says Stamp. You have until next Monday 8am Ohio time. 1pm UK time, 2 pm CET to join in.


Don't forget to follow Simon Says Stamp on Instagram, they post great stuff daily. 


Do you use Instagram? If so please add #sssmchallenge so we can see your entries there too.


Thank you so much for taking the time to visit my blog today!  

Happy crafting!

Anna-Karin

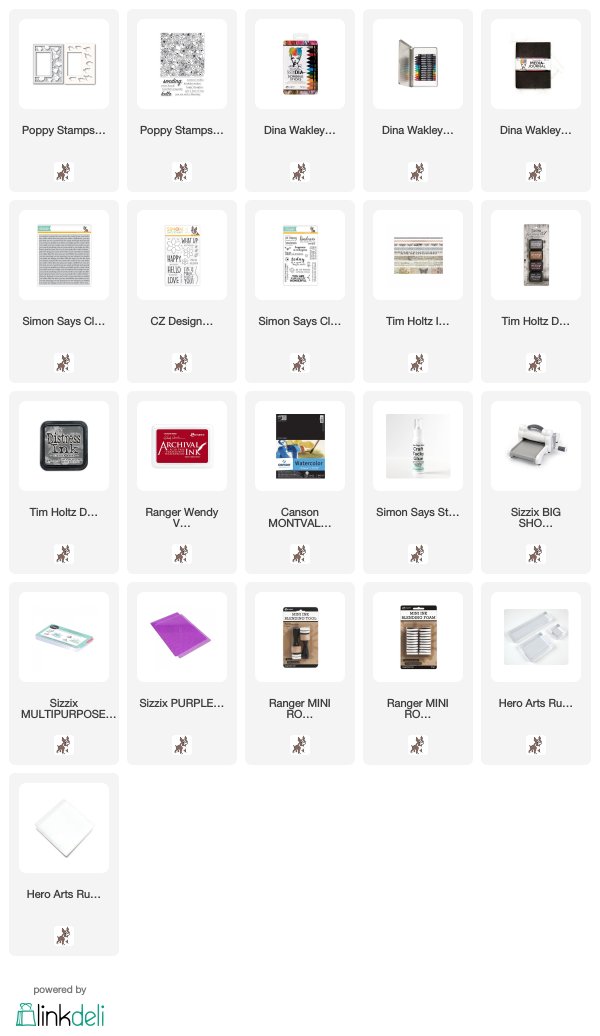
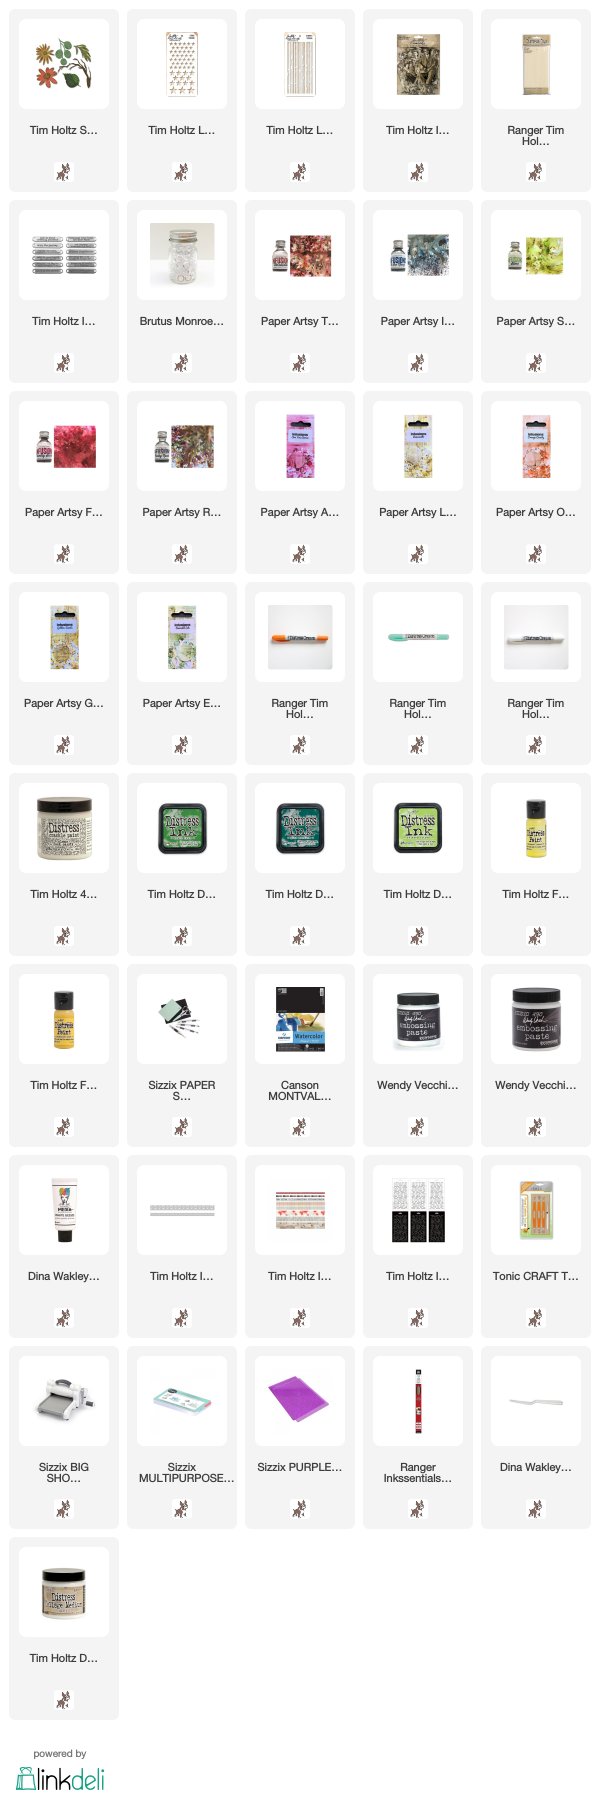
Supplies:

* Please note: the links are affiliate links, for which I receive a small percentage of sales generated by the link, at no extra cost to you.


Monday, June 17, 2019

Ocean Art Journal Page Tutorial

Hello stampers! Summer is at its prettiest, with so many flowers and shades of green. Last week we had a pretty end of the year ceremony at school and the kids are now enjoying their summer holiday.


This week at the Simon Says Stamp Monday Challenge Blog we have a Transport It challenge. Lots of options for this one, as you will also see in the design team inspiration. And, as always, don't miss to check out the project by our June guest designer Jess, with her blog Two Mad Dahlias

Layers of ink - Ocean Art Journal Page Tutorial by Anna-Karin Evaldsson. Watercolor, resist, and stamping.

I was in the mood for a calm art journal page, and made an ocean-themed one, with a little ship being on its way to someplace new. Since, I wanted to create the feeling of a lot of open space, and many possibilities, I worked on a double spread, in my Dina Wakley Media Journal, and left quite a lot of white (calm) space. The stamps all come from the Simon Says Stamp Your Light stamp set, from the new Rest and Refresh collection

Layers of ink - Ocean Art Journal Page Tutorial by Anna-Karin Evaldsson. Apply the Distress Resist Spray.

Working on one of the cotton-rag pages, I first drew a line for the horizon. To create interesting texture, I splattered and drew on Distress Resist Spray with a palette knife, instead of misting it directly from the bottle. It makes it possible to create other patterns and effects than just by misting.

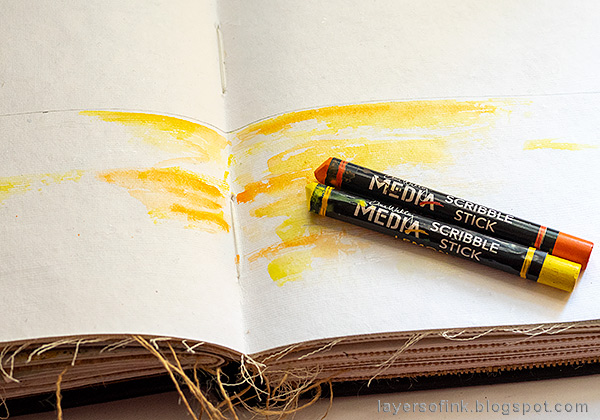
Layers of ink - Ocean Art Journal Page Tutorial by Anna-Karin Evaldsson. Color with Dina Wakley Scribble Sticks.

I colored the page with Dina Wakley Scribble Sticks 1 and Scribble Sticks 2 sets, starting with the areas where the sun would reflect in the water. Apply color to the page and dissolve with clean water and a paint brush.

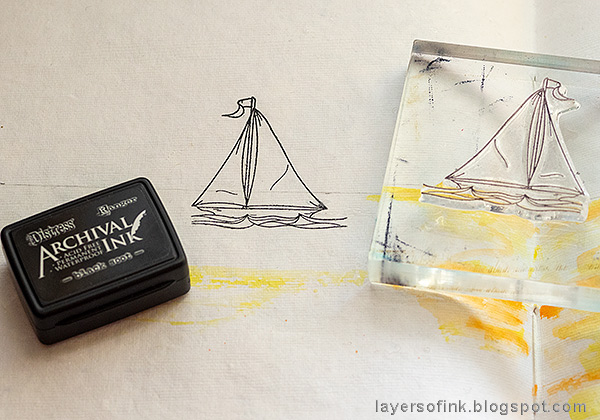
Layers of ink - Ocean Art Journal Page Tutorial by Anna-Karin Evaldsson. Stamp the ship.

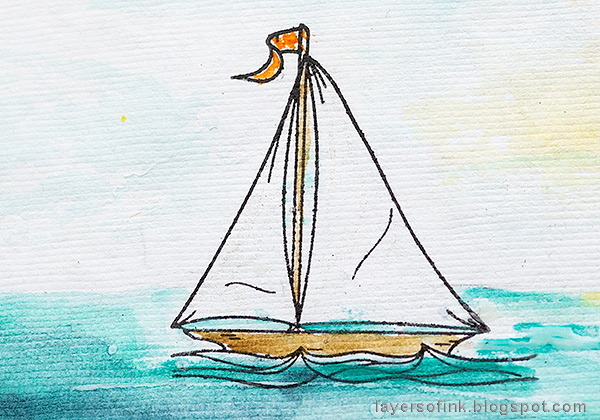
The I stamped the little ship with permanent ink.

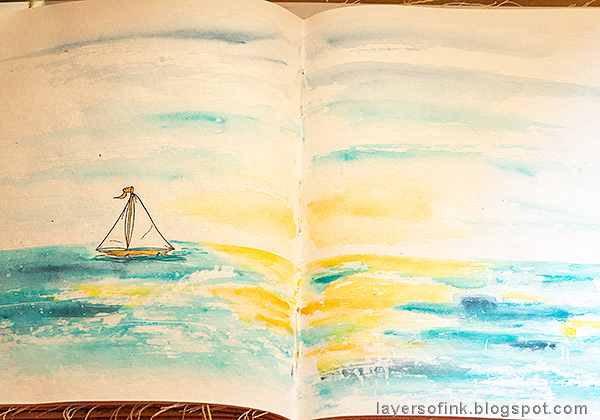
Layers of ink - Ocean Art Journal Page Tutorial by Anna-Karin Evaldsson. Paint with Scribble Sticks.

Continue in the same way, coloring with the Scribble Sticks. For the light sky, I picked up the pigment directly from the crayons, and then dipped the paint brush in water again.

Layers of ink - Ocean Art Journal Page Tutorial by Anna-Karin Evaldsson.

Color the ship with a fine paint brush. When dry, erase the horizon line.

Layers of ink - Ocean Art Journal Page Tutorial by Anna-Karin Evaldsson. With the Simon Says Stamp Your Light set.

You can add more details to the ship, and shadows to the sails, but I wanted to keep things simple, and just added a little bit of a shadow underneath the ship.

Layers of ink - Ocean Art Journal Page Tutorial by Anna-Karin Evaldsson.

The Your Light stamp set is fantastic, and has many images and details, and also lovely sentiments.

Layers of ink - Ocean Art Journal Page Tutorial by Anna-Karin Evaldsson. Stamp birds in the sky.

I always enjoy bird stamps. They were stamped with Faded Jeans Distress Ink, and lightly misted with water before stamping.

Layers of ink - Ocean Art Journal Page Tutorial by Anna-Karin Evaldsson.

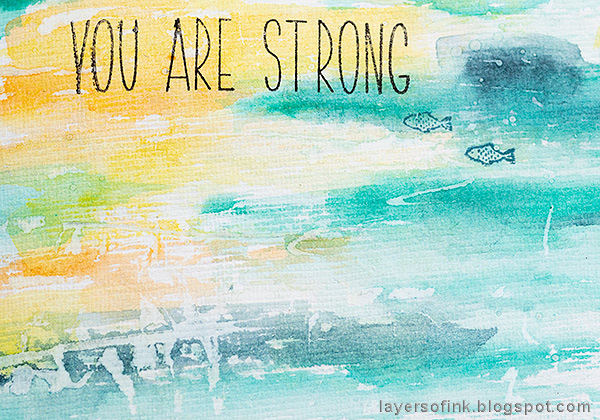
Here's another of the sentiments from the Your Light set.

Layers of ink - Ocean Art Journal Page Tutorial by Anna-Karin Evaldsson.

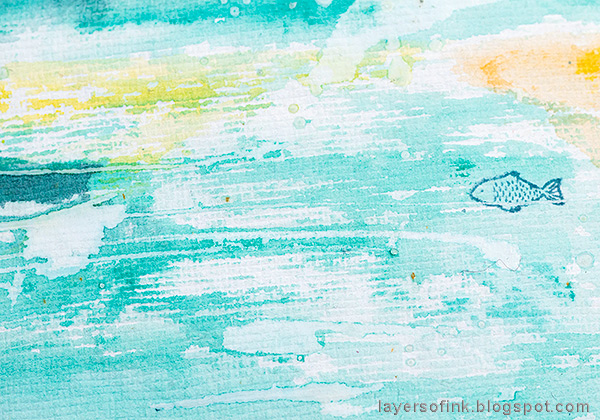
I also stamped a few fish in the water, for a small detail. Here you can see the cool effect of the Distress Resist Spray.

Layers of ink - Ocean Art Journal Page Tutorial by Anna-Karin Evaldsson. Watercolor resist.

And another close-up of the resist effect. I just love how random it it. 

I hope you will join us this week in our Transport It challenge. As always, you have a chance to win a $50 gift voucher to do some fun shopping at Simon Says Stamp. You have until next Monday 8am Ohio time. 1pm UK time, 2 pm CET to join in.


Don't forget to follow Simon Says Stamp on Instagram, they post great stuff daily. 


Do you use Instagram? If so please add #sssmchallenge so we can see your entries there too.


Thank you so much for taking the time to visit my blog today!  

Happy crafting!

Anna-Karin

Supplies:

* Please note: the links are affiliate links, for which I receive a small percentage of sales generated by the link, at no extra cost to you.


Monday, June 10, 2019

Poppy Art Journal Page

Hello crafters! I hope you had a fun weekend! We had beautiful summer weather and spent a lot of time outdoors, but also went to the movies one day, since it was almost too warm outside.


This week at the Simon Says Stamp Monday Challenge Blog we have a Vacation theme. Perfect for the beginning of June. Don't miss the gorgeous project by our June guest designer Jess, with her blog Two Mad Dahlias

Layers of ink - Poppy Frame Art Journal Page by Anna-Karin Evaldsson.

I was inspired by a group of poppies that I can see from my window. That first glimt of red among all the shades of green, is one of the signs of the start of summer. I made an art journal page, and also added some index photos from last summer, to illustrate the theme, and since I like to add photos to my art journals sometimes. The stamp in the frame comes from the SSS Buttercup set, and the one above it from Poppy Stamps Flower Garden set.


Here are the poppies. There are even more of them today.

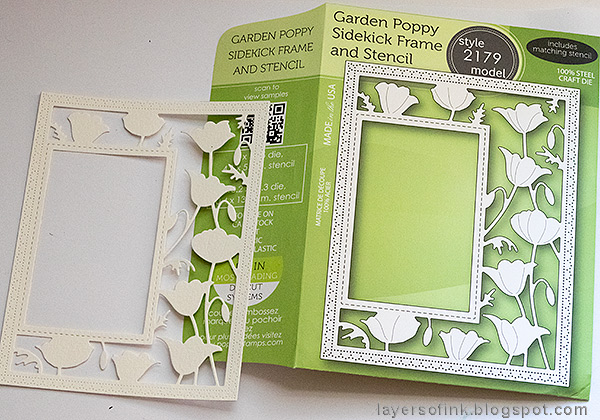
Layers of ink - Poppy Frame Art Journal Page by Anna-Karin Evaldsson. Garden Poppy Sidekick Frame and Stencil.

I used the pretty Poppy Stamps Garden Poppy Sidekick Frame and Stencil. Start by die cutting the frame from watercolor paper.

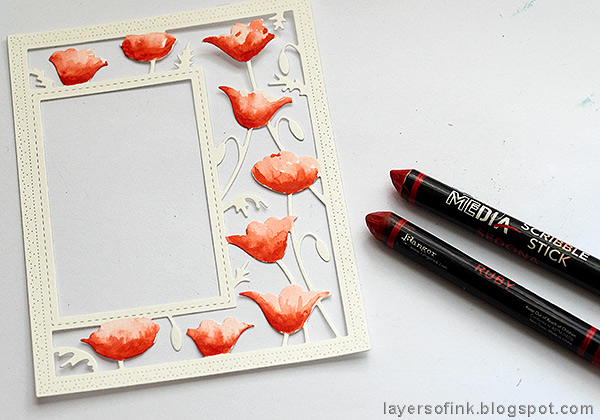
Layers of ink - Poppy Frame Art Journal Page by Anna-Karin Evaldsson. Color the poppies.

Dip a paint brush in water and pick the pigment up directly from the tip of a Sedona Scribble Stick. If the color is too strong, dip in the water again, and dab off on a paper towel. Add the darker shade Ruby afterwords.

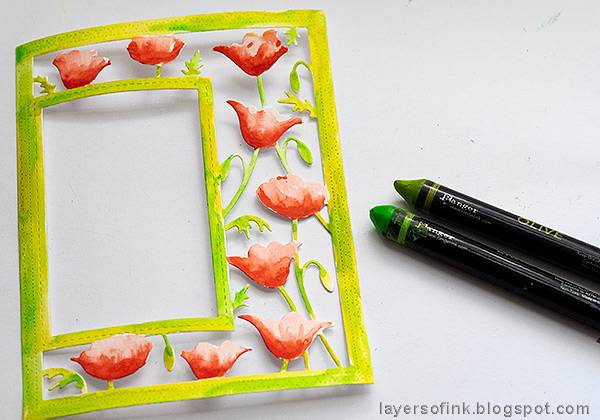
Layers of ink - Poppy Frame Art Journal Page by Anna-Karin Evaldsson. Color the frame.

Continue in the same way with Olive and Lime, to color the frame and leaves.

Layers of ink - Poppy Frame Art Journal Page by Anna-Karin Evaldsson.

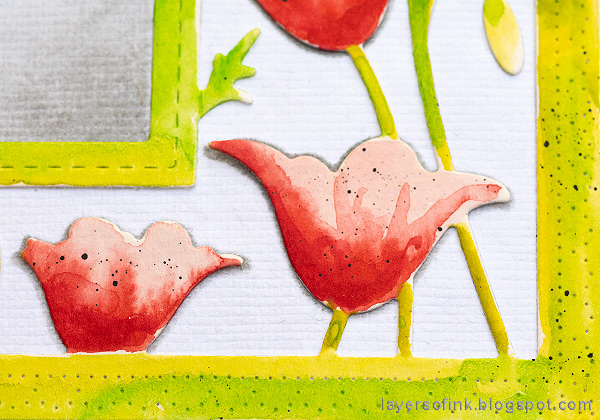
When dry, splatter a tiny bit of black on the frame, by dipping the Scribble Stick in water and flicking a paint brush against the tip.

Layers of ink - Poppy Frame Art Journal Page by Anna-Karin Evaldsson.

I used the coordinating stencil, that comes with the die, directly on a cotton-rag page in my Dina Wakley Media Journal. Ink the frame with Hickory Smoke ink.

Layers of ink - Poppy Frame Art Journal Page by Anna-Karin Evaldsson.

When you glue the frame on top of the inked background, there will be a small grey shadow under the poppies, giving dimension to the page.

Layers of ink - Poppy Frame Art Journal Page by Anna-Karin Evaldsson.

Here's another look at the poppy frame. I like the faux-stitching impressed into the frame a lot.

Layers of ink - Poppy Frame Art Journal Page by Anna-Karin Evaldsson.

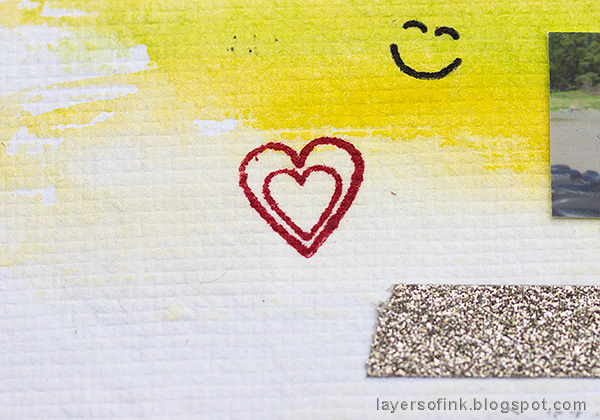
I wanted to leave quite a bit of white space on this page, and didn't add many embellishments. Small stamps from the SSS sets were stamped here and there.

Layers of ink - Poppy Frame Art Journal Page by Anna-Karin Evaldsson.

This stamp comes from one of my favorite sets, the SSS Uplifting Thoughts.

Layers of ink - Poppy Frame Art Journal Page by Anna-Karin Evaldsson.

I also stamped the background with the SSS You Matter stamp, since it fitted well, and since it was already on my desk.

I hope you will join us this week in our Vacation challenge. As always, you have a chance to win a $50 gift voucher to do some fun shopping at Simon Says Stamp. You have until next Monday 8am Ohio time. 1pm UK time, 2 pm CET to join in.


Don't forget to follow Simon Says Stamp on Instagram, they post great stuff daily. 


Do you use Instagram? If so please add #sssmchallenge so we can see your entries there too.


Thank you so much for taking the time to visit my blog today!  

Happy crafting!

Anna-Karin

Supplies:

* Please note: the links are affiliate links, for which I receive a small percentage of sales generated by the link, at no extra cost to you.