Pages

Monday, April 24, 2017

Tree Sketch Journal Tutorial

Hello everyone! As you might know, I love to make mini books, journals and notebooks, and I was very happy that Eileen Hull and Sizzix came out with a new Journal die, from Eileen's Heartfelt collection. This month the Eileen Hull Inspiration Team is showcasing projects made with the journal die. 

Layers of ink - Tree Sketchbook Journal Tutorial by Anna-Karin with the Eileen Hull Sizzix Journal die.

I love the Journal die and the size of journal it creates (8 3/4 x 4 1/2), and I am looking forward to creating lots of journals. Today, I made a simple sketch or notebook, which would also be a great gift. I am practicing to get better at sketching. For some reason, I got convinced that I wasn't able to draw while growing up. I don't know where that came from, and I always wished that I could draw better. I always loved to craft and to paint, and I actually don't know why I thought that I wasn't able to draw. This book is meant to be used for tree sketching and I kept it quite plain without any embellishments of dimensional objects, since it will go with me in a back pack when I am out walking.

I used Dina Wakley's Scribble Sticks on the cover and the techniques would work on many types of projects.

Layers of ink - Tree Sketchbook Journal Tutorial by Anna-Karin with the Eileen Hull Sizzix Journal die.

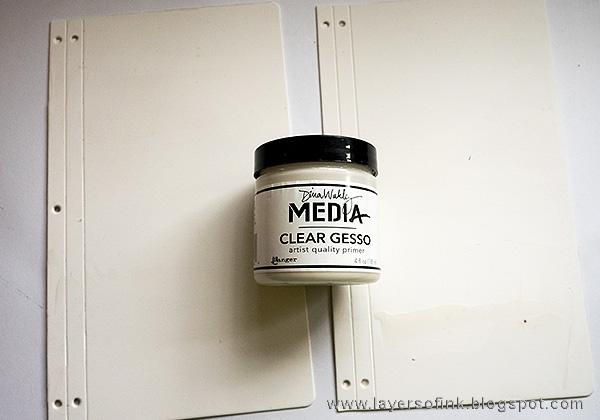
Start by die cutting two journal covers from mat board. The die also comes with great labels and closures, but today I am only using the journal covers.
Layers of ink - Tree Sketchbook Journal Tutorial by Anna-Karin with the Eileen Hull Sizzix Journal die.

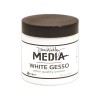
Coat them with clear gesso. You can also use white gesso, but I like the tooth and feel of this clear gesso. It is also great to stamp on. You could also work directly on the mat board.

Layers of ink - Tree Sketchbook Journal Tutorial by Anna-Karin with the Eileen Hull Sizzix Journal die.

I used tree stamps by Darkroom Door for my cover and played around with their placement until I was happy. I measured with a ruler and draw blocks with a watercolor graphite pencil. The blocked design was inspired by two gorgeous canvases by Corinne Rollet.

Layers of ink - Tree Sketchbook Journal Tutorial by Anna-Karin with the Eileen Hull Sizzix Journal die.

I also draw a border around the cover. Later I repeated this on the back cover.
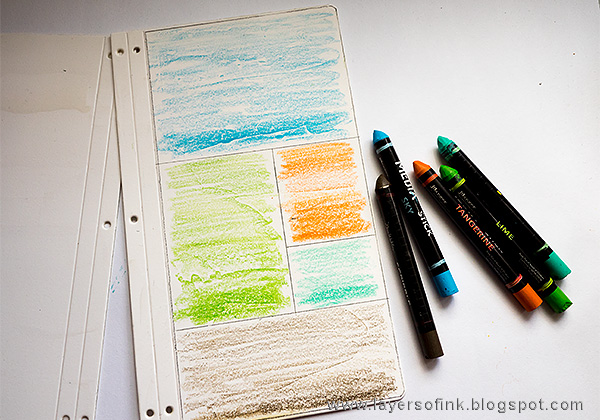
Layers of ink - Tree Sketchbook Journal Tutorial by Anna-Karin with the Eileen Hull Sizzix Journal die.

Scribble over the blocks. I made them darker towards the bottom.

Layers of ink - Tree Sketchbook Journal Tutorial by Anna-Karin with the Eileen Hull Sizzix Journal die.

Make magic happen with water and a paint brush. I also dissolved the border, although not completely.

Layers of ink - Tree Sketchbook Journal Tutorial by Anna-Karin with the Eileen Hull Sizzix Journal die.

Splatter some water on the background.

Layers of ink - Tree Sketchbook Journal Tutorial by Anna-Karin with the Eileen Hull Sizzix Journal die.

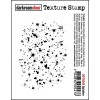
When dry, I stamped the trees in the rectangles with Jet Black ink, as well as a sentiment and two words. On the back, I painted most of the cover blue, but repeated the brown rectangle from the front. The spine was stamped with a splatter texture stamp.

Layers of ink - Tree Sketchbook Journal Tutorial by Anna-Karin with the Eileen Hull Sizzix Journal die.

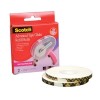
Apply a strong adhesive along the spine, as seen above. I used Wonder Tape.

Layers of ink - Tree Sketchbook Journal Tutorial by Anna-Karin with the Eileen Hull Sizzix Journal die.

Now comes the binding, which can be done in different ways. The easiest way is to use a piece of elastic. My elastic cord was slightly too thin. Eileen suggested that you use elastic which is 1.5 mm thick. I might change it once I find thicker elastic. On the packaging insert, there is a good explanation showing you how to thread the elastic. Basically you go up and down, and then finish both ends in the middle hole. You can also see how to assemble the journal in these videos by Eileen.
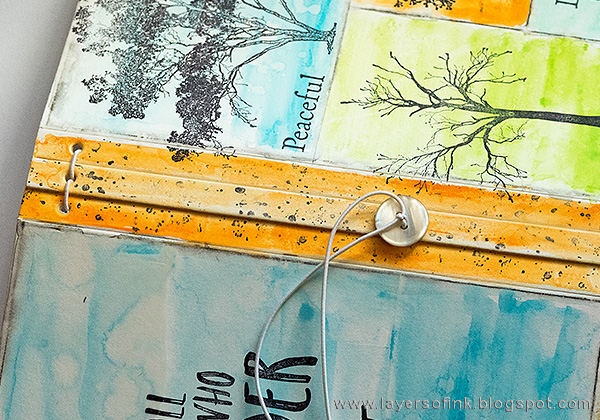
Layers of ink - Tree Sketchbook Journal Tutorial by Anna-Karin with the Eileen Hull Sizzix Journal die.

I tied the elastic through a button, and then tied it at the other end too, to function as a closure.

Layers of ink - Tree Sketchbook Journal Tutorial by Anna-Karin with the Eileen Hull Sizzix Journal die.

The great thing of making your own sketchbook is that you can use your favorite papers, and also mix different papers. I used good quality sketching paper as well as watercolor paper. I used A4-sized papers, and cut them down to 22 cm, leaving me with a sheet of 21 x 22 cm. Fold in half and crease with a bone folder.

I used seven sheets for each signature and made three signature, but you can use more or less and it also depends on the thickness of your paper. The easiest way is to staple the pages together down the middle, but I stitched them on my sewing machine instead.

Layers of ink - Tree Sketchbook Journal Tutorial by Anna-Karin with the Eileen Hull Sizzix Journal die.

Simply slip the signatures under the elastic cord to keep them in place.

Layers of ink - Tree Sketchbook Journal Tutorial by Anna-Karin with the Eileen Hull Sizzix Journal die.

You can of course use other types of stamps for your journal. This journal is great for so many different themes and topics.

Layers of ink - Tree Sketchbook Journal Tutorial by Anna-Karin with the Eileen Hull Sizzix Journal die.

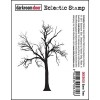
By tying the cord on both ends, you can use it as a closure. Very quick and easy. The stamp to the left is the brand new Bare Tree Eclectic stamp by Darkroom Door.

Layers of ink - Tree Sketchbook Journal Tutorial by Anna-Karin with the Eileen Hull Sizzix Journal die.

This tree line stamp is a favourite of mine.

Layers of ink - Tree Sketchbook Journal Tutorial by Anna-Karin with the Eileen Hull Sizzix Journal die.

The book is quite thick and chunky and the spine measures about 1.2 in.

Layers of ink - Tree Sketchbook Journal Tutorial by Anna-Karin with the Eileen Hull Sizzix Journal die.

Here's a look at the three signatures and the binding. The book can also be made thinner.

Layers of ink - Tree Sketchbook Journal Tutorial by Anna-Karin with the Eileen Hull Sizzix Journal die.

Instead of using a button, you could use a bead, or maybe a metallic embellishment.


Layers of ink - Tree Sketchbook Journal Tutorial by Anna-Karin with the Eileen Hull Sizzix Journal die.

Once I was done, I almost liked the back of the book better than the front, perhaps because I used one of my all time favourite quotes, by J.R.R Tolkien.

Layers of ink - Tree Sketchbook Journal Tutorial by Anna-Karin with the Eileen Hull Sizzix Journal die.

Here you can see the effect of the droplets of water better, and the look of the water-soluble graphite border.
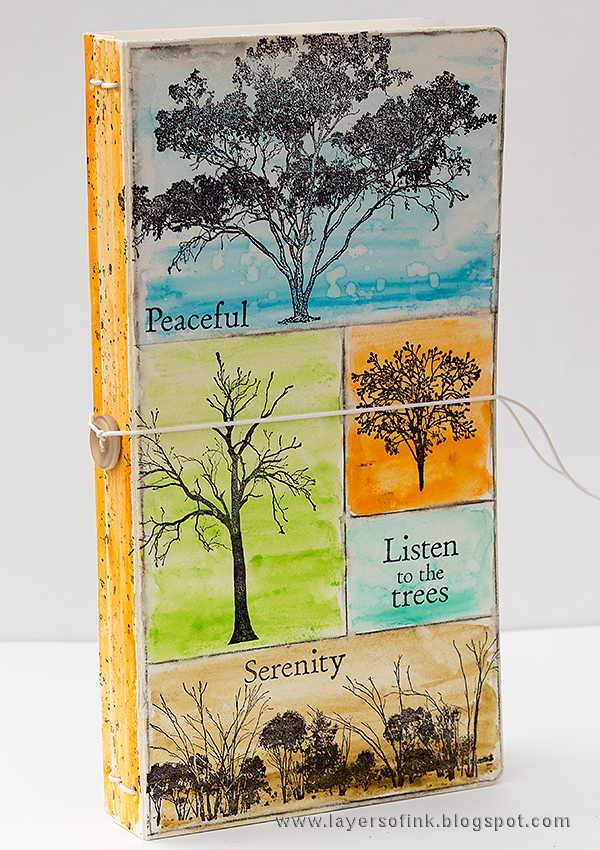
Layers of ink - Tree Sketchbook Journal Tutorial by Anna-Karin with the Eileen Hull Sizzix Journal die.

I love the tall shape of this journal and it is the largest of Eileen's journals so far, which makes it suitable for so many different kinds of themes and topics. 

Thank you so much for watching and don't miss all the journal inspiration posted on Eileen's blog.

Happy crafting!

Anna-Karin

Supplies:


Other supplies:

Stamps: Darkroom Door: Wander Quote Stamp.

Numbers and Circles Layout Tutorial

Hello everyone! I hope you had some crafty time this weekend! I managed to do the finishing touches on a project that I'll post later this week. Yesterday, I was really happy to find a new walking path through a lovely forest along a lake. Ever since I was little, when I visit certain places, such as lakes, I often wish that I could see the opposite side of the lake too. The new path happened to go along the edge of a lake right across from a beach we often go to during summer, and I have many times thought that I wanted to walk along that opposite shoreline. So now I got to do it and it was a really wonderful walk. We'll certainly go back there soon again.

This week at the Simon Says Stamp Monday Challenge Blog, our theme is 'We've got your number'. Fun! Don't miss the last project from our April guest designer Amy Bethke. It is a really stunning and vibrant project.
 

If you are in the vicinity, don't miss the Simon Says Stamp CREATE event, which takes place April 28-29, 2017. The tickets are sold out, but there is an on-site store and awesome Create and Takes, open for the public. You can read more about it here on the Simon Says Stamp blog. I sure wish I could go! :)

Layers of ink - Numbers and Circles Layout Tutorial by Anna-Karin

I knew immediately what I wanted to do with this theme, a scrapbooking layout for our recent two-year old. I can't believe Leo is already two, time sure flies. I took a lot of photos on his birthday and picked this set where he plays with one of his new toys. There are a lot of different numbers, and you will see them more clearly below. I took some step photos too, and the techniques work for any type of project, as usual.

Layers of ink - Numbers and Circles Layout Tutorial by Anna-Karin with stencils by Tim Holtz

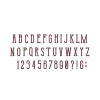
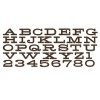
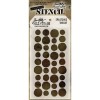
I worked on watercolor paper and started with a layer of gesso. When that was dry, I mixed shades of grey, to fit with his clothes, and added Glazing Medium to the mixes. The medium makes the paint dry slower. Apply the paint with a palette knife and before it dries, rub off paint with a cloth through stencils. I used Tim Holtz's Splotches and Numeric stencils.

Layers of ink - Numbers and Circles Layout Tutorial by Anna-Karin with stamps by Dina Wakley and Wendy Vecchi

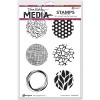
When the paint was dry, I stamped the background with circle stamps. The smaller ones are from Dina Wakley's Circle Patterns set, and the large one is the Circle Collage stamp by Wendy Vecchi. I love circle stamps.

Layers of ink - Numbers and Circles Layout Tutorial by Anna-Karin

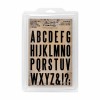
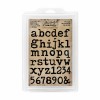
Using the number two from Tim's Type Lower and Block Lower foam stamp sets, I stamped numbers all over the pages with yellow paint. Clean the stamps before the paint dries.

Layers of ink - Numbers and Circles Layout Tutorial by Anna-Karin

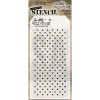
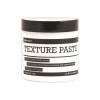
Mix a little yellow paint into texture paste and apply through a Polkadot stencil.

Layers of ink - Numbers and Circles Layout Tutorial by Anna-Karin with Simon Says Stamp Exclusive stamps

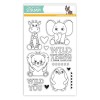
The Simon Says Stamp Exclusive Wild Cuddle Critters set was perfect for this page, especially since the same animals appear on Leo's clothes. I also have a hard time not adding a lion theme here and there for him, since he is our little lion after all.

Layers of ink - Numbers and Circles Layout Tutorial by Anna-Karin

The animals were watercolored with Distress Inks. Smear inks on a craft sheet, mist with water and pick up with a paint brush. There is also a coordinating set of dies.

Layers of ink - Numbers and Circles Layout Tutorial by Anna-Karin

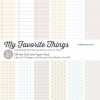
I used papers from My Favorite Things and stamped them with a number background stamp, using yellow ink.

Layers of ink - Numbers and Circles Layout Tutorial by Anna-Karin

Here's a closer look at the individual pages. The photo at the top is my favourite. Leo is wearing a cute outfit that my Mom made for him for his birthday. 

Layers of ink - Numbers and Circles Layout Tutorial by Anna-Karin

It is easy to create this type of layered background with paint, stencils, stamps and paste and you can make it fit any theme.

Layers of ink - Numbers and Circles Layout Tutorial by Anna-Karin

I wanted to add a soft feeling and wool felt is perfect for that. You was die cut from white wool felt and numbers from a dark grey.

Layers of ink - Numbers and Circles Layout Tutorial by Anna-Karin

The hearts were also die cut from white wool felt. I used sentiments from different Simon Says Stamp sets all over the page.

Layers of ink - Numbers and Circles Layout Tutorial by Anna-Karin

This lion stamp is so cute! I added a heart to him too, and stamped a heart row from the same stamp set here and there with Watering Can ink.

Layers of ink - Numbers and Circles Layout Tutorial by Anna-Karin

The sentiment stickers are from Tim Holtz's Quotations metallic sticker set.

Layers of ink - Numbers and Circles Layout Tutorial by Anna-Karin

Leo loves vehicles, especially airplanes and these blocks make sounds if you pair up the two parts of a vehicle correctly. You can see that he is listening for sounds on one of the photos.

Layers of ink - Numbers and Circles Layout Tutorial by Anna-Karin

The cute giraffe, and another heart.

Layers of ink - Numbers and Circles Layout Tutorial by Anna-Karin

I wrote the journaling on cards from Simple Stories and tucked them behind the ledger paper on the second page.

I really hope you will join us in our We've Got Your Number challenge. As every week, you have a chance to win a $50 gift voucher from Simon Says Stamp. You have until Monday 8am Ohio time. 1pm UK time, 2 pm CET to join in.


Don't forget to follow Simon Says Stamp on Instagram, they post great stuff daily. 


new-instagram-icon22

Do you use Instagram? If so please add #sssmchallenge so we can see your entries there too.


Thank you so much for visiting today! Have a lovely week!

Happy crafting!

Anna-Karin 

Supplies: