Hi everyone! It is Monday and the sun is shining, and of course we have a new Simon Says Stamp Monday Challenge for you. This week our challenge is
Monochromatic. I always enjoy using monochromatic colour schemes, such as blue, yellow or green.
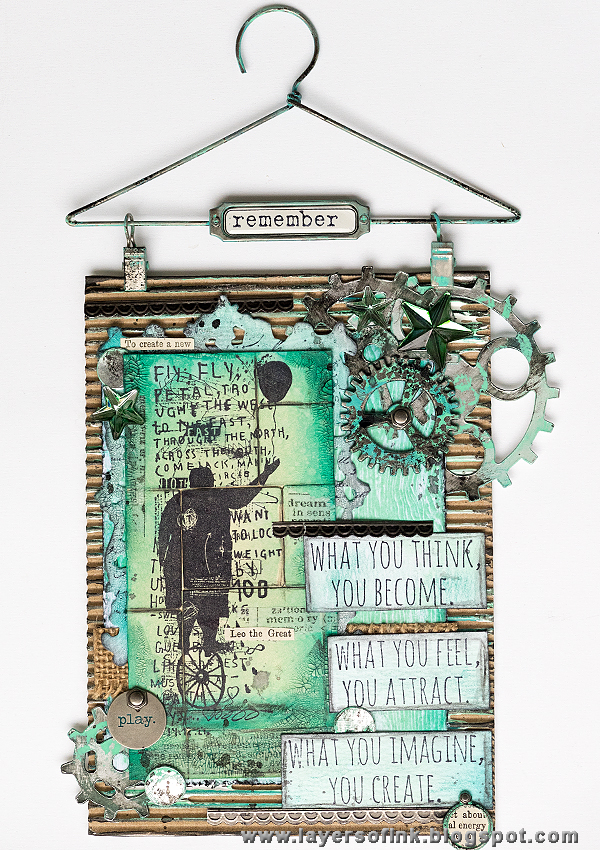
This week I was planning to use yellow, but then I woke up in the morning with Cracked Pistachio on my brain so I decided to go with that instead. It is such a stunning Distress colour. I made a wall-hanger, using a bunch of
Tim Holtz products, and had fun using one of the stamps from the new
Sideshow set, which I had been waiting for.
First, I took out a bunch of Cracked Pistachio products and similar colours - particularly Peacock Feathers and Evergreen Bough. I ended up not using some of what you see in this photo, such as the Archival Ink pads, Viridian and
Garden Patina.
I started out by adhering a piece of cardboard from Tim's
Textured Surfaces set to mat board. Smear some gesso on top.
For the focal piece I got the idea of die cutting squares and rectangles with the
Mosaic die, using manila cardstock and arranging them on a manila tag. Make sure they are as flat as possible and don't overlap.
Stamp right on top of the squares. I decided not to use the tag, and just cut off the parts I didn't want.
Apply a little bit of Distress Micro Glace around the edges of a piece of Ranger
woodgrain paper, also apply a little bit here and there on the paper. For more info on Distress Micro Glaze, check out my
Distress Resist video. Speaking of videos, I really hope to get some done soon, and after the summer, when I have more time than now, you will see regular videos. It is just a little too hard to get anything recorded with Leo crawling around and soon running around.
Ink the pieces with Cracked Pistachio and Peacock Feathers and use the Distress Sprayer to mist with drops. As you can see, the Distress Micro Glaze has resisted the ink.
Stamp
a word on one of the labels that comes with the
Display Hanger set.
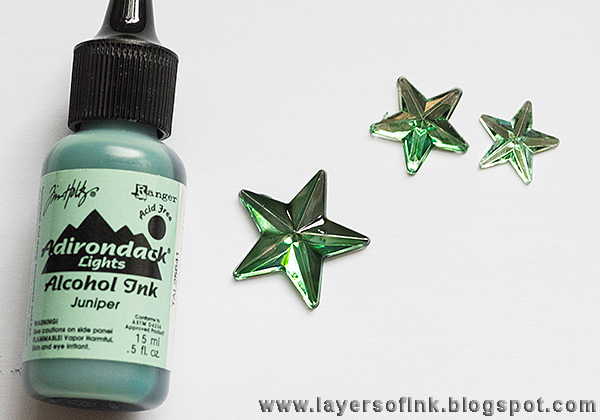
Drop Juniper alcohol ink on Mirrored Stars.
Adhere Ranger's
foil sheets to glossy cardstock, or another smooth paper, and die cut the new
Gadget Gears 2 (or use the original
Gadget Gears).
Paint with Distress Paint. When the paint is almost dry, wipe most of it off with a cloth.
Paint a little Black Soot on the metal pieces.
I also smeared some Distress Ink on my craft sheet, misted with water and pressed watercolour paper into the ink. When dry, die cut an
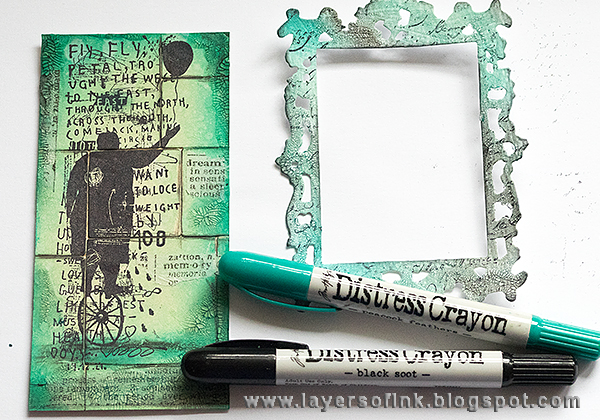
Ornate Frame #2 and stamp the frame with a
script stamp. The
sentiment was stamped on another piece and cut into three strips.
Adhere a few pieces of tissue tape to the focal piece, and smear
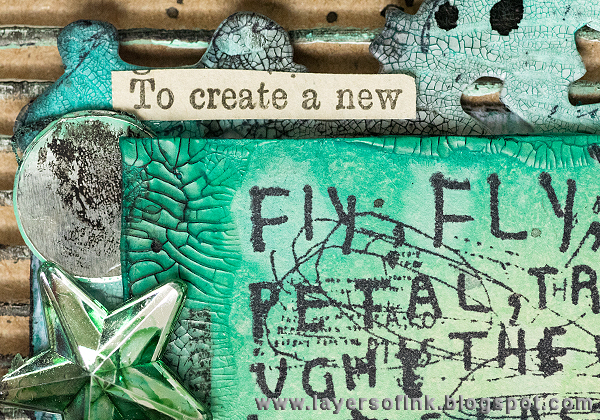
Crazing Collage Medium around the edges. Smear Crazing Medium on the Ornate Frame too.
When the Crazing is dry, apply Distress Crayons on top and rub into the cracks. Wipe off with a slightly moist cloth.
I used
Faber-Castell Graphite Aquarelle pencils to draw shadows on the focal piece, as well as to accentuate the edges between the squares. Use a paint brush with water on top of the pencil marks.
I really liked the effect with the mosaic squares and stamping, inking and crazing on top.
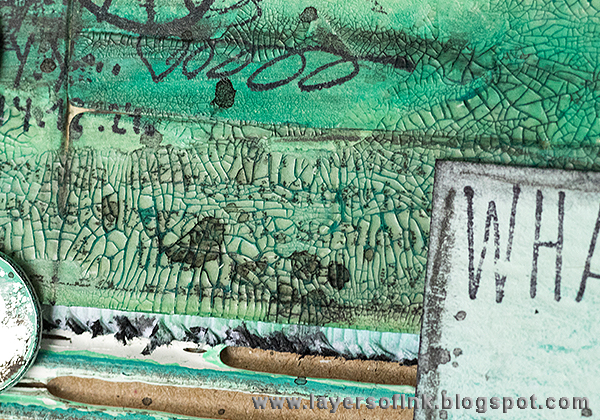
The Crazing Medium is really cool and I love those fine cracks with the crayon rubbed into them. I used a thinner layer on the frame and you can see that the cracks are smaller there.
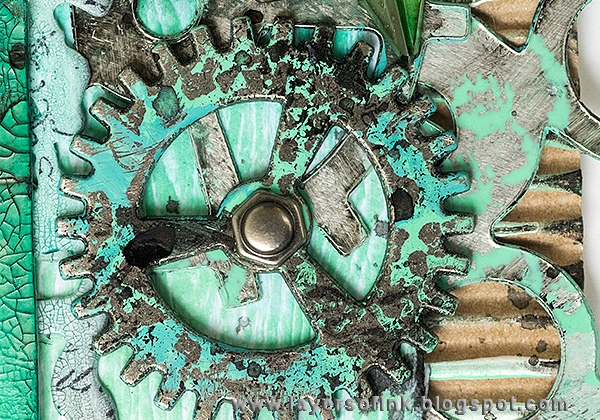
I also used one of the
larger metallic gears.
The small circles are the insides from the largest
Gadget Gear die cut.
There is a shadow under the wheel, to ground the man to the panel and make sure it didn't look like he was flying. I cut out some words from old book paper, and just happened to spot 'Leo the Great', which I thought was pretty funny, so I had to use it. Leo will get this one day.
I also splattered some Black Soot paint on the panel. Here's a close up of the crackles and splatters on top of tissue tape.
The word on the hanger.
My favourite part of the sentiment. I also
punched a circle from old book paper for the charm.
I hope you will join us in our
Monochromatic challenge. As every week, you have a chance to win a $50 gift voucher from
Simon Says Stamp. You have until Monday 8am Ohio time. 1pm UK time, 2 pm CET to join in.
Do you use Instagram ? If so please add
#sssmchallenge so we can see your entries there too.


Thank you so much for stopping by today!
Happy crafting!
Anna-Karin
Supplies:
