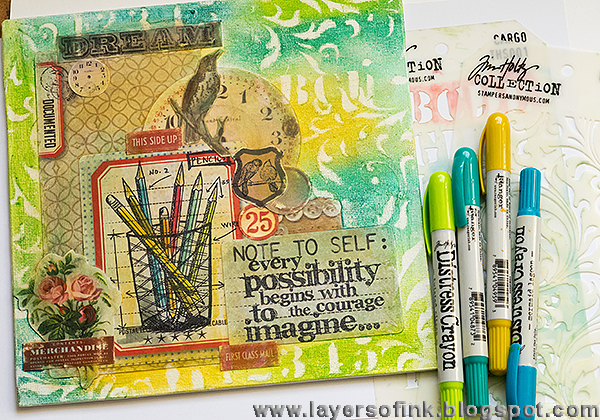
I made an 8 x 8 in canvas board about daring to imagine new possibilities. I also used my brand new
Distress Crayons as well as Tim Holtz Collage Media, and had lots of fun with them. The Distress Crayons are really fun and I am looking forward to using them more and playing around with different techniques. I took some step photos. You can easily use the techniques for a card or a scrapbooking layout instead.
I started out by stamping the
pencil Blueprint stamp on a
Pocket Card. I love the design of the Pocket Cards, and you can use them for many other things than pocket projects. For more ideas, check out this layout and my
December Daily journal.
Colour the pencils with Distress Crayons. I used crayons from both
Set 1 and
Set 2. Use a paint brush with a little bit of water to blend them. I also added a shadow with Hickory Smoke Distress Ink.
I coated the canvas with gesso and then planned out my collage. Some of the pieces were sanded beforehand. Before starting to glue things down, I took a photo of the placement, so that I knew where to place all the pieces. Glue them down with
Matte Collage Medium. I really liked this medium, it is thin, made no bubbles in the papers and, importantly, dried really fast.
To unify all my different pieces, I gave them a thin coat of
Vintage Collage Medium. This gives a slight light brown look, you can see it more clearly over the white canvas. Let dry.
Next, I added a layer of
Crazing Medium on top of the paper pieces. Let dry.
Now to the really fun part, and I was having so much fun that I forgot to take a step photo. Apply Distress Crayon to the canvas, alternating the colours and blending them out with your finger. They are very creamy and blend really well. I added some to the ephemera pieces too. Place a stencil or two on top and rub through the stencil with a slightly moist cloth. This step removes the crayon.
I gave the paper pieces a border with a Black Soot Distress Marker. You could also use a black Distress Crayon, but I don't have the third set yet, but I will get it soon.
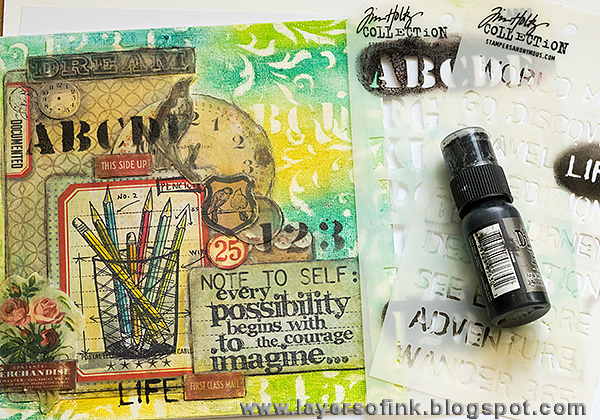
I also added some black Distress Paint stenciling, since I felt that the canvas needed more black.
Splatter the background with Black Soot paint and a Distress Splatter brush.
You can also use the crayons on metal, and I coloured idea-ology pieces with it.
When it was dry, I painted a thin coat of Matte Collage Medium over everything, since I wanted to set the crayon. If you work fast, and don't go over the same area more than once, the crayon doesn't seem to move much in this step. To be sure, I scooped out the medium on my craft sheet, instead of taking it from the jar, so that I didn't transfer any colour to the jar.
The
butterflies were die cut from the new
Textile Surfaces. The fabric is adhesive backed, so is is very easy to adhere to the project.
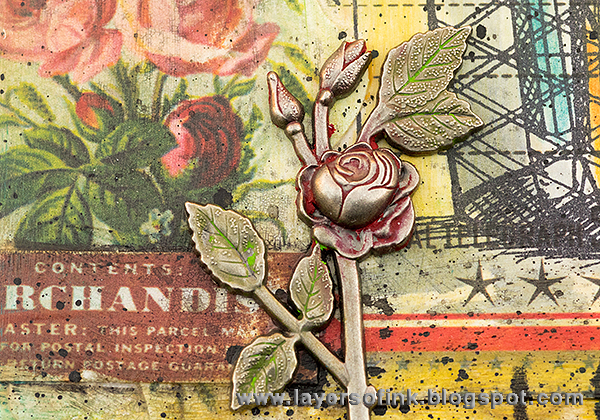
Here you can see the crayon colouring on the
rose a little better. If you look carefully, you can also see the subtle crackles from the Crazing Medium, especially on the flower ephemera.
I love these new
Watch Cameos. A clock was stamped on Dapper patterned paper, and I drew clock arms and coloured it slightly with a crayon. The effect of the epoxy sticker that comes with the cameos is very cool, but you can't quite see it on this photo.
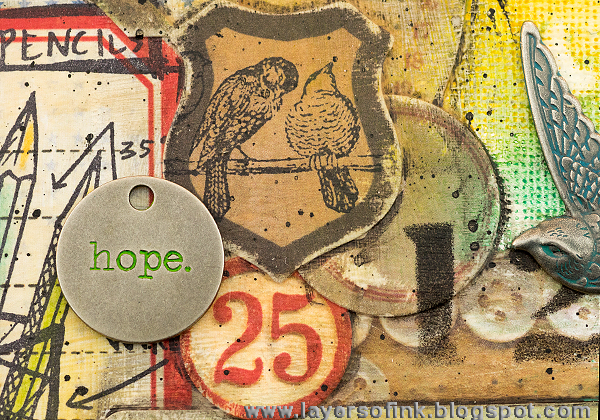
It is fun to layer pieces of ephemera. Green crayon was rubbed into the Typed Token.
I love this sentiment stamp and it fit real well on this journaling card. The new
Alpha Dice are fun. I used them to write my initials.
It is easy to colour with the crayons and fun to blend them with water.
'Dream' is cut from one of the journaling cards, and I also used a favourite Word Band.
I hope you will join us in our
Leap into the unknown challenge. As every week, you have a chance to win a $50 gift voucher from
Simon Says Stamp. You have until Monday 8am Ohio time. 1pm UK time, 2 pm CET to join in.

If you use instagram add
#sssmchallenge to your challenge entry uploads, so that we can see them on there too.


I hope you will have a lovely week and thank you for stopping by today!
Happy crafting!
Anna-Karin
Supplies:


