Tuesday, October 25, 2016

Wildlife Cards Tutorial

Hello friends! This month the Eileen Hull Inspiration Team is making cards, and don't miss all the inspiration. Most dies work great for cardmaking and even 3D type dies can often be used for cards. It is a great way of getting more out of your dies. I made two cards for this post, using similar techniques. 

Layers of ink - Wildlife Cards Tutorial by Anna-Karin with Sizzix dies by Eileen Hull
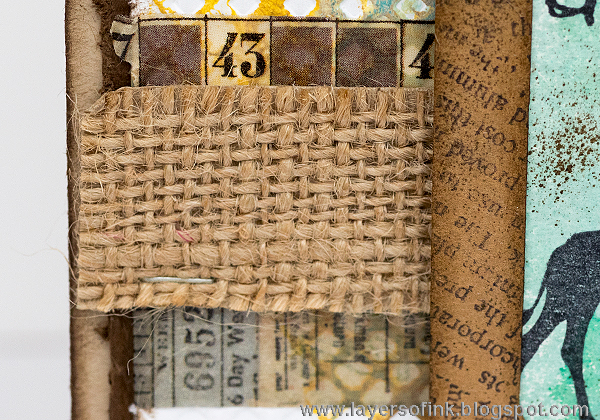
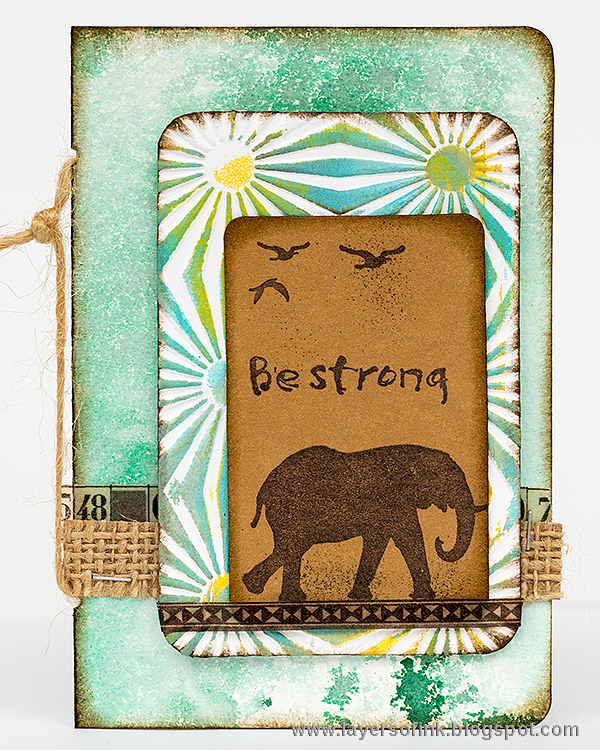
I like digging into my scrap paper box to find little treasures to use for cards. Both the embossed panels and the misted paper used here were found in my scrap box. The folders are Eileen's Sizzix Sunburst & Waffle set. I also used the Luggage Tag die and the Passport Book die and new lovely stamps by Darkroom Door. I like having these types of cards available, cards that work for many different occasions.

Layers of ink - Wildlife Cards Tutorial by Anna-Karin with Sizzix dies by Eileen Hull
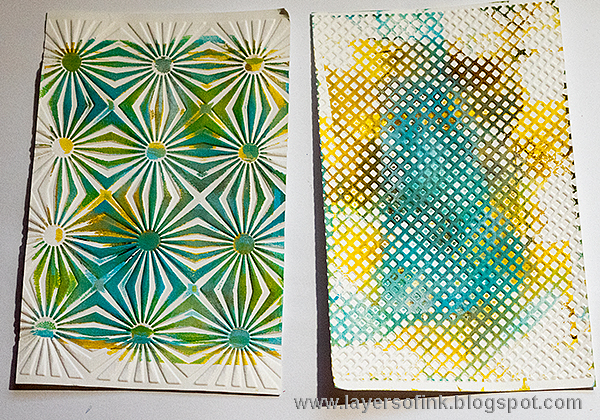
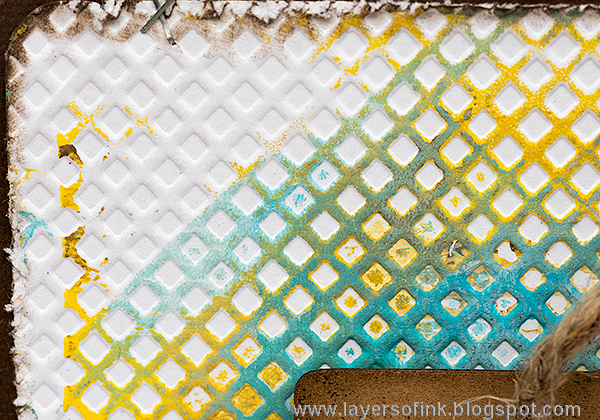
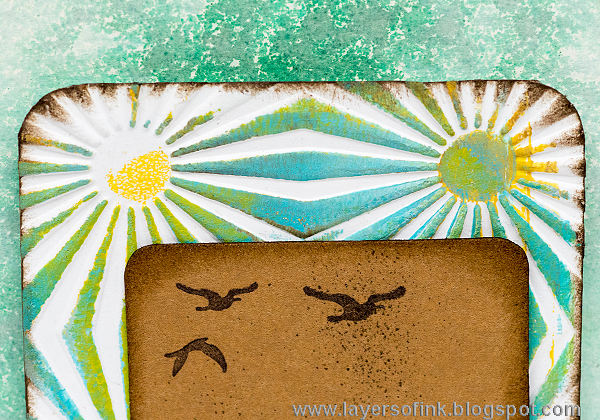
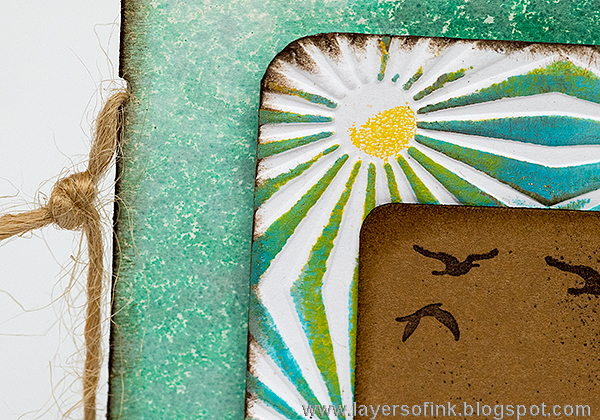
The embossed papers are left-overs from a gelli printing session. I used them to press patterns into the paint on the plate. Sometimes my favourite parts of that process is the embossed papers themselves. These two papers are from the printing session I had when I made a Recipe Box Journal for Leo. It's a tutorial too, if you want to see how to get embossed papers looking like these.

Layers of ink - Wildlife Cards Tutorial by Anna-Karin with Sizzix dies by Eileen Hull
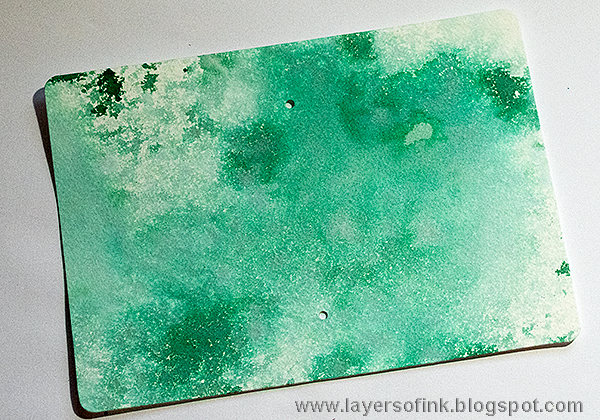
The Passport Book die has covers as well as inside pages, and the inside page part is a perfect card. The holes meant to be used to attach the pages to the book, are perfect if you want to tie a string or a ribbon to your card. If you need to make a lot of cards, using this die to cut the base for the cards, would speed things up a lot. I used a watercolour paper misted with Distress Spray Stains. For a recent project using the Passport Book die to make a book, check out my Halloween Passport Book Tutorial

Layers of ink - Wildlife Cards Tutorial by Anna-Karin with Sizzix dies by Eileen Hull
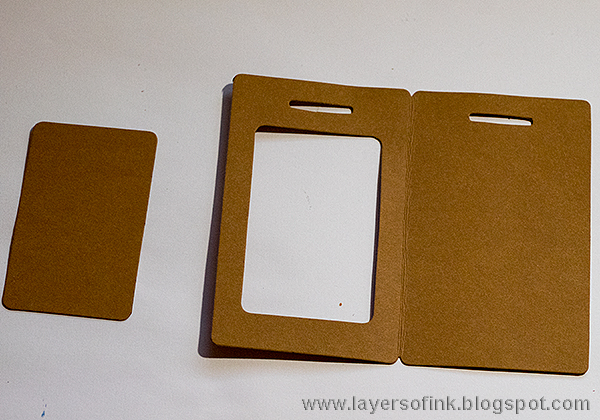
The Luggage Tag was die cut from brown Paper Leather. I also used the inside piece.

Layers of ink - Wildlife Cards Tutorial by Anna-Karin with Sizzix dies by Eileen Hull
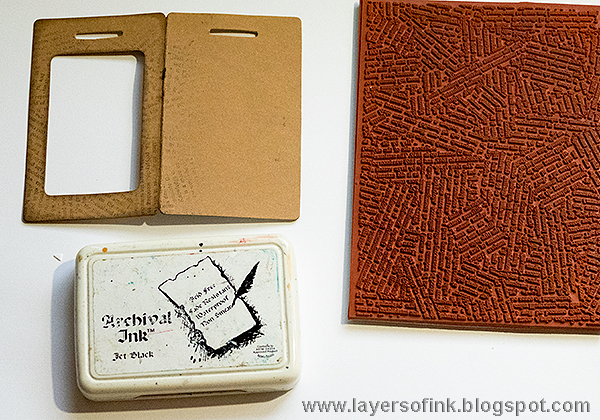
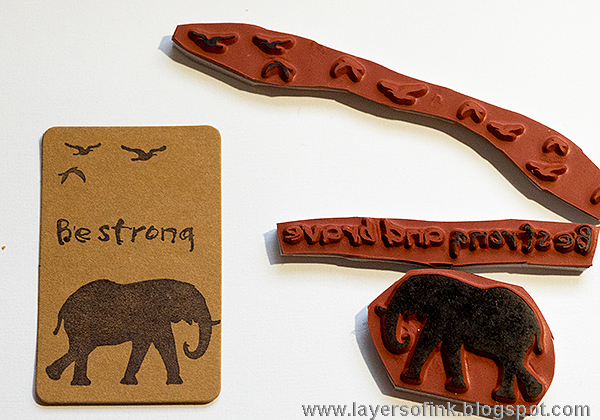
Stamp with a text stamp and ink with Ground Espresso.

Layers of ink - Wildlife Cards Tutorial by Anna-Karin with Sizzix dies by Eileen Hull
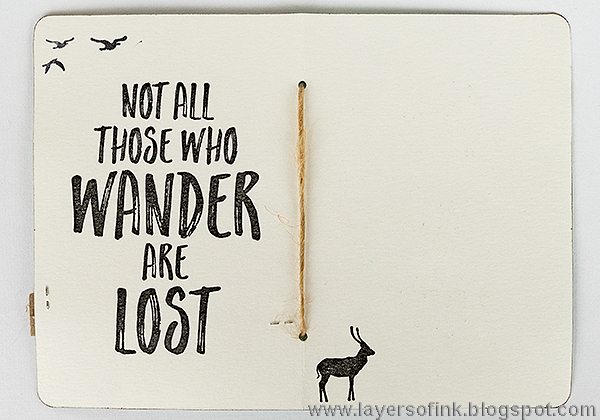
The paper inside the tag was left-over from the misted piece. Stamp to giraffe from the African Trees set, and a sentiment from Wild Africa Vol. 1. I love these stamps and they make me think of South Africa of course.

Layers of ink - Wildlife Cards Tutorial by Anna-Karin with Sizzix dies by Eileen Hull
The elephant and the birds come from the African Trees set (isn't that wonderful flying bird stamp?) and the sentiment is from Wild Africa Vol. 2. Stamp on the left-over piece from the Luggage Tag.

Layers of ink - Wildlife Cards Tutorial by Anna-Karin with Sizzix dies by Eileen Hull
 I added some texture with the Spritzer Tool and a Ground Espresso marker.

Layers of ink - Wildlife Cards Tutorial by Anna-Karin with Sizzix dies by Eileen Hull
Assemble the embossed panels on a darker brown mat and finally on a folded craft card. All the edges were rounded with my Corner Chomper. The tag was adhered with foam dots for dimension and I added Design Tape and a piece of burlap behind it. The painted embossed paper makes for such an interesting background.

Layers of ink - Wildlife Cards Tutorial by Anna-Karin with Sizzix dies by Eileen Hull
Aren't the giraffe cute! I love how they are walking along. 

Layers of ink - Wildlife Cards Tutorial by Anna-Karin with Sizzix dies by Eileen Hull
 Press the Design Tape down to reveal some of the embossed pattern through it.

Layers of ink - Wildlife Cards Tutorial by Anna-Karin with Sizzix dies by Eileen Hull
The random look of these embossed papers are such fun. Another example of where I used these papers, is this Artful Dwellings layout.

Layers of ink - Wildlife Cards Tutorial by Anna-Karin with Sizzix dies by Eileen Hull
Here's the finished smaller Passport Book card. I cut a panel from the embossed paper and rounded the corners. The corners are already rounded on the Passport Book die cut, as well as on the inside piece from the Luggage Tag. As on the larger card, I added Design Tape and burlap to the background, and the embossed panel was adhered with foam tape.

Layers of ink - Wildlife Cards Tutorial by Anna-Karin with Sizzix dies by Eileen Hull
I love elephants, and this silhouette stamp is wonderful. I stamped only the first part of a longer sentiment.

Layers of ink - Wildlife Cards Tutorial by Anna-Karin with Sizzix dies by Eileen Hull
 The brown Paper Leather looks nice together with the vibrant painted paper.

Layers of ink - Wildlife Cards Tutorial by Anna-Karin with Sizzix dies by Eileen Hull
 I tied a string through the holes in the cardbase. You could also hang something from the string.

Layers of ink - Wildlife Cards Tutorial by Anna-Karin with Sizzix dies by Eileen Hull
This is the inside of the smaller card. I love this quote from J.R.R Tolkien, and I have a longer version of it on a canvas in my studio, that I made especially to use this quote. You can see the tutorial for that Roots Canvas here.

Thank you so much for stopping by here today! I hope it inspired you to make some cards!

Happy crafting!

Anna-Karin

Supplies:


5 comments:

  1. These cards are so pretty- I love that you used scraps from other projects. The colors are beautiful- great way to use both dies as cards! Genius!

    ReplyDelete
  2. Both cards are beautiful Anna-Karin, I love Eileen's Sunburst embossing folder and it looks even more beautiful in those gorgeous colours! Wonderful use of Eileen's dies! Anne x

    ReplyDelete
  3. Beautiful cards and a wonderful explanation of the work you did. TFS

    ReplyDelete
  4. Love these cards, thank you for the step by step. I love the giraffes, too.

    ReplyDelete

Thank you so much for leaving a comment! Happy Crafting!